I’m in the Midlands so my local places would be no help, I’ve asked a friend who lives in Southampton to see who he knows.
Edit
His reply “Have had good reports about these people.”
Banda Engineering,
Herbert Street,
Mile End
Portsmouth
PO1 4QR
02392 828224
Thanks - I’ll give them a call.
Hi Terry
How’s the rebuild coming along?
Hi Don
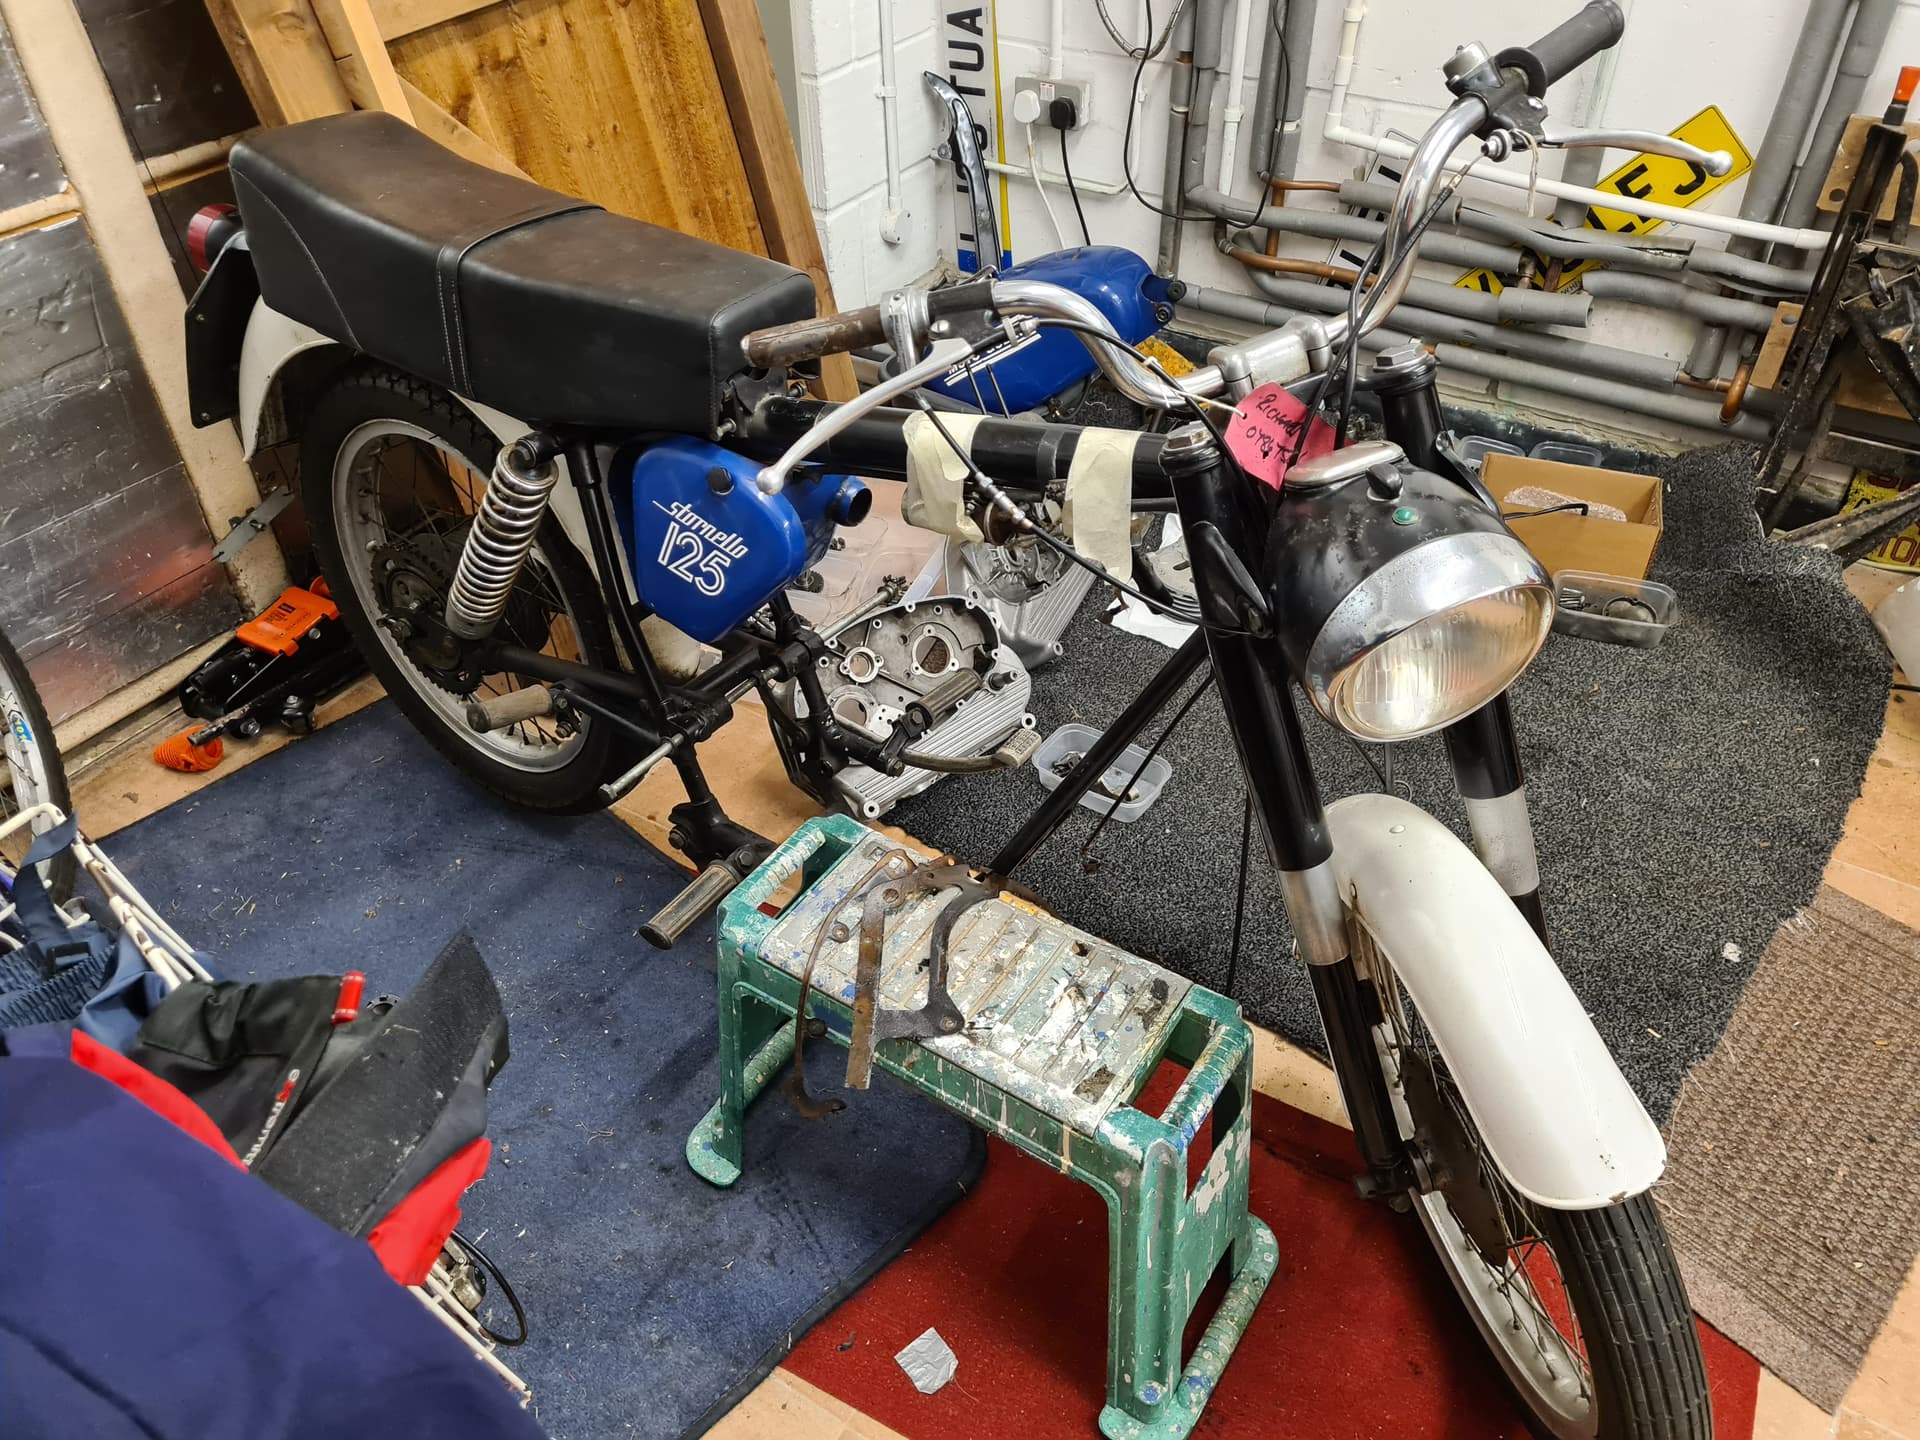
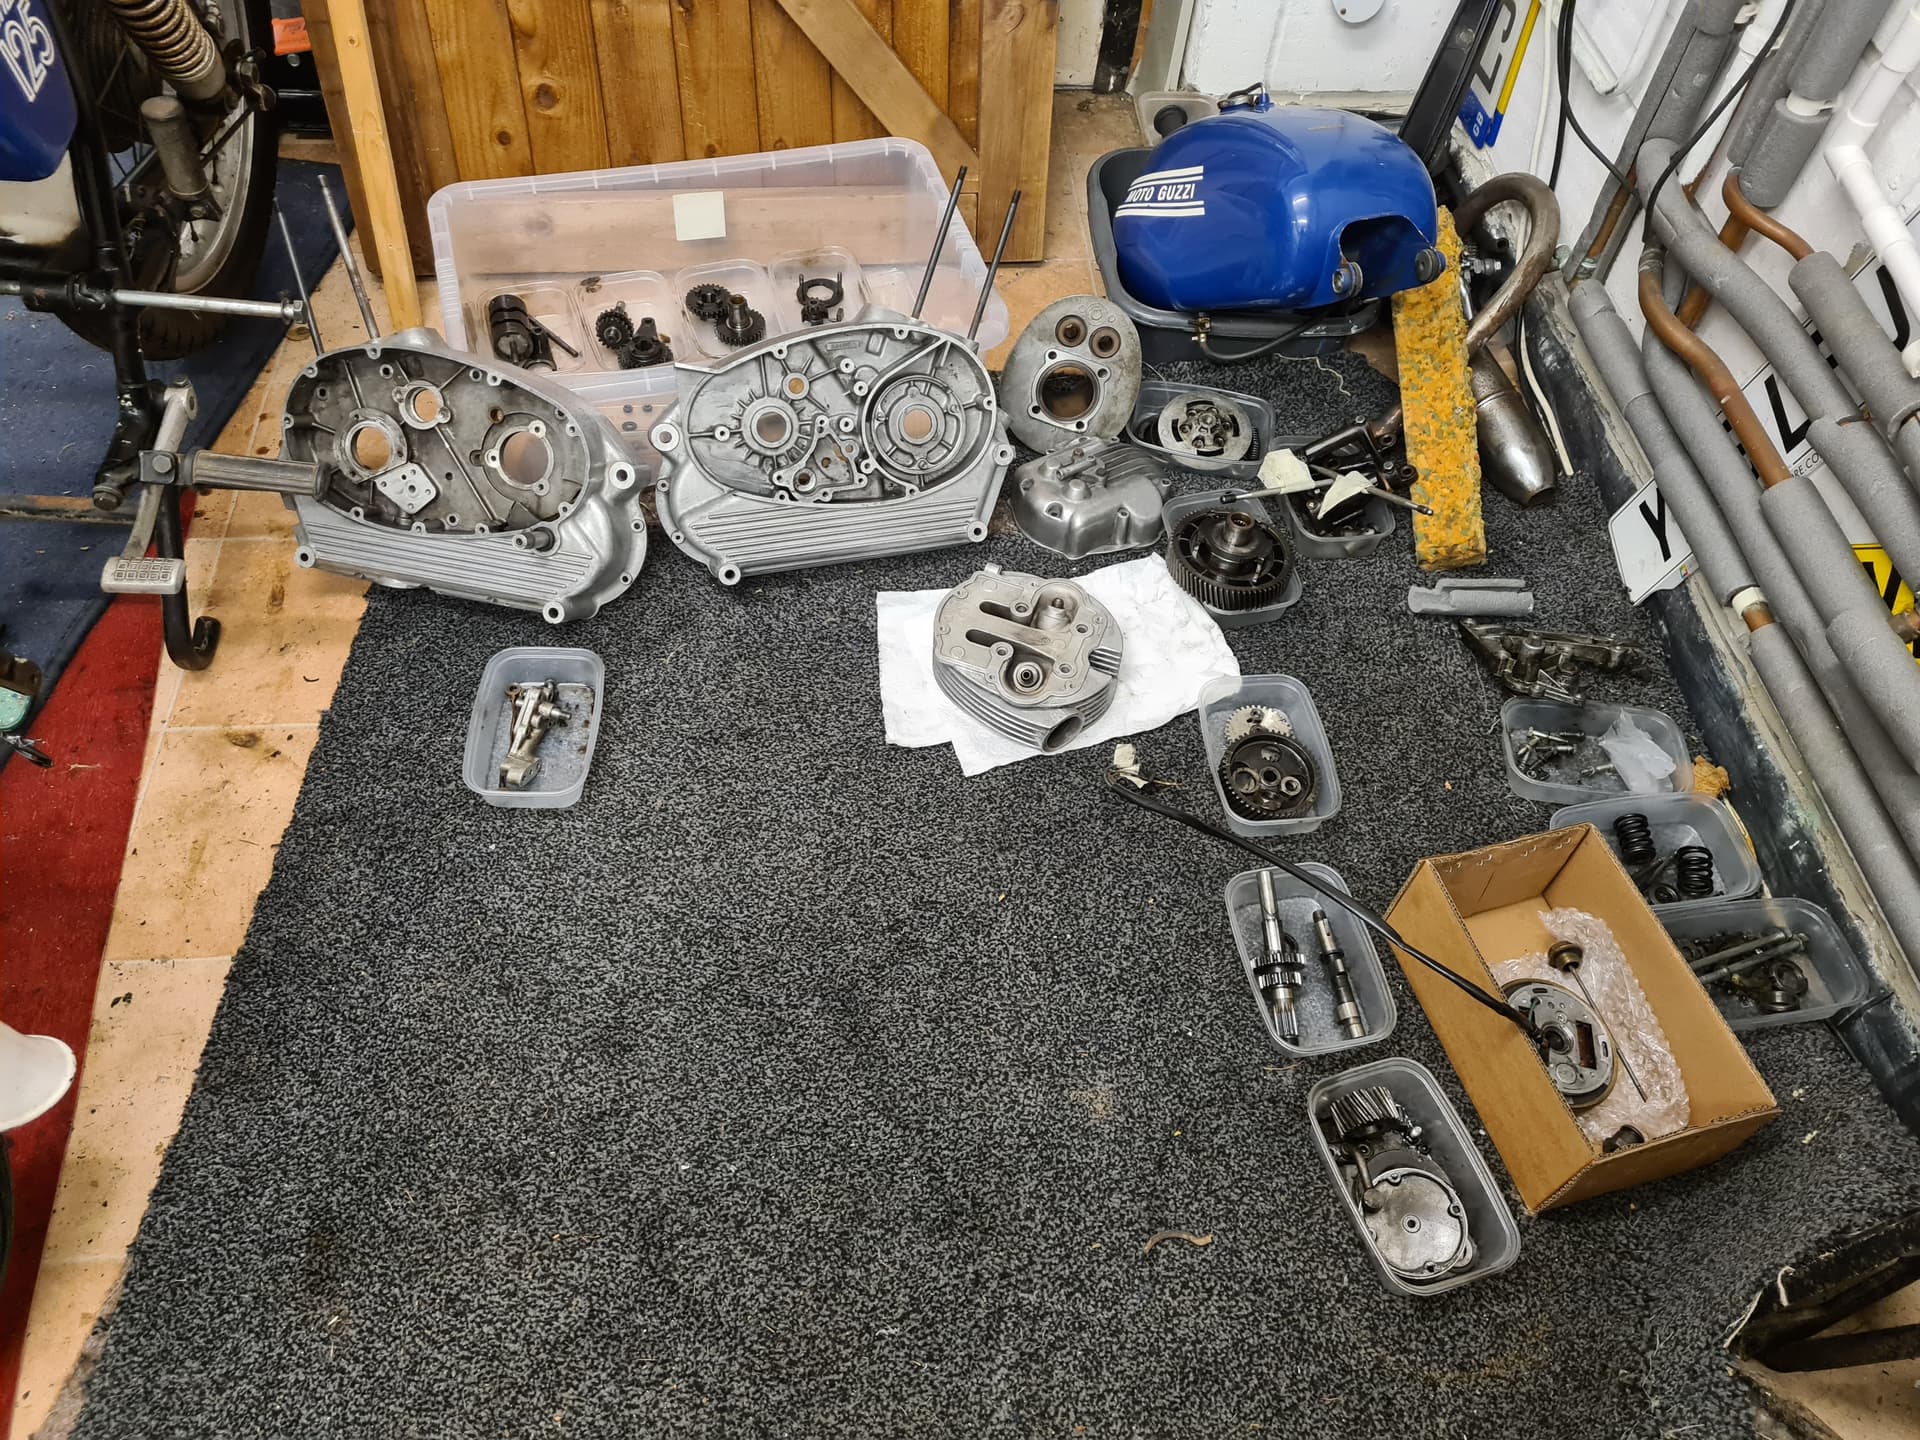
Engine now completely stripped down. As you know big end seized. Clearly a huge overheat. Oil starvation suspected. Replacement bought from The Piston King and fitted by Garage No. 7 in Southampton. Seem to have done a good job. Only problem is that for some reason the gudgeon pin wont fit either the piston or the con rod! Perhaps due to the overheat? Am currently sourcing a new one. New bearings procured - thanks for your advice on that; saved me loads of time ![]() . Waiting for rest of replacement parts from Stein - Dinse and then the big, and to me daunting, rebuild starts. Hope I can remember how it all goes back together! Have taken loads of photos and have the exploded diagrams from the manuals etc. so hopefully ok. Have attached a couple of photos.
. Waiting for rest of replacement parts from Stein - Dinse and then the big, and to me daunting, rebuild starts. Hope I can remember how it all goes back together! Have taken loads of photos and have the exploded diagrams from the manuals etc. so hopefully ok. Have attached a couple of photos.
Kind regards
Terry
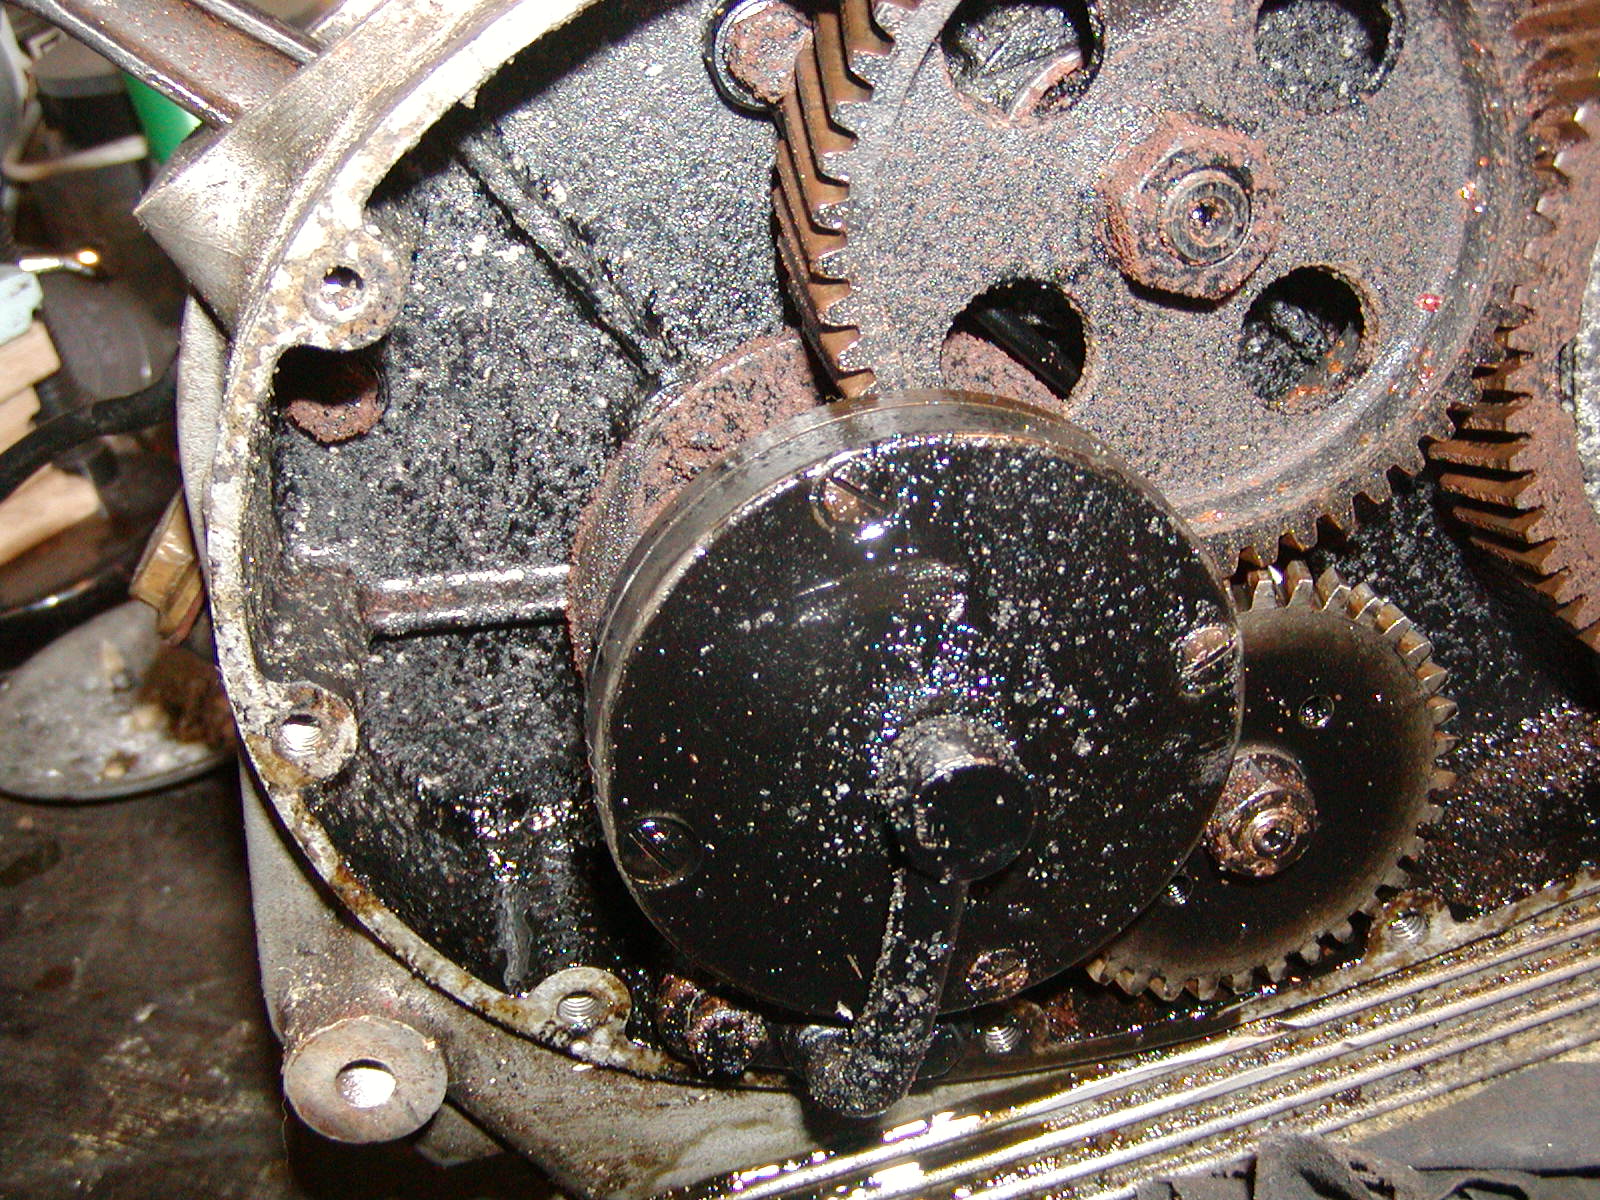
The bottom end has a roller bearing so doesn’t rely on huge oil pressure. What was the centrifugal oil filter like on the crank feed? If that was blocked, it would starve the big end of oil. Check the oil pump clearance, there is a diagram in the manual showing the clearance. There should be an oil feed pipe that directs oil from the pump into filter to feed the crank. See the very poor picture below
Look out for the oil feed up to the rocker assembly. It runs up through the rear left head stud. You will see that one is larger. Make sure the holes line up.
The gudgeon pins come in 2 sizes, 14 or 15mm. It would be obvious if you have the wrong one. What size is yours? I have a spare that I think is a 14mm one. Maybe the little end bush needs reaming out to fit. I would drop the piston and con rod back to the workshop to get them to machine it to fit.
When reassembling the selector mechanism read the Service Sheet I gave the link to earlier. That explains how to position the gears and selector mechanism as you assemble it.
Hi Don - thanks again for this.
The oil filter was very very dirty and I strongly suspect that this was the problem. The oil pump clearances (float, gear to gear and gear to body) are less than 0.1mm so I suspect that’s ok - cant find where in the manual the tolerances are given. The oil feed pipes are all clear.
Thanks for the info on the LH head stud - will definitely check for alignment on rebuild.
Thanks for kind offer of 14mm gudgeon pin - mine is actually 15mm. It is 0.025mm too big for the small end . I’ve ordered a new one in the hope it is slightly smaller - if not will have to ream.
Service sheet for selector mechanism will come in very useful - thanks. Are there any other service sheets available?
Hi Don - quick question; am I right in thinking the chain is 425? Cheers
I don’t have any more English manuals, the rest are all in Italian. They can be found here
It sounds like they have supplied the wrong gudgeon pin. There are plenty of generic 15mm gudgeon pins on eBay. Some quote diameter and length. You may be able to get one that would work? If you have access to a lathe, it could be shortened, although it will need a decent tool as it should be hard steel.
This gudgeon pin is quoted at Length 48mm Inner Diameter: 10.5mm
Diameter:** 15mm
I have always used a 428 chain on mine. Don’t get a heavy duty one as it doesn’t fit the gap at the front.
Thanks so much for the manuals etc - that’s a treasure trove for me ![]()
Interesting info re the pin. It was the one that came with the bike but now does not fit in either the new small end or through the original piston. Very odd! Have now ordered one from Wemoto. Hopefully that’ll fit.
Re measured the chain - it is a 428. Glad I checked with you as I would have bought the wrong one.
Thanks again for all your help.
1 Like
Hi Don
Though this may be of use to you or others - an English version of workshop manual. Its messy in places but hopefully useful.
Managed to fit the gudgeon pin - a light touch with emery and it fits a dream! All new bearings now fitted and the rebuild starts. Hope I can remember how it all goes back together!!!
Cheers
2 Likes
Thanks, that’s a great find. It is for the later 5 speed model, but things haven’t changed that much.
Hope the rebuild goes well. Just watch out for the gear selector ratchet assembly.
Hi Don - hope you are having a good easter!
Q - there was no head gasket fitted, and none shown in the parts list but the manual refers to a head gasket! Am confused - grateful for enlightenment!
Cheers
Terry
Also established that mine is actually a 160! Measured the bore.
Also Need to check if cam shaft is worn. Any idea of the spec for the max cam diameters? So I can check for wear on the lobes. Can’t seem to find them anywhere.
Cheers
Hi Terry
Mine has never had a head gasket, I just lapped the surfaces together with a bit of fine grinding paste. It seems to work fine on mine.
It’s interesting that you say yours is a 160cc. I wonder if yours is a 125 barrel that has been bored out or if someone has fitted a later 160 barrel and piston. I have wondered if it is possible to bore one out to 160, the standatd liner is very thick. Apparently 160 pistons and rings are quite hard to come by.
Sorry, I don’t have any dimensions for the camshaft, the manual only gives sizes for the ends where it sits in the bushes. I would have thought you would be able to see if the lobes are worn by the difference in appearance where the outer hardening is missing. Mine was showing some slight rust pitting and a slight marking where the cam followers had been working.
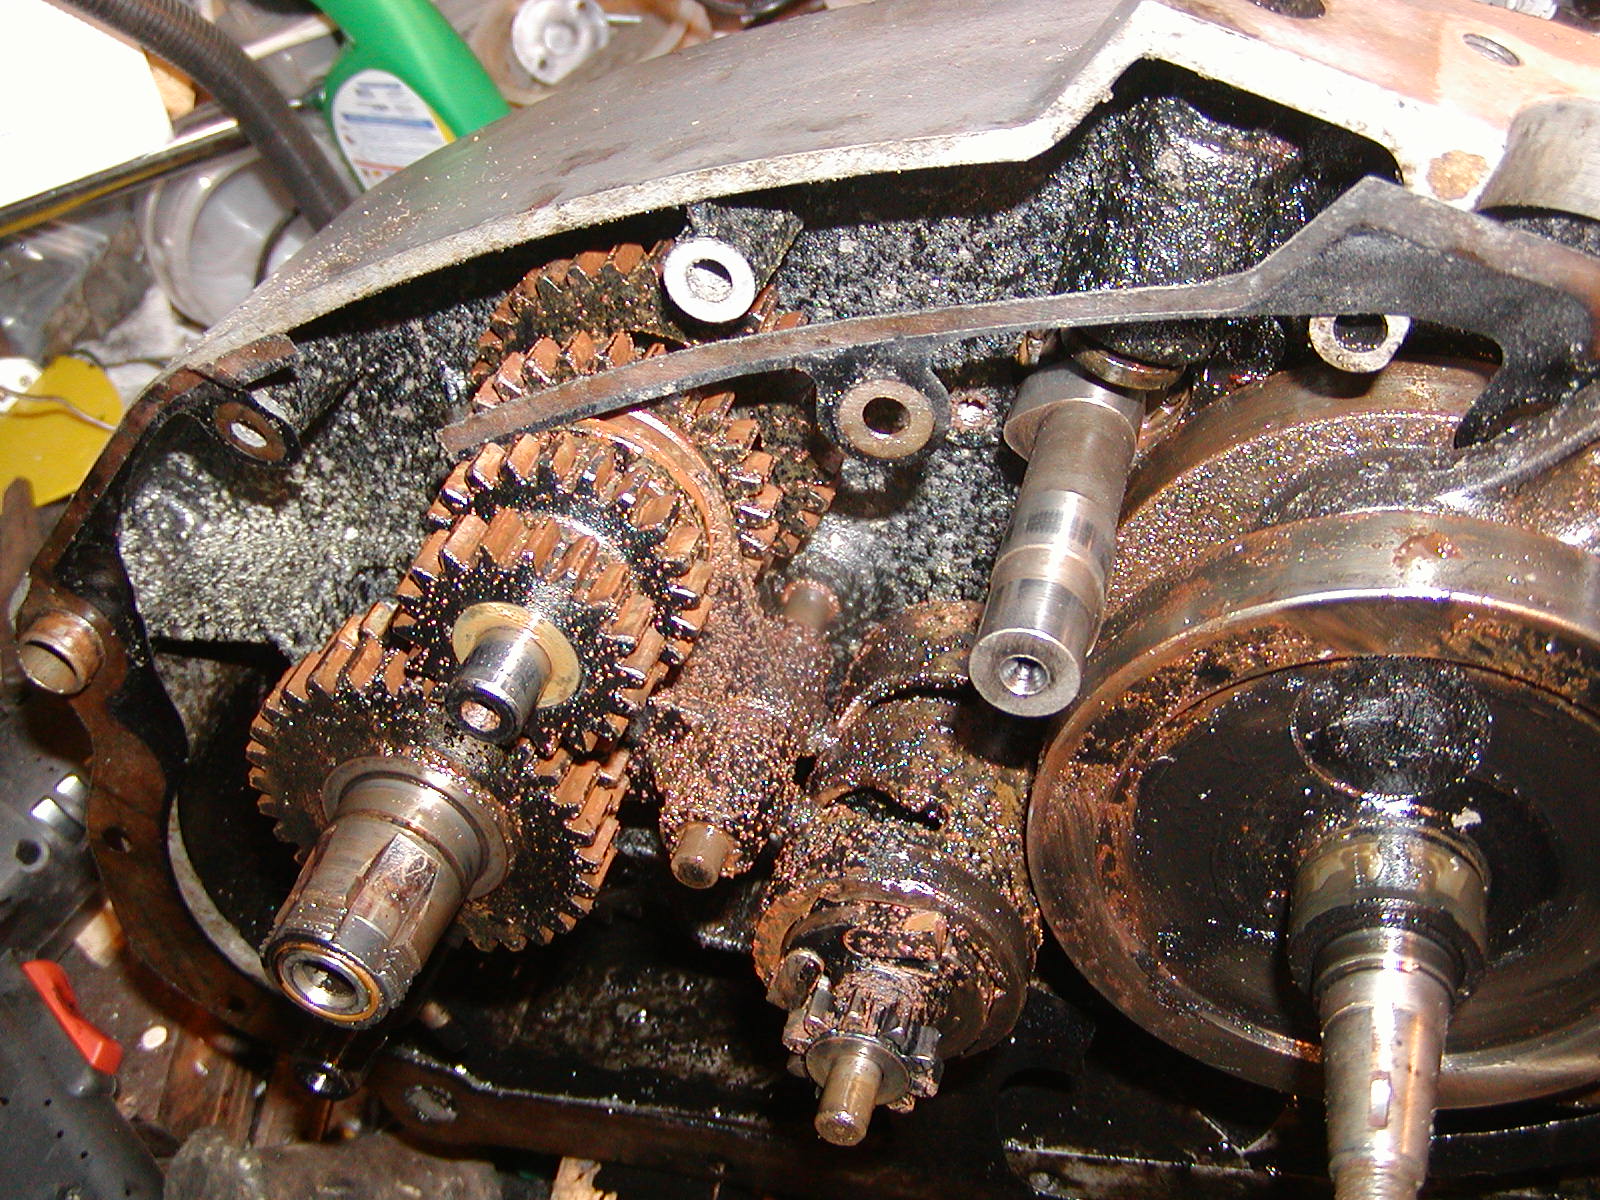
Watch out for the cam timing when reassembling the engine, the original marks on the crank and cam gears are very faint. There is a good check where you rotate the crank and measure the distance around the flywheel when the valves start to open.
I made a tool to reassembe the clutch out of a length of steel bar bent into a U shape and a bolt screwed into the clutch centre. This allows you to compress the springs and replace the large circlip.
Thanks for info re the head gasket - I’ll lap mine in as you did.
Good photo showing the wear on your cam shaft. By comparison mine is not showing any witness to wear so will stick with it.
Useful tip re cam timing and clutch reassembly. Have ordered a new clutch and am waiting delivery. Was wondering how to reassemble. Any chance of a photo of your homemade tool?
Have detected wear in the secondary shaft and cam shaft bushes and so am in the process of trying to source new ones.
I’m really enjoying doing this ; though I do feel challenged!!
Thanks again for all you help - much appreciated.
It might be easier to get your engineer to turn up a couple of phosphur bronze bushes. It won’t be easy finding new ones.
I’ll look out that clutch tool and add a photo for you.
Many thanks ![]()