Weird if the photos haven’t come out. I can see them.
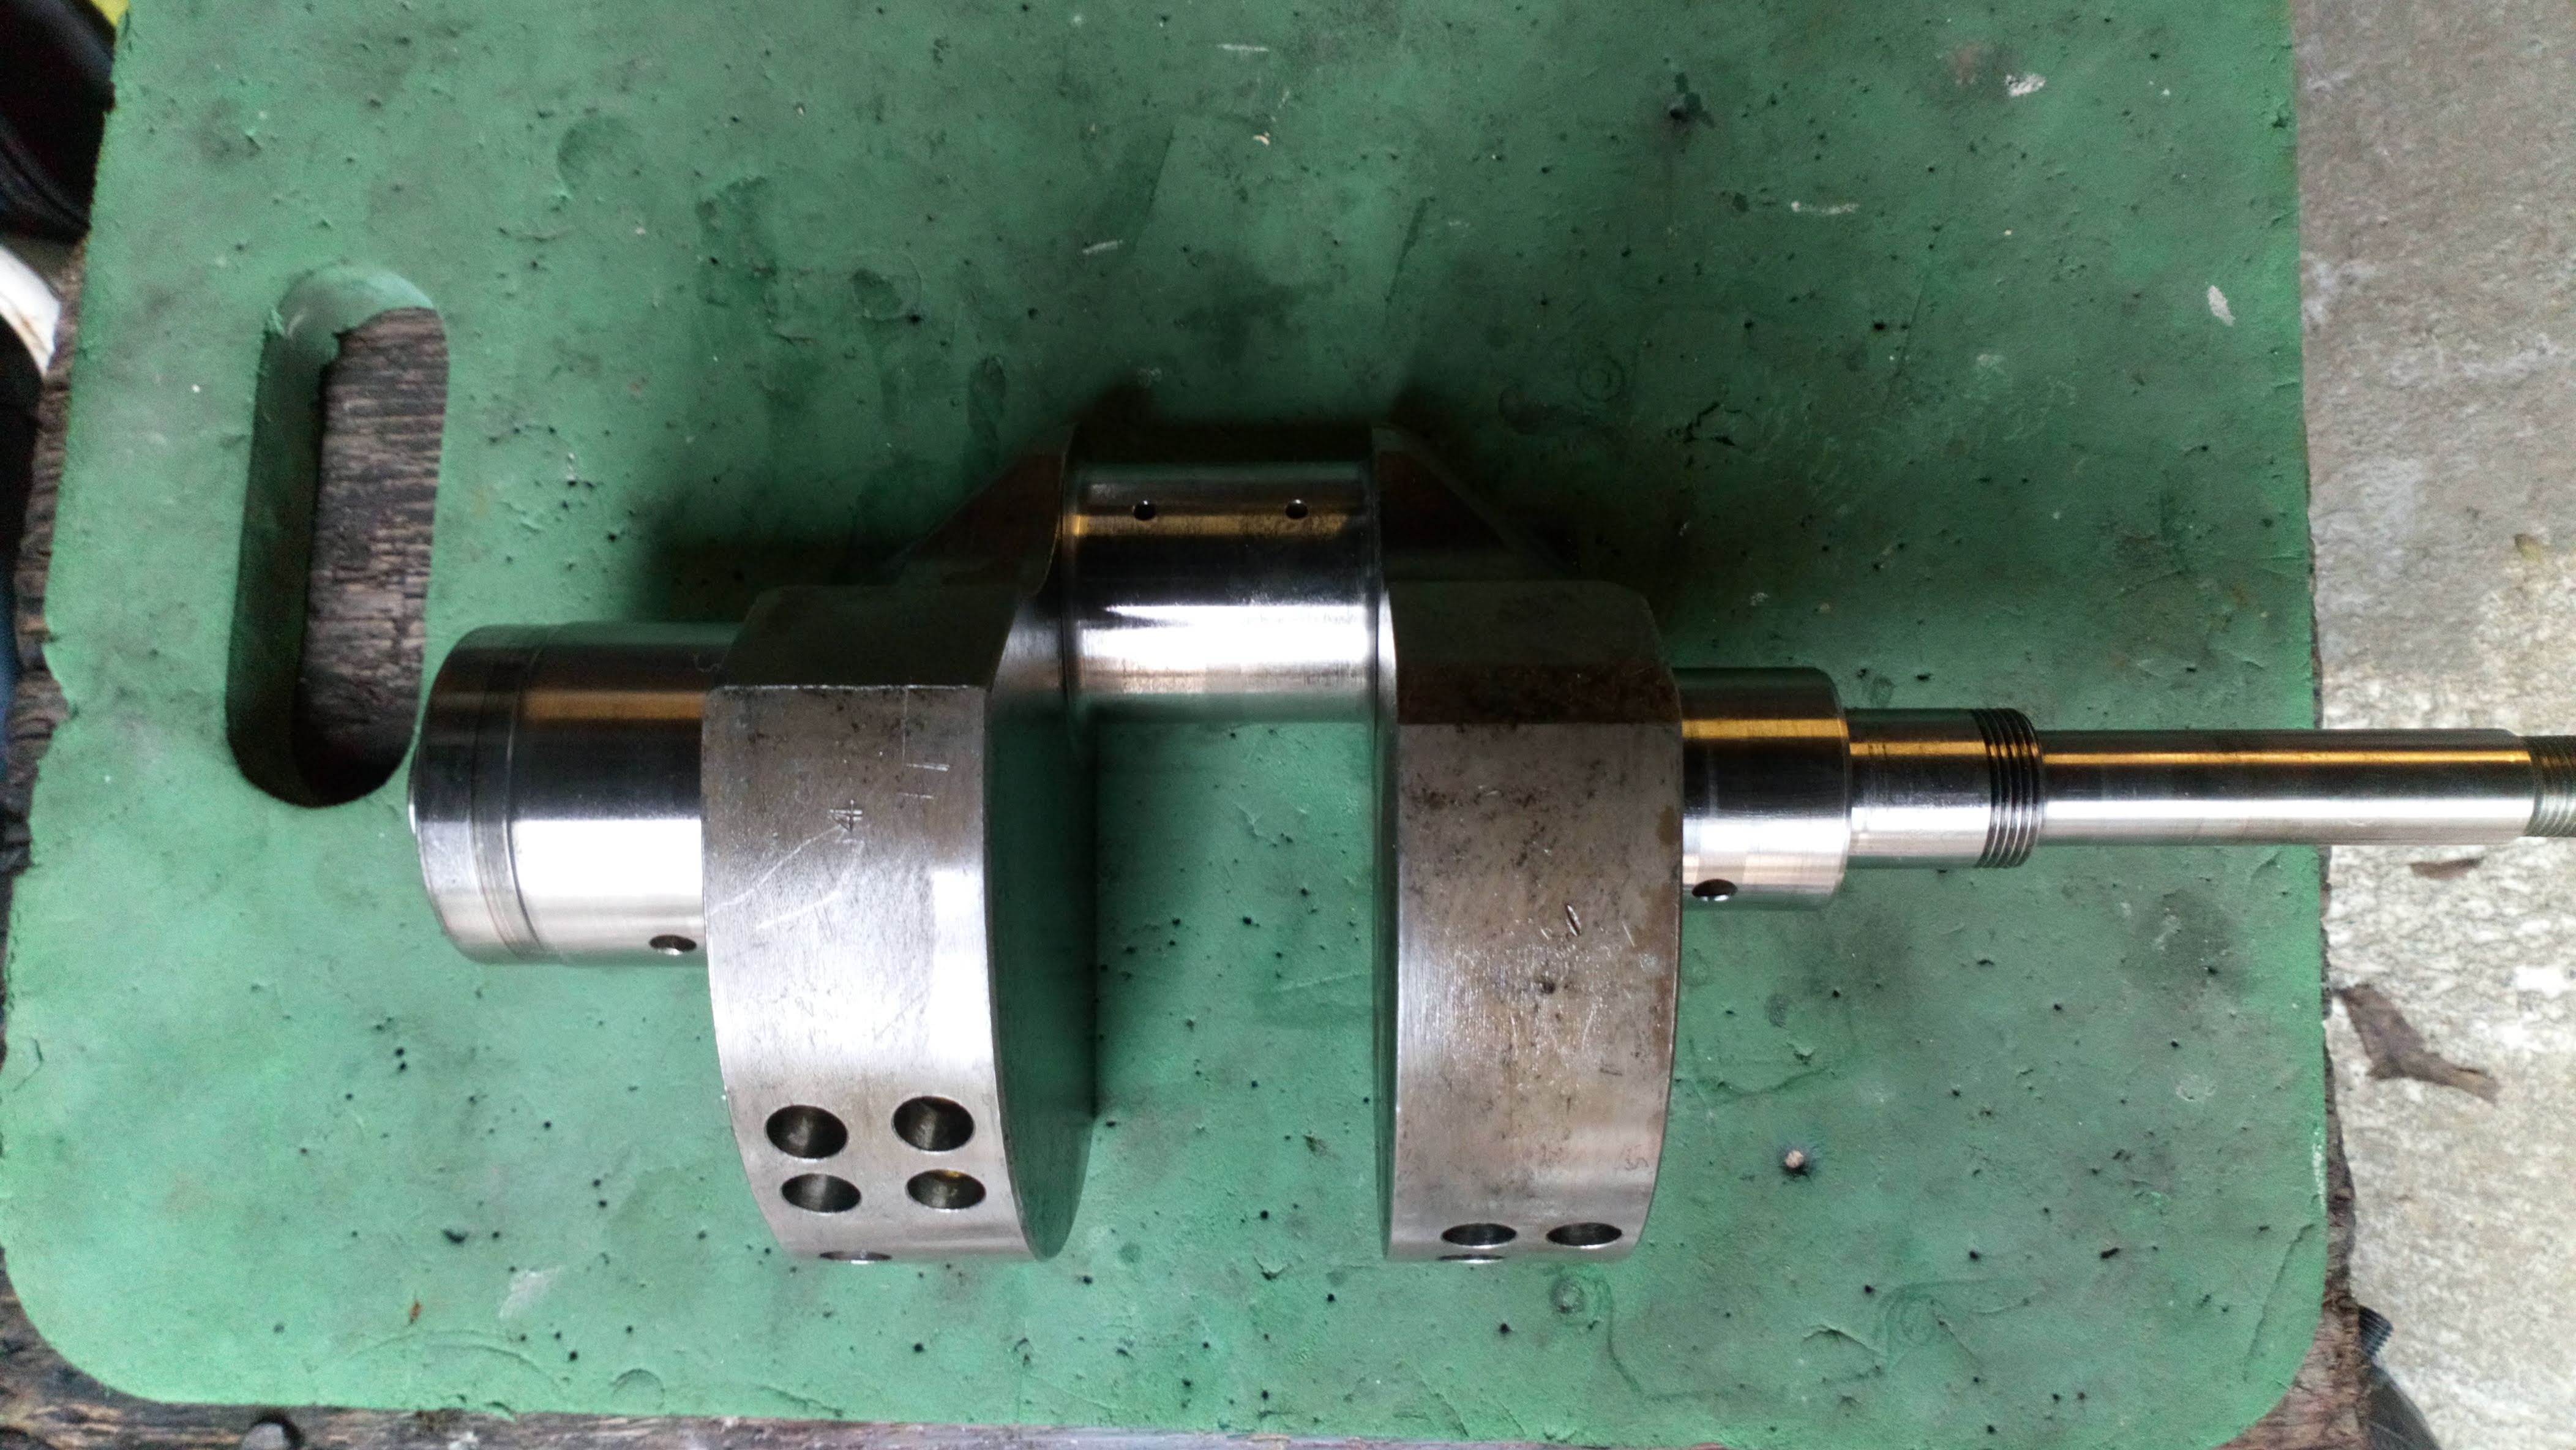
Journal looks ok, will have the crank out tomorrow so I’ll have a chance to mike it up.
New tappets & shells already delivered. I’ll find out tomorrow whether the mains & cam bearings are damaged, if so, I’ll change them. I’m going to replace the camchain and tensioner anyway. Engine is out of the frame and on a workmate this evening.
Cheers
Simon
Just been doing a similar thing,
Took a while to get the shells, Fowlers got them eventually, where did you get yours?
Phil
Hi Phil,
Looks good!
Gutsibits had 4 in stock. And 5 tappets, though I only bought four! Delivered signed For next day. Prices were the best as well.
Fowler’s appear to be silly-expensive. I checked out a dealer in France, and Stein Dinse too.
Pays to shop around though, I got a replacement caliper from MdinaItalia about £20 less that the Gutsibits price, and in stock.
I think availability of bits has been no problem so far, but will become more of an issue as time goes by.
Atb
Simon
Cheers Simon 

Shells were a bit pricey but the only other place that had them was Agostini’s and they wanted me to spend over €160 to make it worth their while🤔.
Every thing else from Gutsibits, (didn’t have the shells a couple of months ago)
Just got to sort the rest of the bike out now
Phil
Looks good. Tried to undo the cam sprocket nut today, it’s b…y tight. Did you have any issues getting yours off?
I’ll make a peg spanner for the crank sprocket tomorrow. Hopefully that’s not stupid tight too.
Atb
Simon
Lock the motor and use a breaker bar,
tight but that will shift it👍
It was very tight, and the washer behind the nut had failed. I’ve never seen such a thing. Combination of an air impact wrench, a shot mallet and a breaker bar did the job.
I then spent the afternoon making a peg spanner, which I used to undo the crank sprocket. Bit of a fight to get the sprockets off, but managed it. It was a fight to get the oil pump off too, but I won that one as well, and it’s fine. Stripped out the crank, bearings all good, which was a relief. Cleaned out the centrifugal sludge trap, and refitted the plug(which was loose!!!) with Loctite. Crank now oiled and wrapped, awaiting the bits & pieces required for reassembly.
Now to start cleaning, degreasing, etc, ready for reassembly. I’m not going to strip it to components & vapour-blast, I’ll content myself with jizer!
Atb
Simon
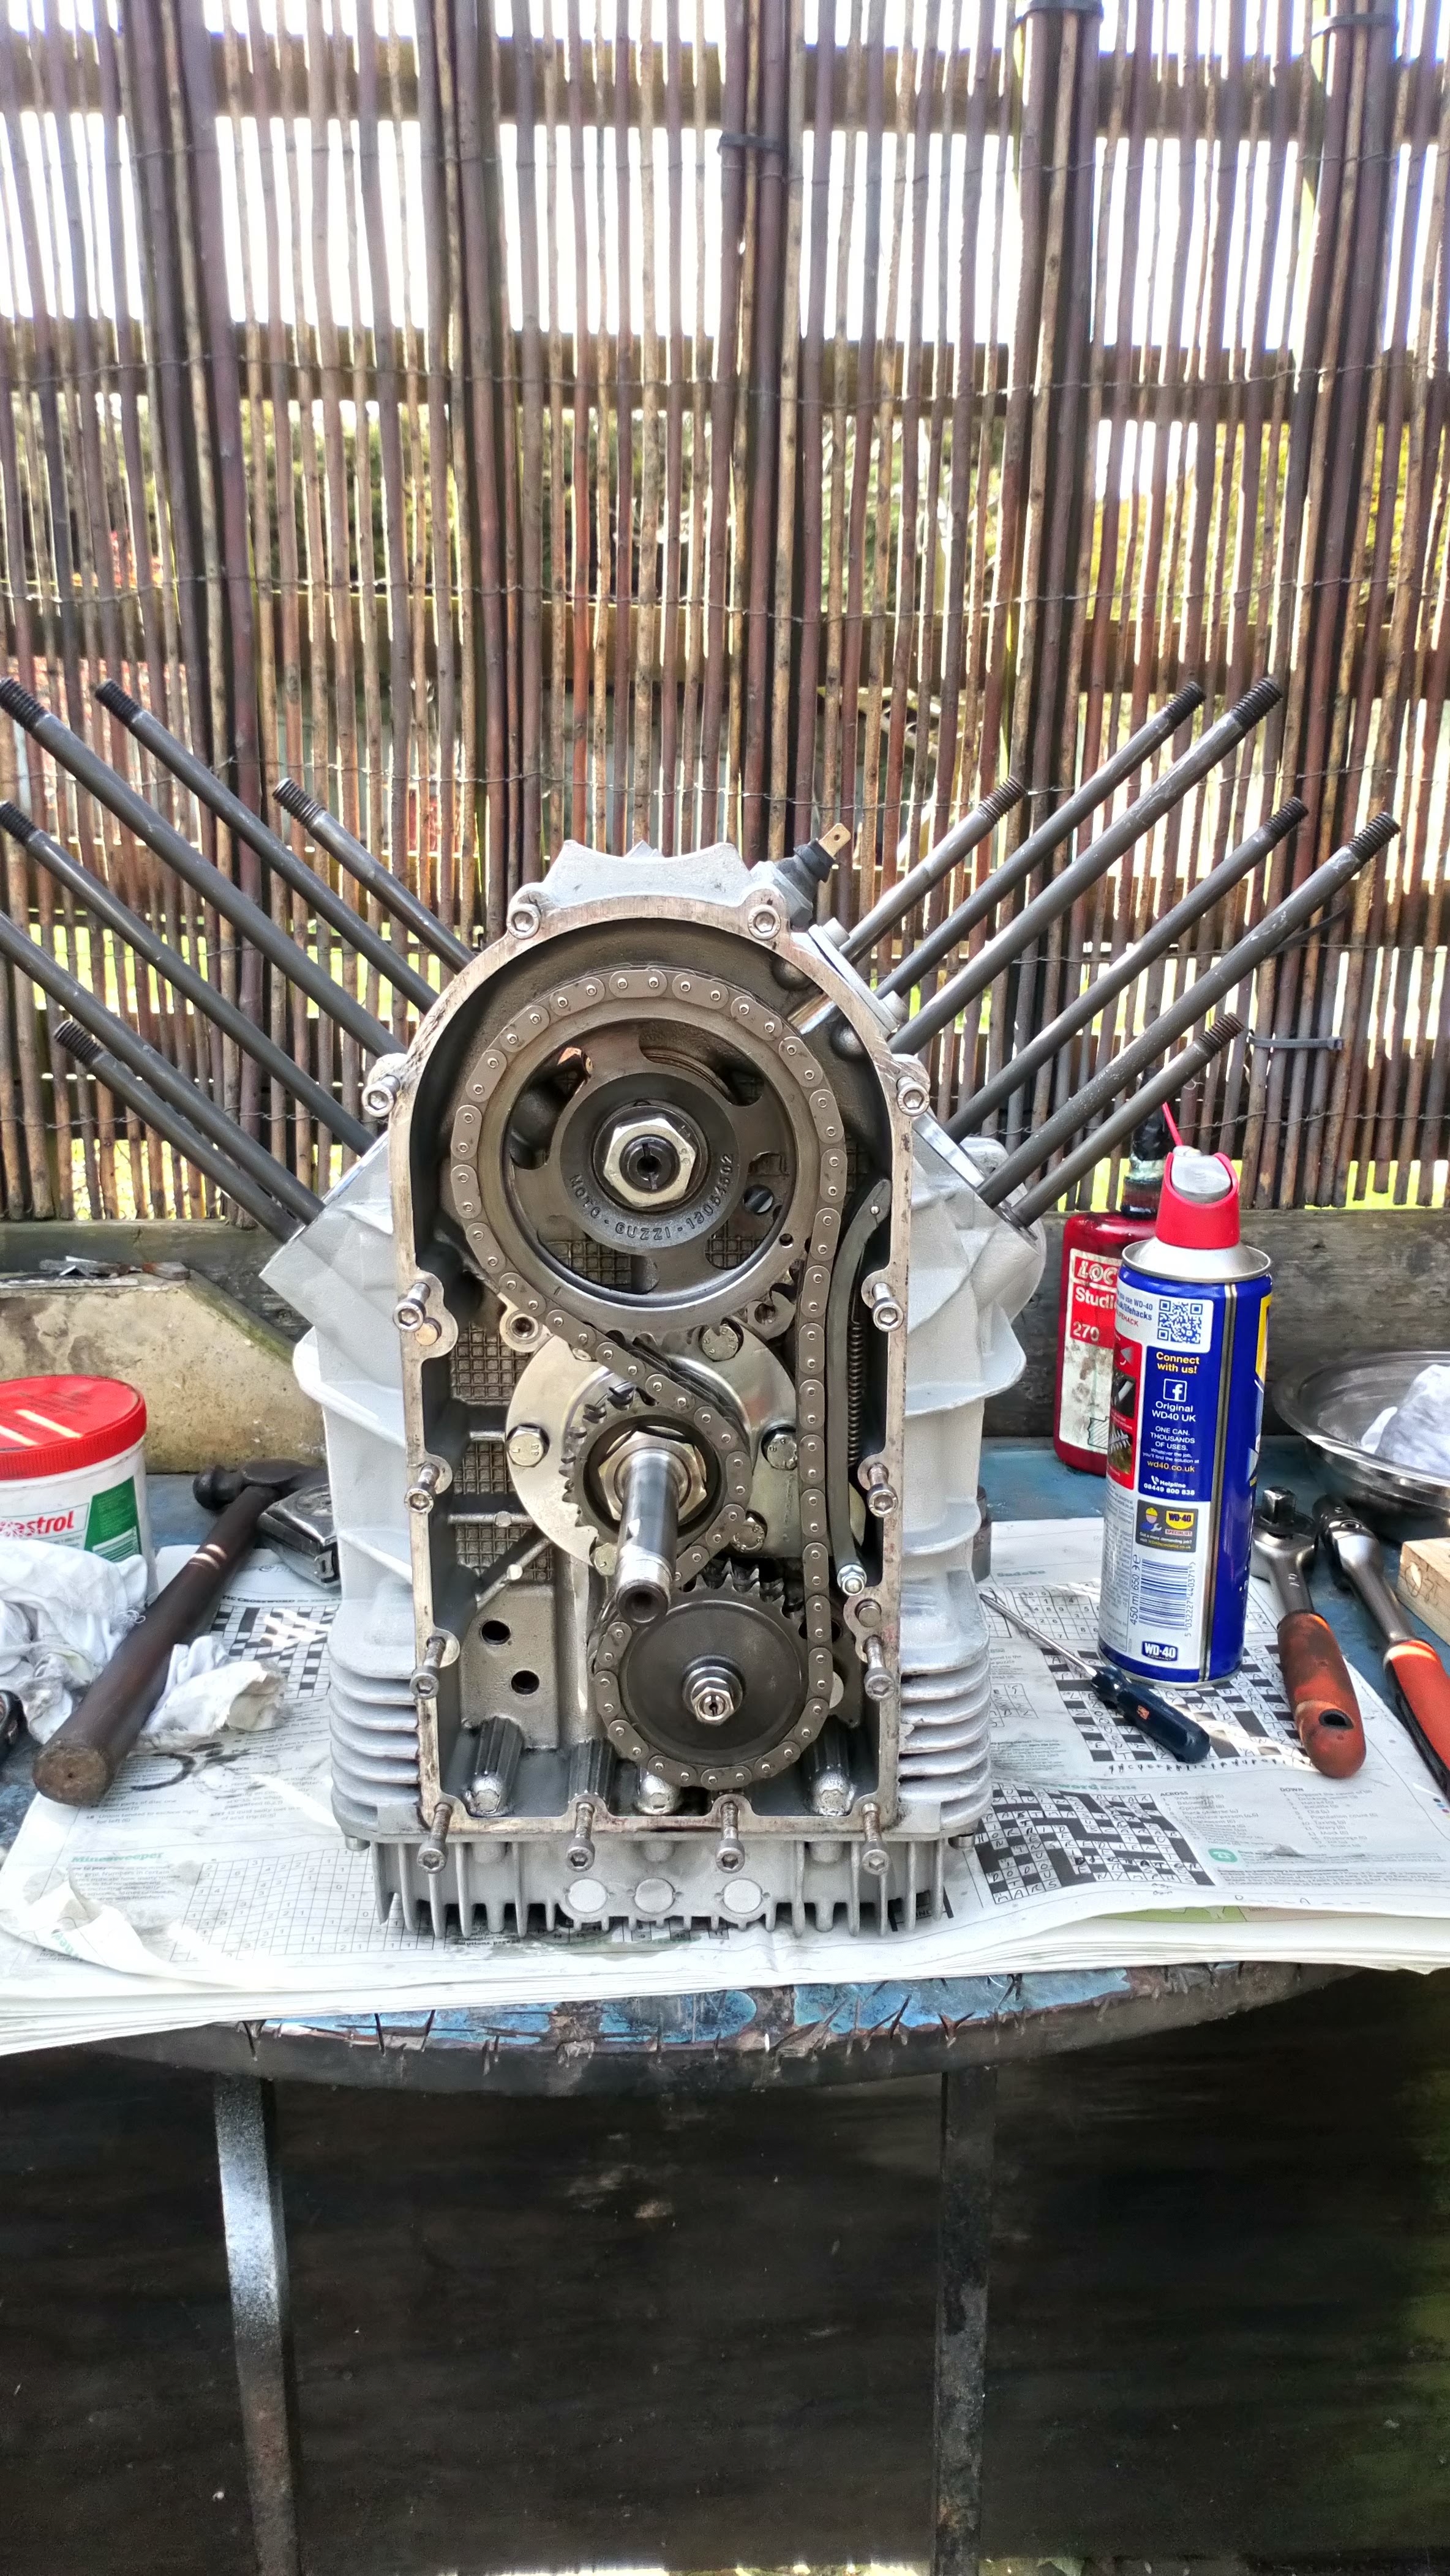
Camchain fitted, with new sprung banana tensioner.
Flywheel & clutch also, but waiting for new bolts to replace the M8x20 that hold the flywheel together. Didn’t want to take the fat spline off the gearbox so turned an alignment bush, and sighted the splines by eye. We’ll see whether that works at reassembly time…
Rods, pistons & barrels next.
Atb
Simon
When I rebuilt my clutch etc, I used three long bolts (Or you could use threaded studding) to compress the springs by winding nuts down the threads. You can look through the holes in the flywheel to make sure the teeth are lining up with the spline slots and nudge them into place with a small screwdriver before the tension gets too great.
Make sure the flywheel goes back on the same set of holes relative to the crank or you mess up the timing marks.

P3210223 by Don West, on Flickr
Thanks Don, that’s good advice - using longer screws and nuts to preload it before putting the proper ones in. I should have thought of that, but managed to grip it enough to get the threads to engage. A previous bodger had stripped a couple of the bolts, so I have ordered replacements. Happily the threaded holes seem ok.
Yes - the timing marks are less than perfect but they aren’t 45 degrees out! It’s also worth noting that the drive plate between the two clutch plates has a marked tooth to ensure it goes in the right way up, and in the right position - I don’t know but guess they might have balanced the crank & flywheel in the factory.
Atb
Simon
New M8 x 20 10.9 grade screws arrived, so they were installed on the flywheel, torqued up on Schnorr washers.
Cleaned up the camchain cover and fitted that, need to torque the screws.
Fitted pistons to conrods with new circlips.
I’m going to clean & repaint the barrels & heads over the weekend, then they’re going on…
Slow progress, but progress.
Had a test ride on a V85TT today. Nice bike, though the horn is disappointingly reminiscent of a startled medium sized rodent.
Won’t be getting one, as it is not better than my GS.
More on the LeMans next.
Atb
Simon
Pistons, barrels and heads reassembled yesterday afternoon.
Discovered previous owner bodgery, one of the banjo bolts was home made, and was the wrong bloody thread. I wouldn’t have minded if he’d used an M8 bolt but this one is not even the right pitch! Helicoils ordered.  . At least it’s an easy fix to the rocker cover.
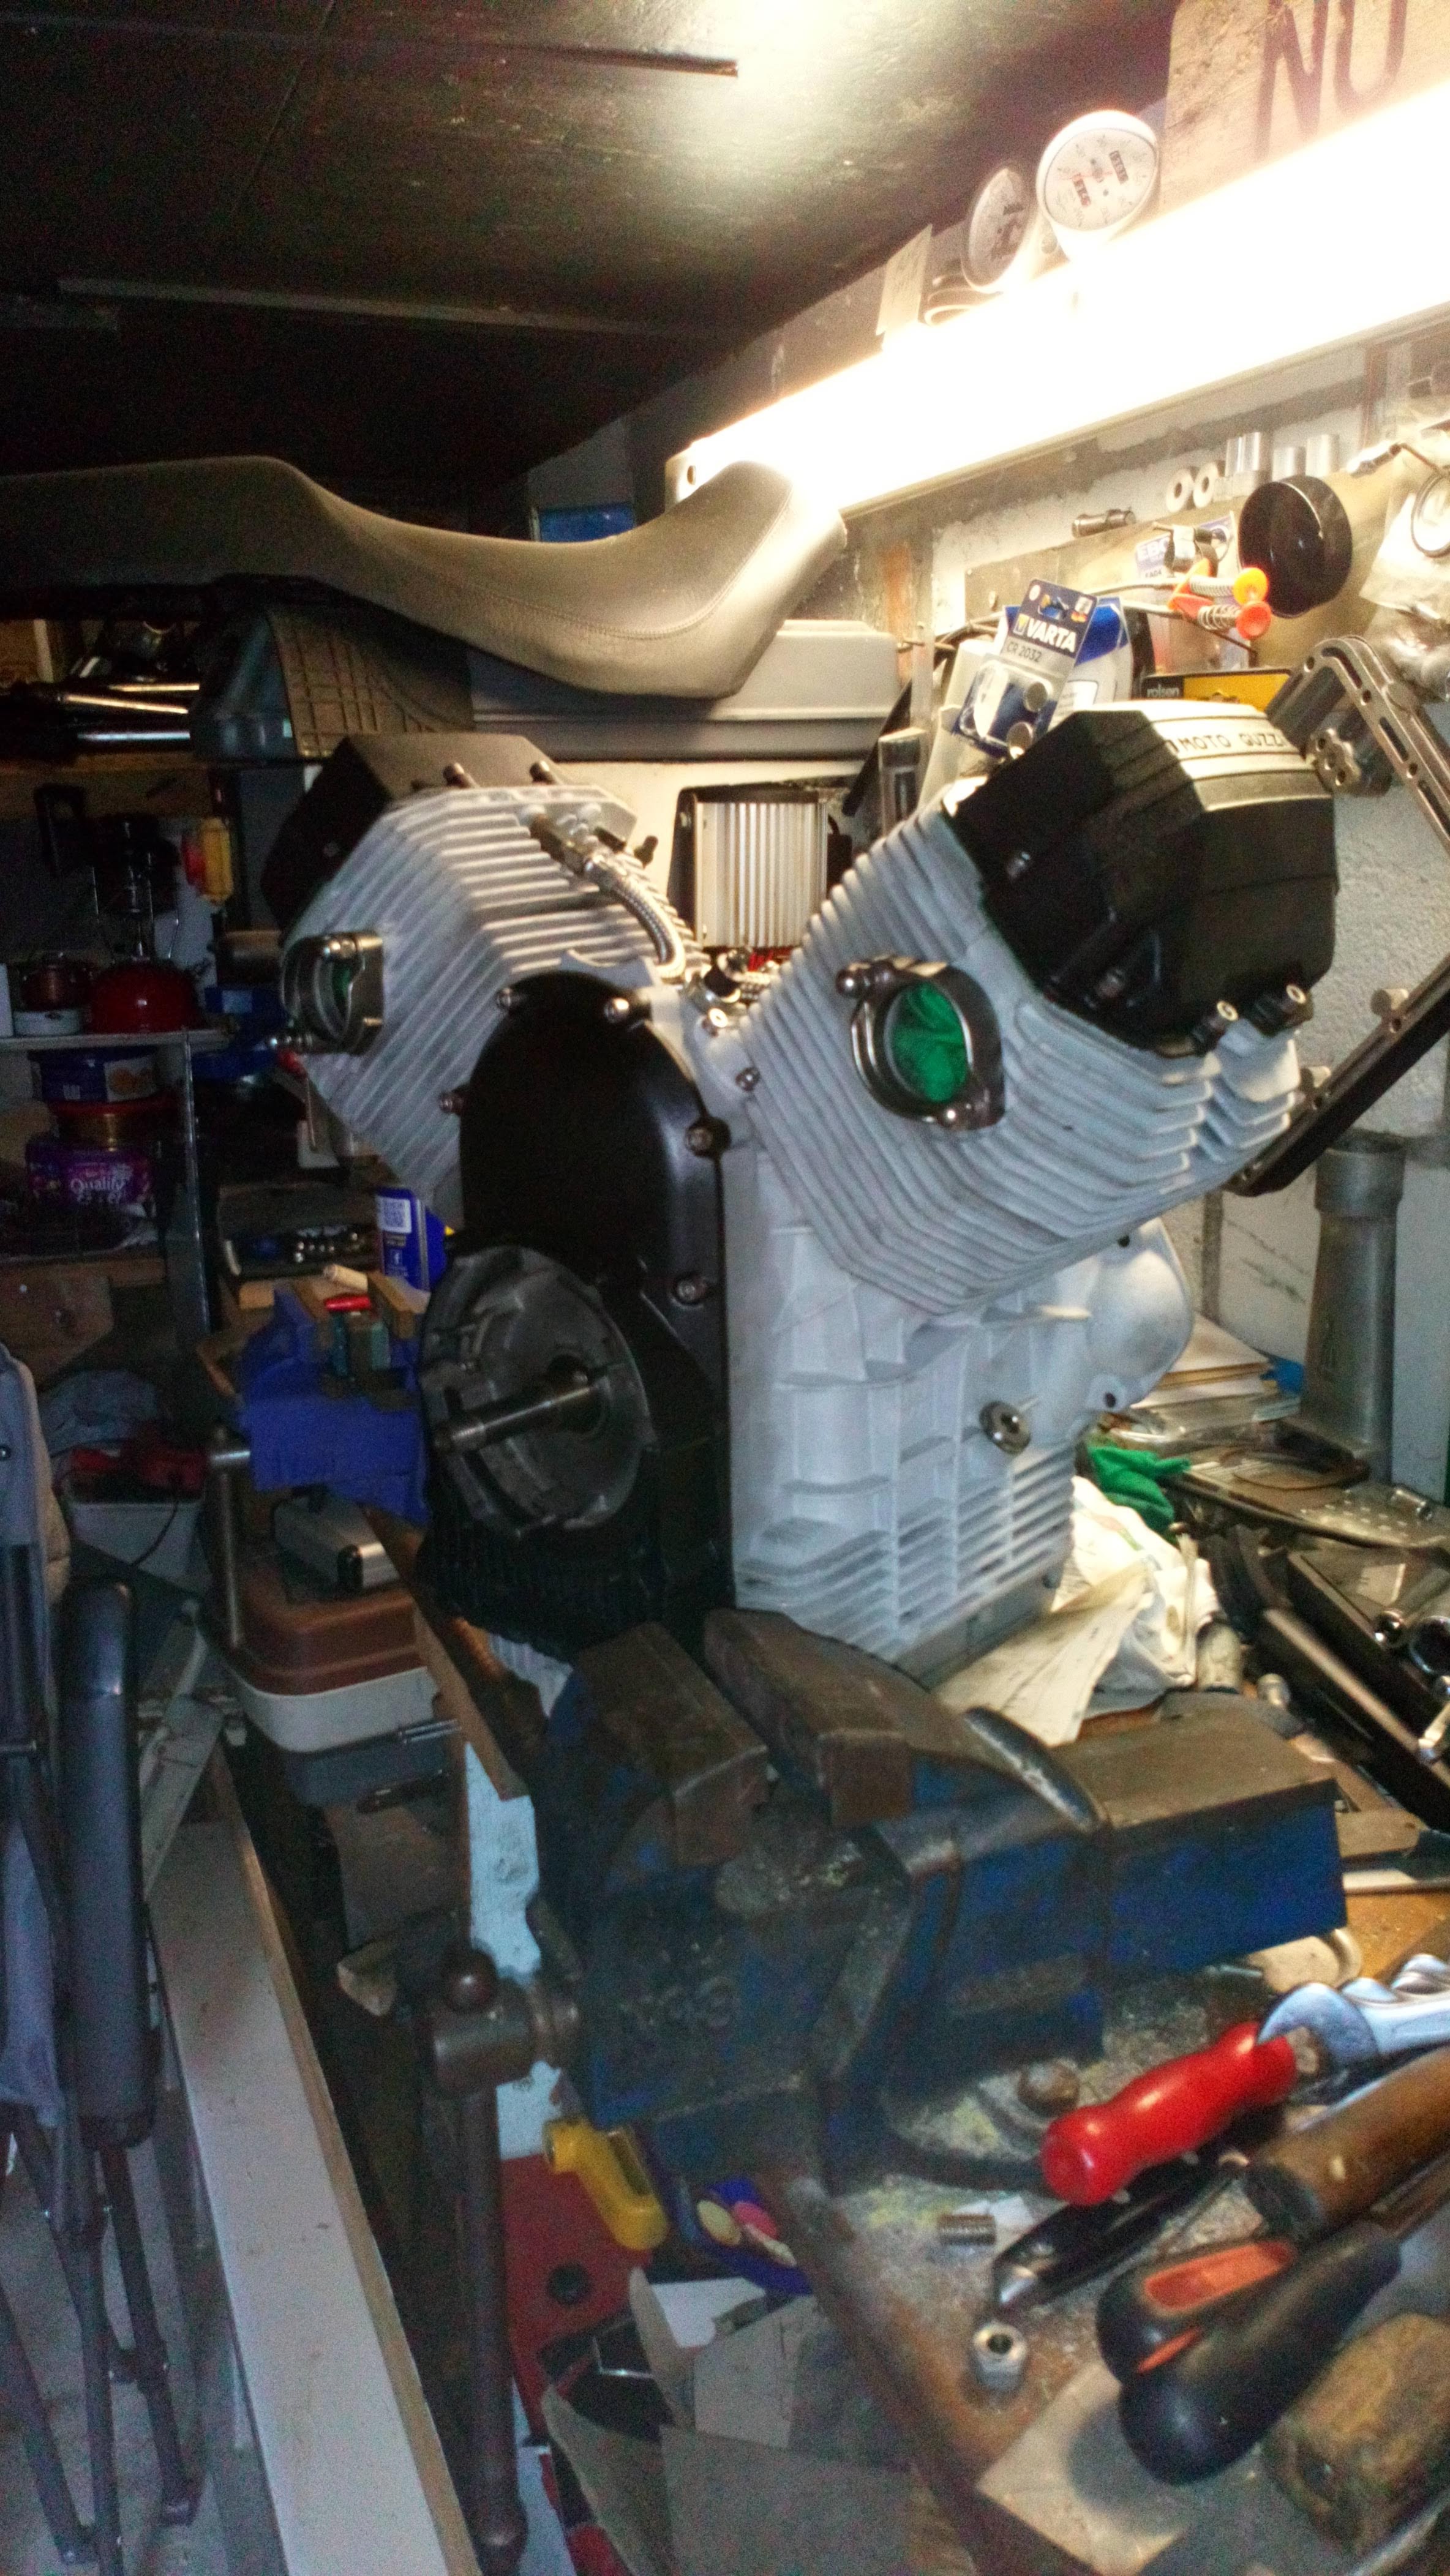
For some reason, there is red paint in the gaps between the fins under the sump too, and some under the gearbox. He surely can’t have painted the engine red? Can he? Weird.
Gearbox went on ok, so my plastic clutch alignment bush worked as intended, and my alignment of the splines by eye too. That was pleasing, as I didn’t want to undo it all again. Today I will fit the alternator & starter motor, fill it with oil, and spin it up to ensure we get oil pressure. Assuming it’s ok, I’ll start to reassemble the subframe, and hopefully get the frame back onto it during the week.
Atb
Simon
Hi Simon,
Are you sure it is red paint and not red Hermatite? I suspect it was used too liberally when sealing the sump cover. I seem to remember that Methylated Spirits is the correct solvent.
Cheers
Phil
Thanks Phil,
Yes…
There were even drops/runs inside the alternator cover. I guess he might have run over a can of red enamel…
Engine mounted on frame rails and sitting on a crate ready for the frame. Need another pair of hands.
![]()
Atb
Simon
I hung my frame from the rafters in the garage with the engine and lower frame rails on my hydraulic table below, pumped up the table to mate the two parts. If no table you could lower the frame down with rope and pullies. Or just get an extra pair of hands!
Extra pair of hands, good old yarn, couple of hours & she’s on her wheels. I don’t have a bike lift, and whilst the rope & pulley approach is practical, it’s a lot more effort, and riskier for the bike, and the car with which it shares the garage. And can’t pass you the nut, screw & washer that you left on the other side of the bike…
Will get her running tomorrow, I hope.
Photos to follow
Cheers
Simon
My beautiful creation…. It lives!
Started second prod, needed the choke, pretty happy, there are a few things to fiddle with, for some reason the lights flash button causes the horns to honk, otherwise it’s pretty much there
Much less rattling, much smoother, much more even tick over, probably due to the camchain not flapping around…
Hopefully will get it finished, and have a ride on Sunday. If not, well, Monday then.
Cheers
Simon