My 1976 Le Mans 1 has a mix of two 38mm Brembo’s on the front with the paired left front and rear rear caliber oddly being a 48mm. For a reason I can’t fathom some idiot had loosened off all the caliber main assembly bolts, which explained all all leaked profusely when I bought the bike as a barn find.
Easy to source the 38mm service kits but a bit more tricky to find the 48mm. The original Brembo kit was available at £49, but after some searching on EBAY I found a 48mm Brembo kit used upon a Nissan 4 wheel drive. The seals were identical, but I have had to re-use the dust covers, but at £11 for the pair of seals a real bargain.
I have also serviced the Master cylinders. Finding instructions for the assembly and in particular how to properly insert the locking ring was not so easy. Anyway without a suitable size socket I knocked up a suitable driver tool on my lathe and used the tail stock to drive the lock ring in, but this could have been done with a bench pillar drill.
I have also made new brass bushes for the brake linkage at the back of the rear brakes master cylinder as the original mechanism was way too sloppy. All nice and tight now.
A Christmas present from my Wife was an Ultrasonic parts cleaner. Mine is a 2 litre capacity and is simply brilliant. Highly recommended for anyone restoring an old bike.
2 Likes
The larger rear caliper is probably a Brembo P9 caliper. This was used on the rear of the Spada models. Out of interest does your bike have a basic splitter or the proportioning valve from the Spada?
BMW used the larger P9 caliper on some of the boxer models and seal kits are available from the like of Motorworks etc.
A piece of 15mm copper pipe is good for fitting the lock ring in place.
Don
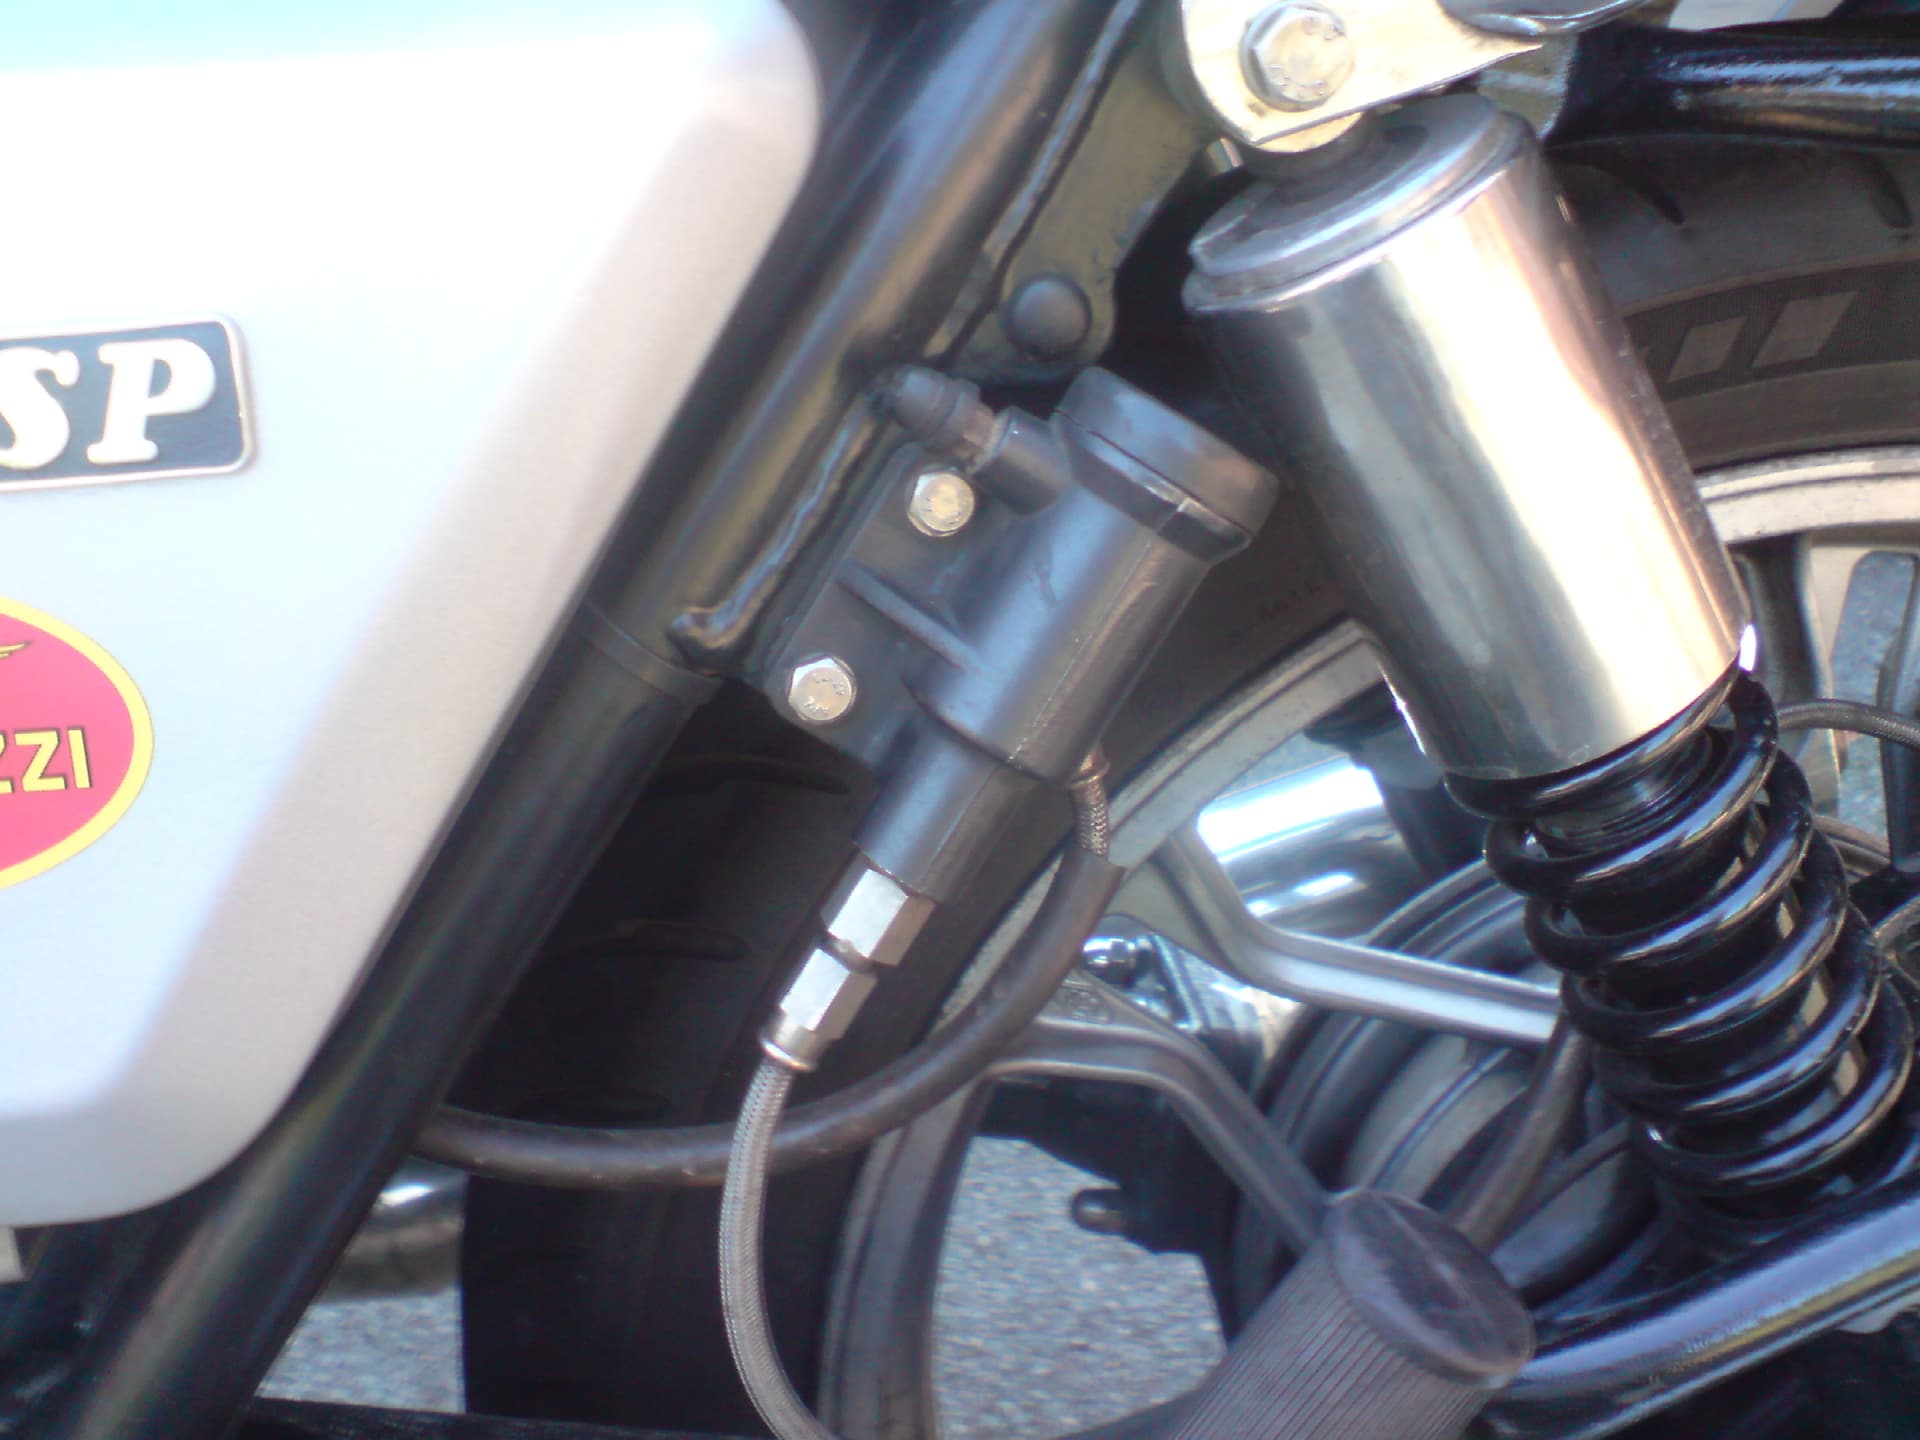
The Le Mans 1 had the proportioning valve for the left front an rear brakes. The set up is identical to my first Le Mans, which was a batch 2 (~1977 / 78 - S Reg RCU817S) with the elongated twin bulb tail light. I will put up a photo to check it is the proper proportioning valve.
The valve is ~ 3" long with a rounded top, 3 ports on the back and one at the base end - Rear brake, Brake Light Switch and Master connection then to Front brake from the bottom (at least I think that is the order).
The rear is a P9 caliper, and the kit from eBay had the same seals. The ones found were likely perfectly OK, but I wanted all new seals as a precaution, especially having found the brakes had been tampered with.
I’ve bought a vacuum purging kit to set the brakes up with a pair of check valves to attach next to the bleed valves. I have also greased the bleed nipples with copper slip as I recall finding these seized on my last Le Mans, and getting a snapped bleed nipple out can result in a wrecked caliper.
I’ve now made three special tools: one for each master cylinder and a special stud bar with one end turned down just below the thread with two locknuts to eject the rotor. I don’t like the method of inserting a short piece of rod and using the normal retaining bolt to eject the rotor - if the rotor is hard seized or locked tight onto the taper getting the rod back out can be a challenge. As it was mine came off with very light pressure.
This is the proportioning valve fitted to the Spada models, apparently it varies the forces to the front and back calipers depending on the brake pressure applied. The Le-Mans usually have a simple manifold that is empty inside and P8 calipers all round.
A good call on the tool for removing the rotor, I know from past experience that using a soft metal slug is not a good idea.
Mine does not look like that ! I was always under the impression the early Le Mans had proportional brakes left side, but I can’t remember where I got that from.
I do know that the very early batch 1 Le Mans did have a few differences to the later batch 2 (before the Le Mans 2 where considerable appearance changes were applied).
The most notable change was the rear light cover, with the earlier ones simply retaining the rounded back light from earlier models.
Don’s spot on here. The LM shouldn’t have a proportioning valve, but a straight manifold splitter. Brembo cast a part number into the outside; if you needed I could probably check what’s on mine, but it wouldn’t be immediate. It relied on getting the braking forces apportioned by varying the pad compound, with both linked calipers getting the same pressure. Brembo stopped doing the 330 and 332 different compounds sometime in the late '90s, I think. Everything just uses same pads now and it works fine. If you wanted, you could probably replicate the original set-up by using FA018 organic pads in the front left caliper ( that’s the one that should be linked to the back brake ) and FA018HH high friction in the back. Personally, I just put HH in all 'round and it works great.
Actually, I should throw in here, by the time the LM2 came along in '80, which was basically the same machine in a party dress, Guzzi had gone to using 332, high friction pads all around, still with the non-proportioning splitter manifold.
The pads that came with the bike are two different styles - same for the two front pairs and slightly different for the rear. All have plenty of meat on them and following the soaking with brake fluid from the idiot who loosened the caliper bolts they have spent several days in the parts cleaner with two sessions of ultrasonic at 75oC.
They are now all lovely and clean, but the cleaning fluid has stripped the paint off the matching pair backs. I have greased the backs of the pads where they bear against the pistons with copperslip to eliminate any screaming.
If they seem ineffective I will replace as suggested - I assume these are Gutsibits part numbers, but I ill need the slightly different ones for the P09 rear caliper.
I did not know Guzzi attained the original proportional braking by cheating with the Pad materials, so thanks for that. Likely better anyway to have a bit more rear end effort on the linked pair. Virtually every other bike in Christendom has 100% of the rear brake effort on the rear !
I will measure the rotor removal and piston insertion tools and knock up a simple drawing so others can make these if and when they so need. I will list a separate thread for that.
Gutsibits sell a tool for removing the rotor, ( ref TOA14008) as you say, far beter than a slug steel.
Master cylinder piston insertion tool. Andrew Jones of M’dina Italia used to include one in the order when you bought the repair kit from him. A short length of thin-walled steel tube. I think I only have one lying around in my special tools box.
Alternator rotor removal tool. I’ve heard loads of horror stories here, with pieces that aren’t hard/tough enough or cut down hi-tensile bolts ending up deforming inside the crank nose and requiring serious intervention to remove. I only ever use the piece of rod bought specifically for this purpose and haven’t had any trouble with it in 34 years, and it was pretty tight on at least one occasion. I like the look of Don’s Gutsibits tool if you want an all in one.