Love your Guzzi – Preventative maintenance. The short and the long of it.
Although I’m sure some of you ride all year round, for many of us Winter is the slack season for biking. Up here in Scotland it’s just that bit less pleasant a lot of the time through the winter and as I write, the roads have been covered in salt as we hit our first real cold spell this winter.
For those of you who have short attention spans and don’t need detail, I’m suggesting you take the opportunity to use the winter biking down time to do (or get done if you’re not a spannering fan) some preventative maintenance. Specifically, if you have bought a modern Guzzi in the last few years I would strongly advocate the following:
· Remove the bevel box and pull out the swing-arm to grease the swing-arm bearings and apply appropriate cardan spline lube to the shaft splines.
· Pull down the steering head and grease the steering head bearings.
· If you have a V100 assess the lateral float on the swingarm spindle once the wheel and suspension lower mount are removed.
I would have thought any local bike shop worth their salt should be able to do those things if you can’t or don’t want to yourself and based on my experience early intervention will save pain and cost in the medium to long term. As a ‘be good to the world’ side-effect, winter’s also local bike shop slack season, so giving them the work is doing us all a favour.
For those of you with the time and inclination, here is the long version.
I bought a V100 Mandello S new in November 2022, taking delivery in June 2023; I have over the intervening two and a half years had a love-hate relationship with this bike and I accept that in part this is a function of my own high expectations having paid out a fortune for a modern bike with a raft of additions and upgrades.
If you follow model specific forums on the club site or any of the facebook groups, there are plenty of folk bemoaning how things are put together and lack of dealer/factory support etc – I don’t want to get into that here, I’ve reached the point where I want it right, so I’m doing whatever needs doing to get it right.
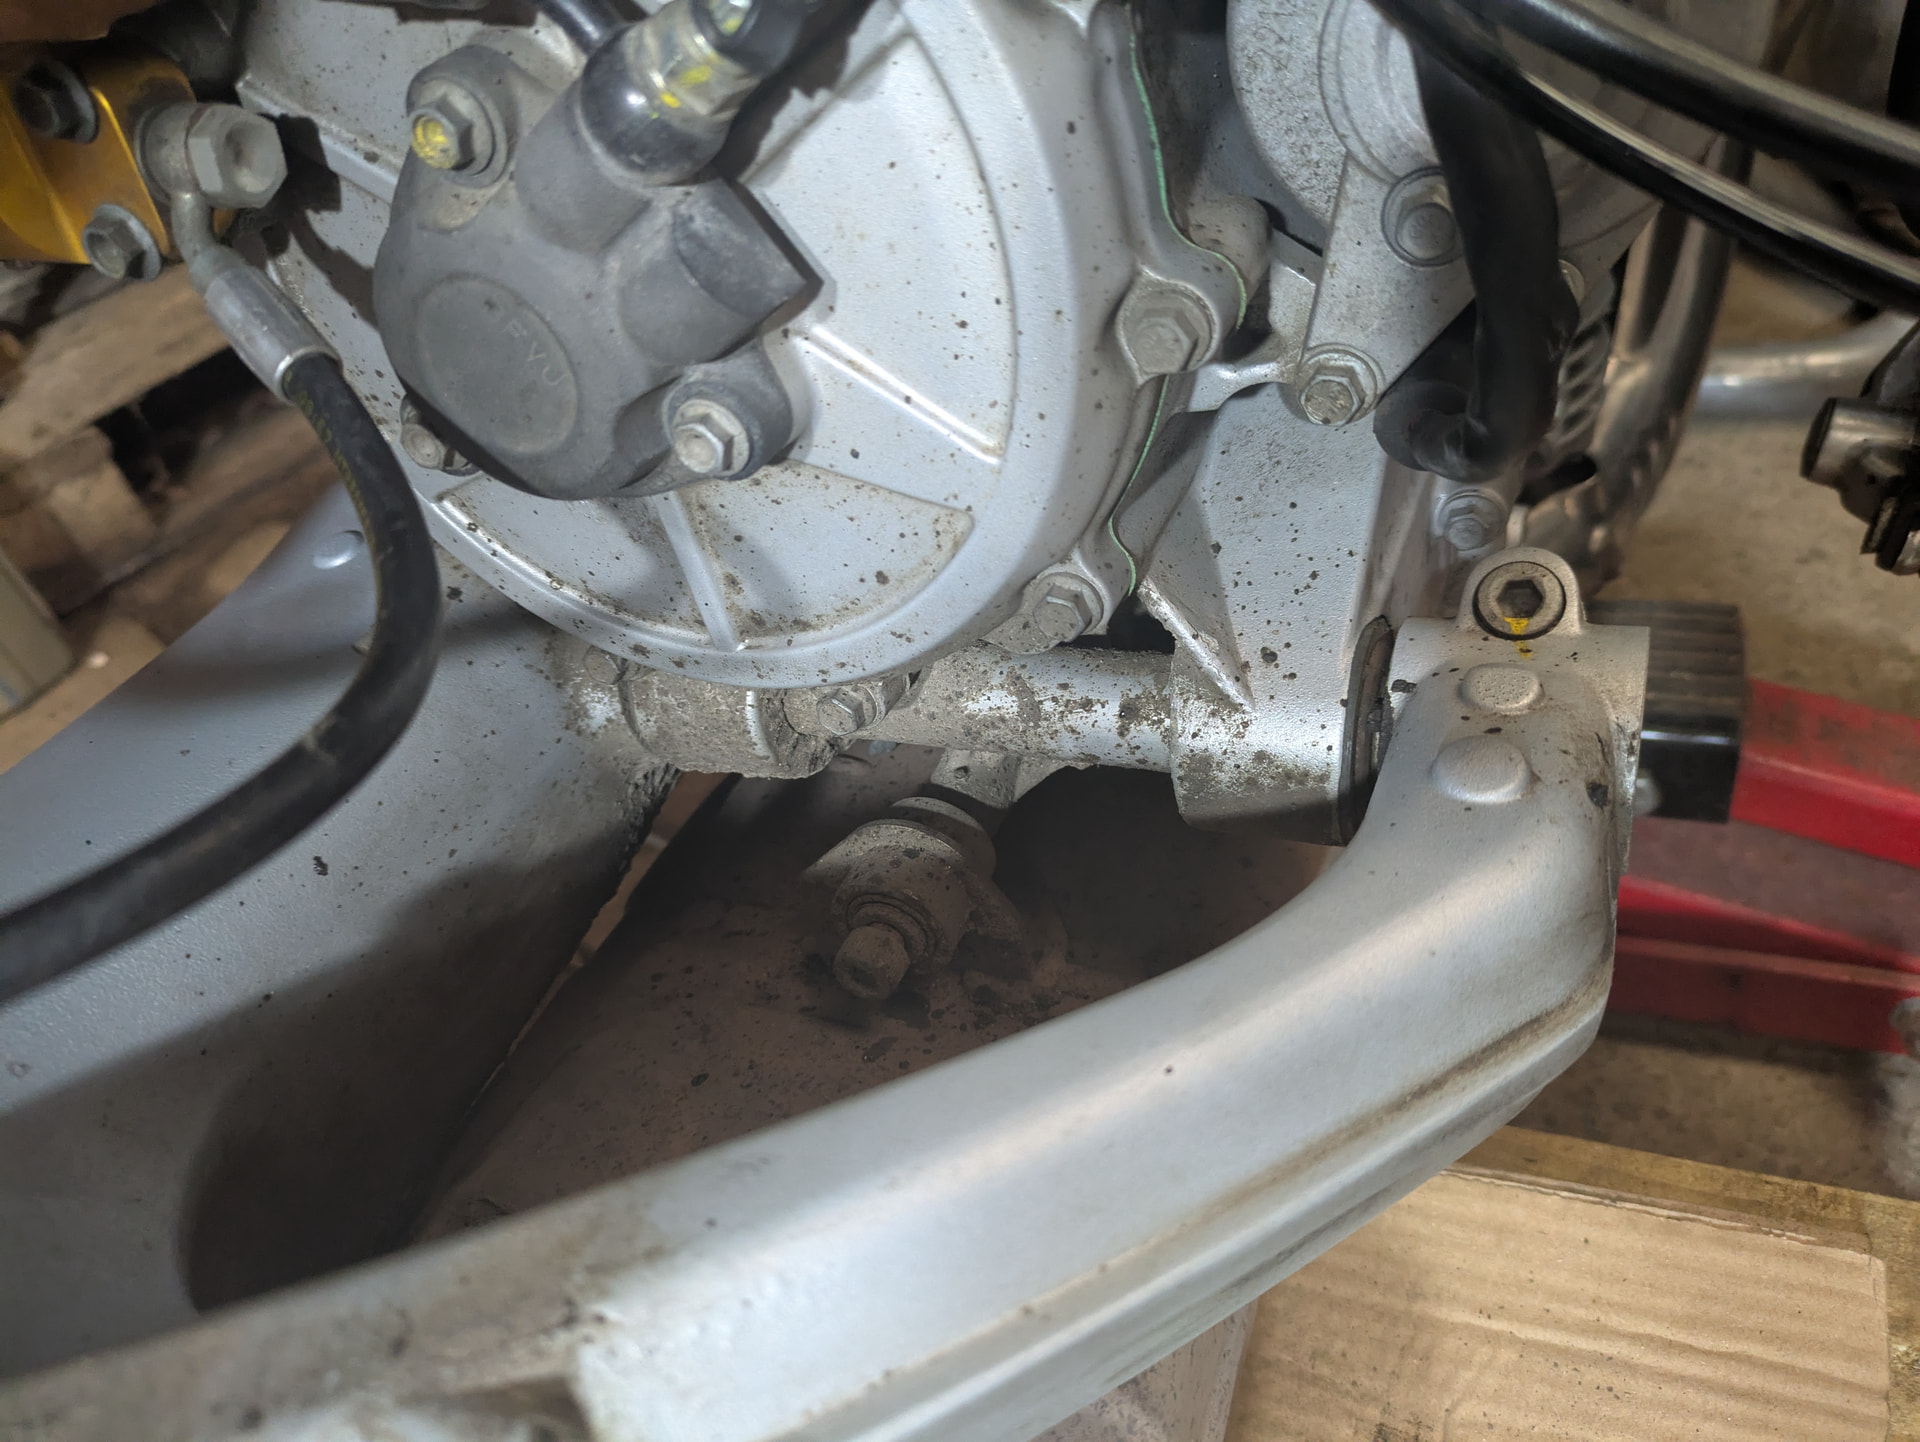
I’ve had the bike dealer serviced from new. In June 2025, 15,000 mile service I asked for them to check swing arm play, clearly they didn’t or didn’t know what they were looking for and said it was fine. Andy May and I had been comparing notes before this and he has already written an excellent article on this, look it up for detail. I appreciate non-V100 bikes may not have lateral play issues in the same way, but I had to shim out 1.0mm of lateral movement when I checked and then removed the swingarm. Best assessed with the rear wheel out, the lower suspension mount undone and shock swung out of the way. I rested the bevel box on an extension bar as a roller on top of an axle stand.
I can’t upload it here, but for anyone interested, I have a wee video clip showing the movement - it looks way more than a millimeter!
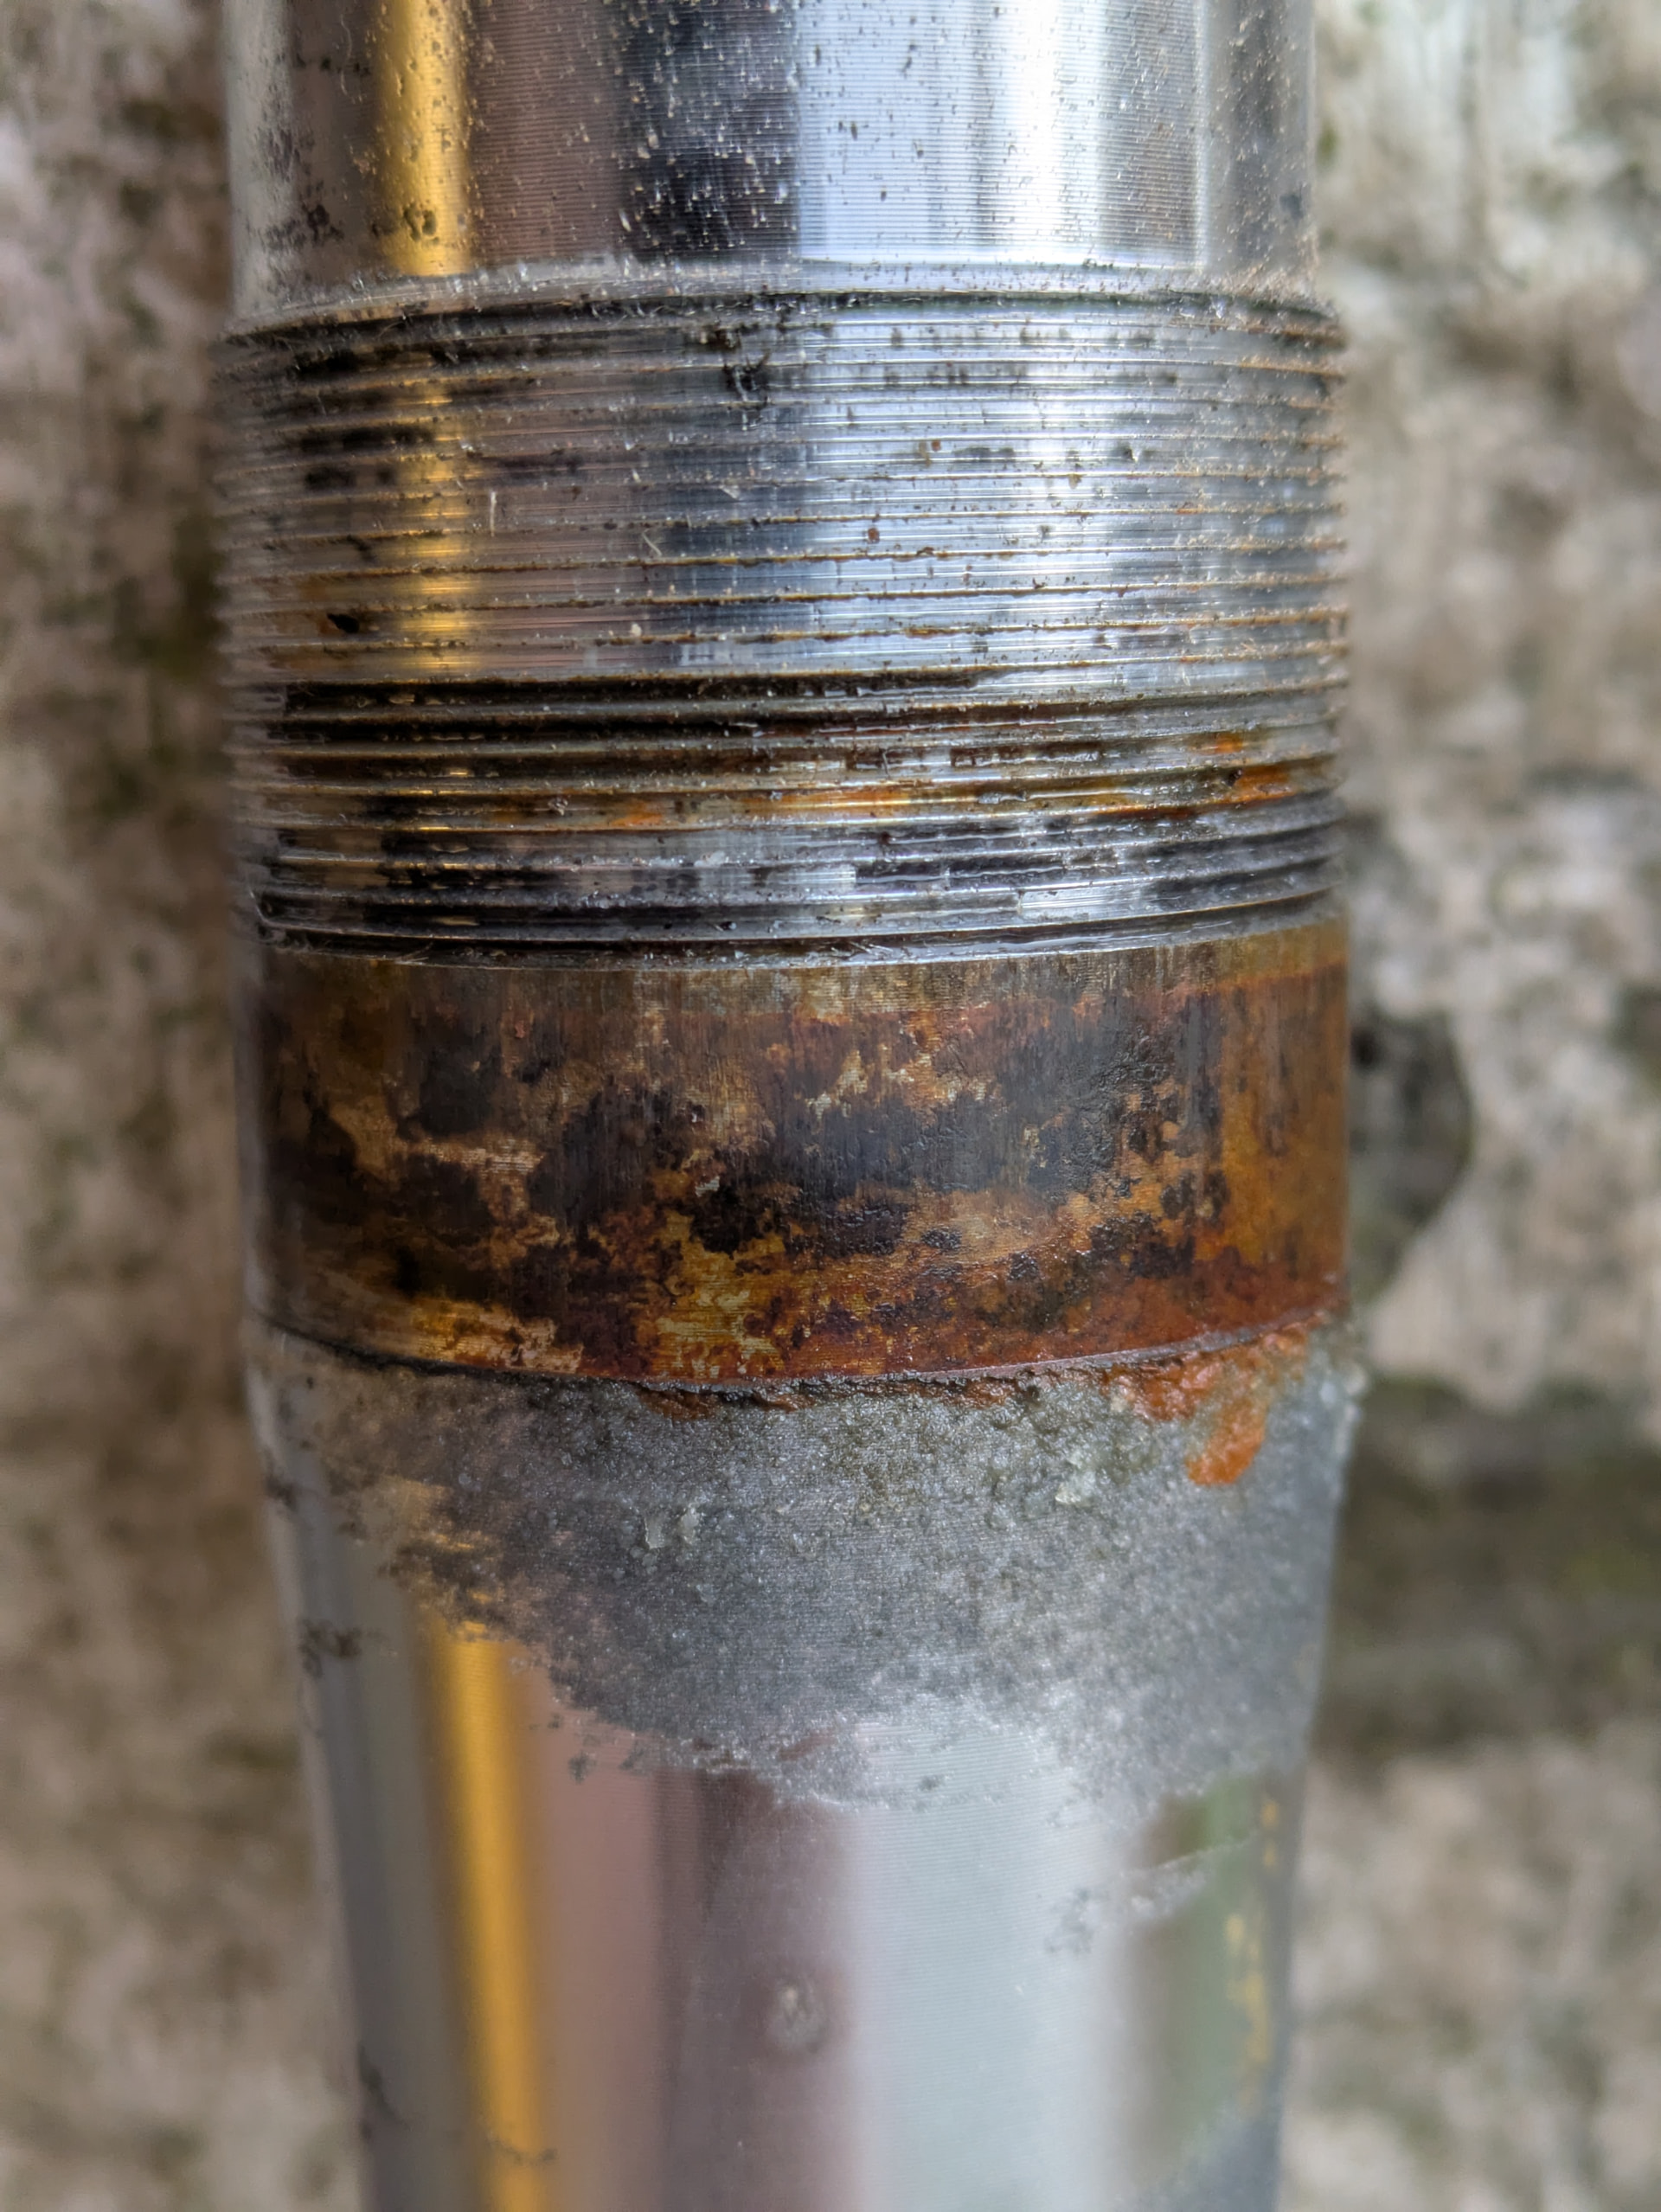
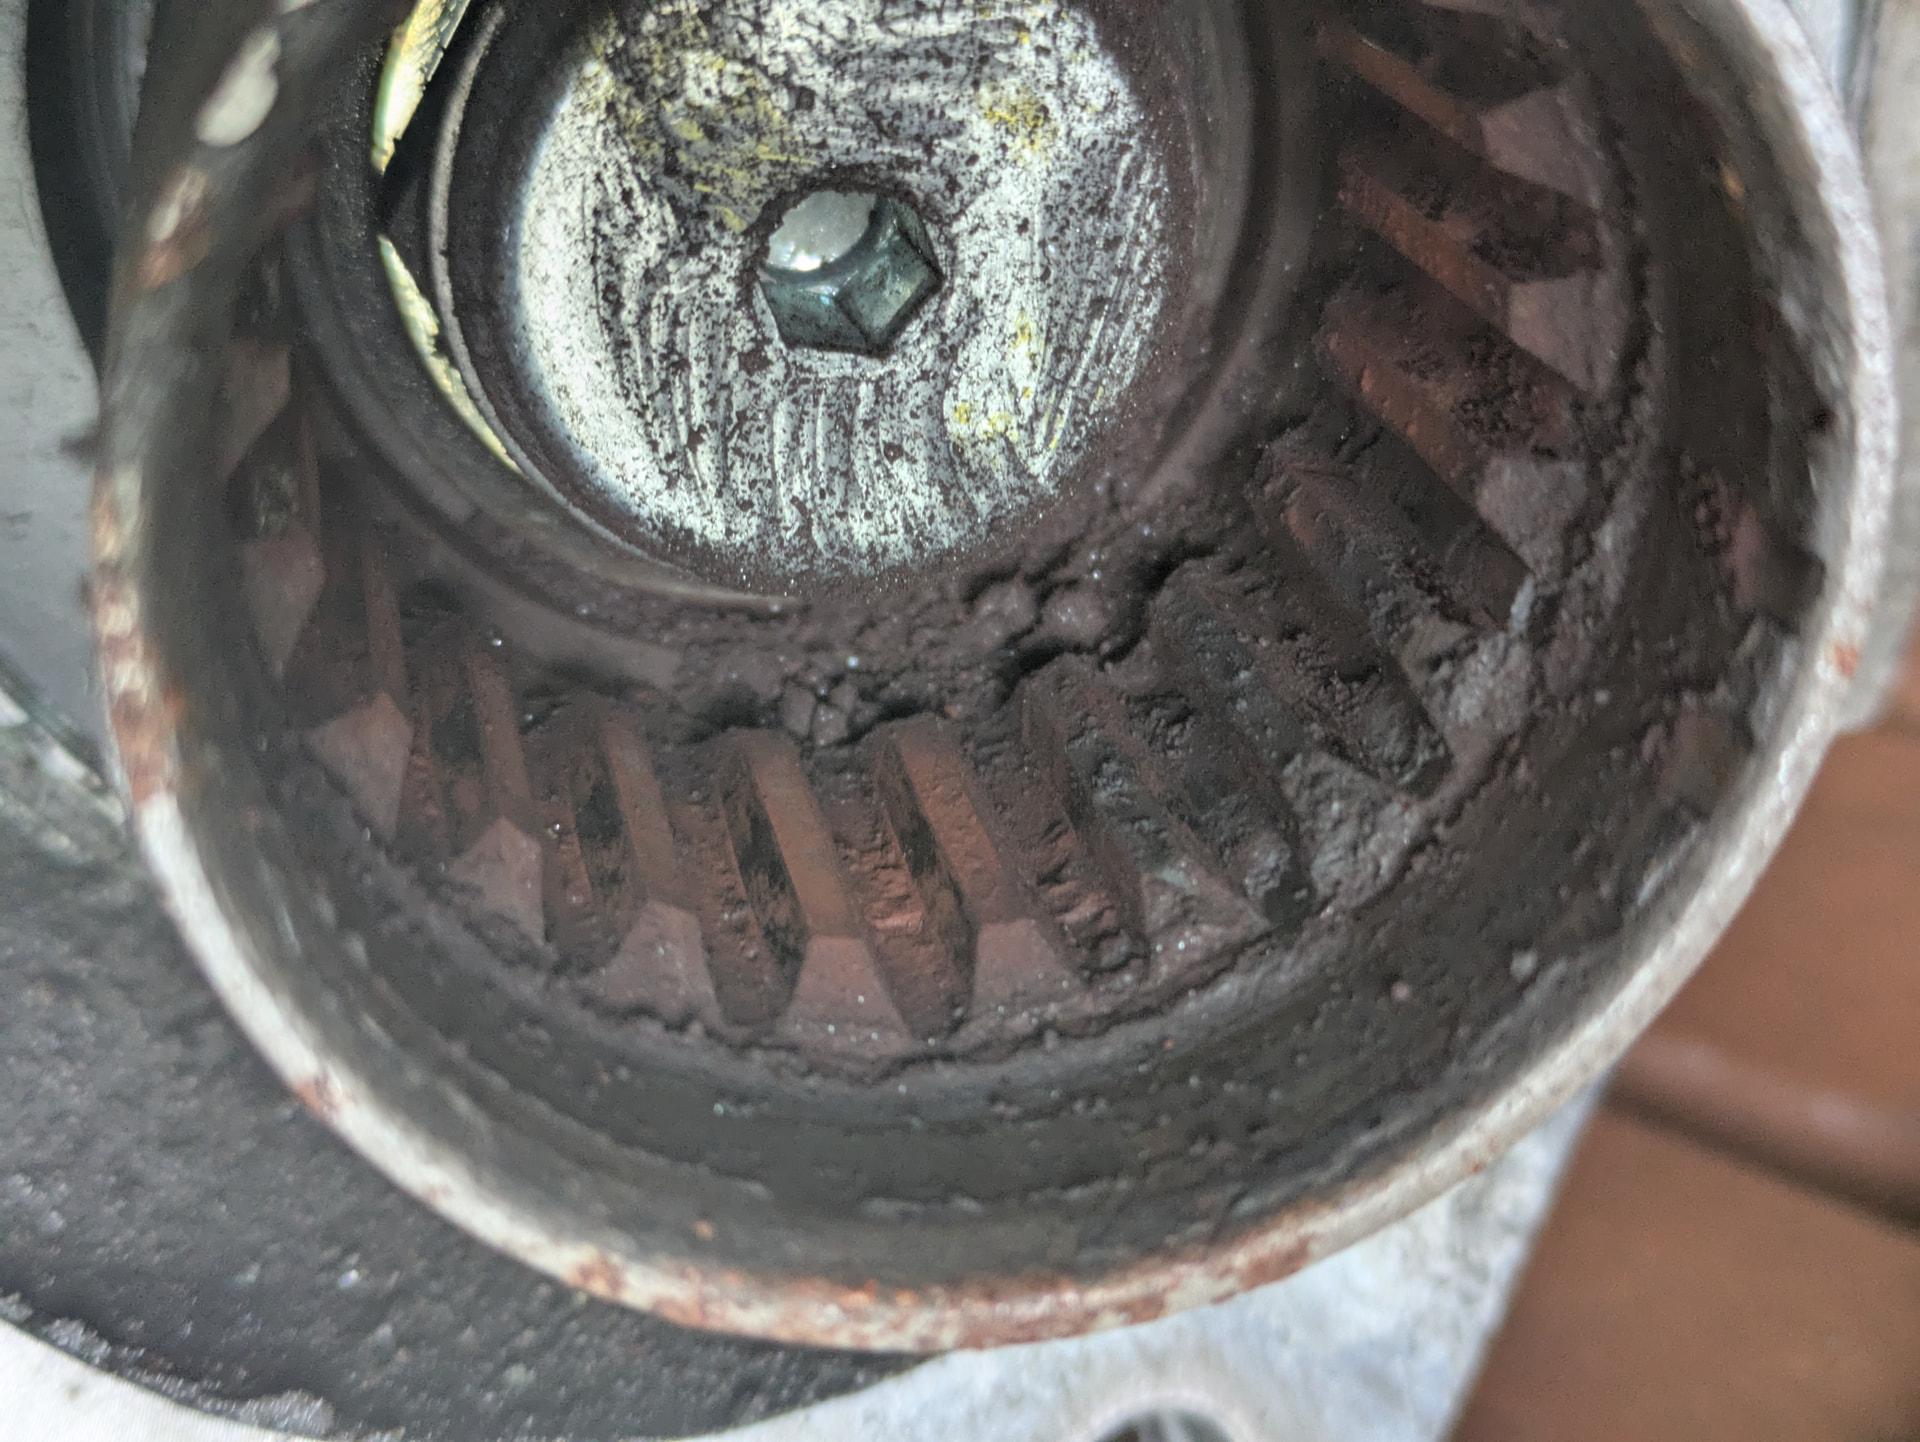
Equally important was the other issues I found – no grease on the swingarm bearings along with the drive shaft and bevel connection splines showing no lubrication and significant rust. This rust causes accelerated spline wear because the rust layer is softer than the steel. For the time and effort involved, it’s well worth a strip down, clean up and appropriate lubrication. The swingarm bearings were OK, but the spindle was already showing marks due to the bearings having no lubrication, I suspect these would become wear fairly quickly.
Having had a faulty fuel level sender since the summer, I got back from a long trip in October with a badly leaking fork seal. The dealer took the bike in and fixed both, but I also reported notchy steering and they declined that under warranty citing it is a wear item but acknowledging I had a problem.
I opted to check the steering head myself. When I started the strip down, it became apparent why early intervention is needed here, unless you have a rare bike with grease in it! I know the manual for the Mandello states a ridiculous torque value for the steering stem nut, but I had to buy an appropriate socket for the stem nut and then use an impact driver to get the nut undone. It looks to me that the steering stem in the Mandello is aluminium, irrespective of the material, the stem nut was corroded on, not just tight.
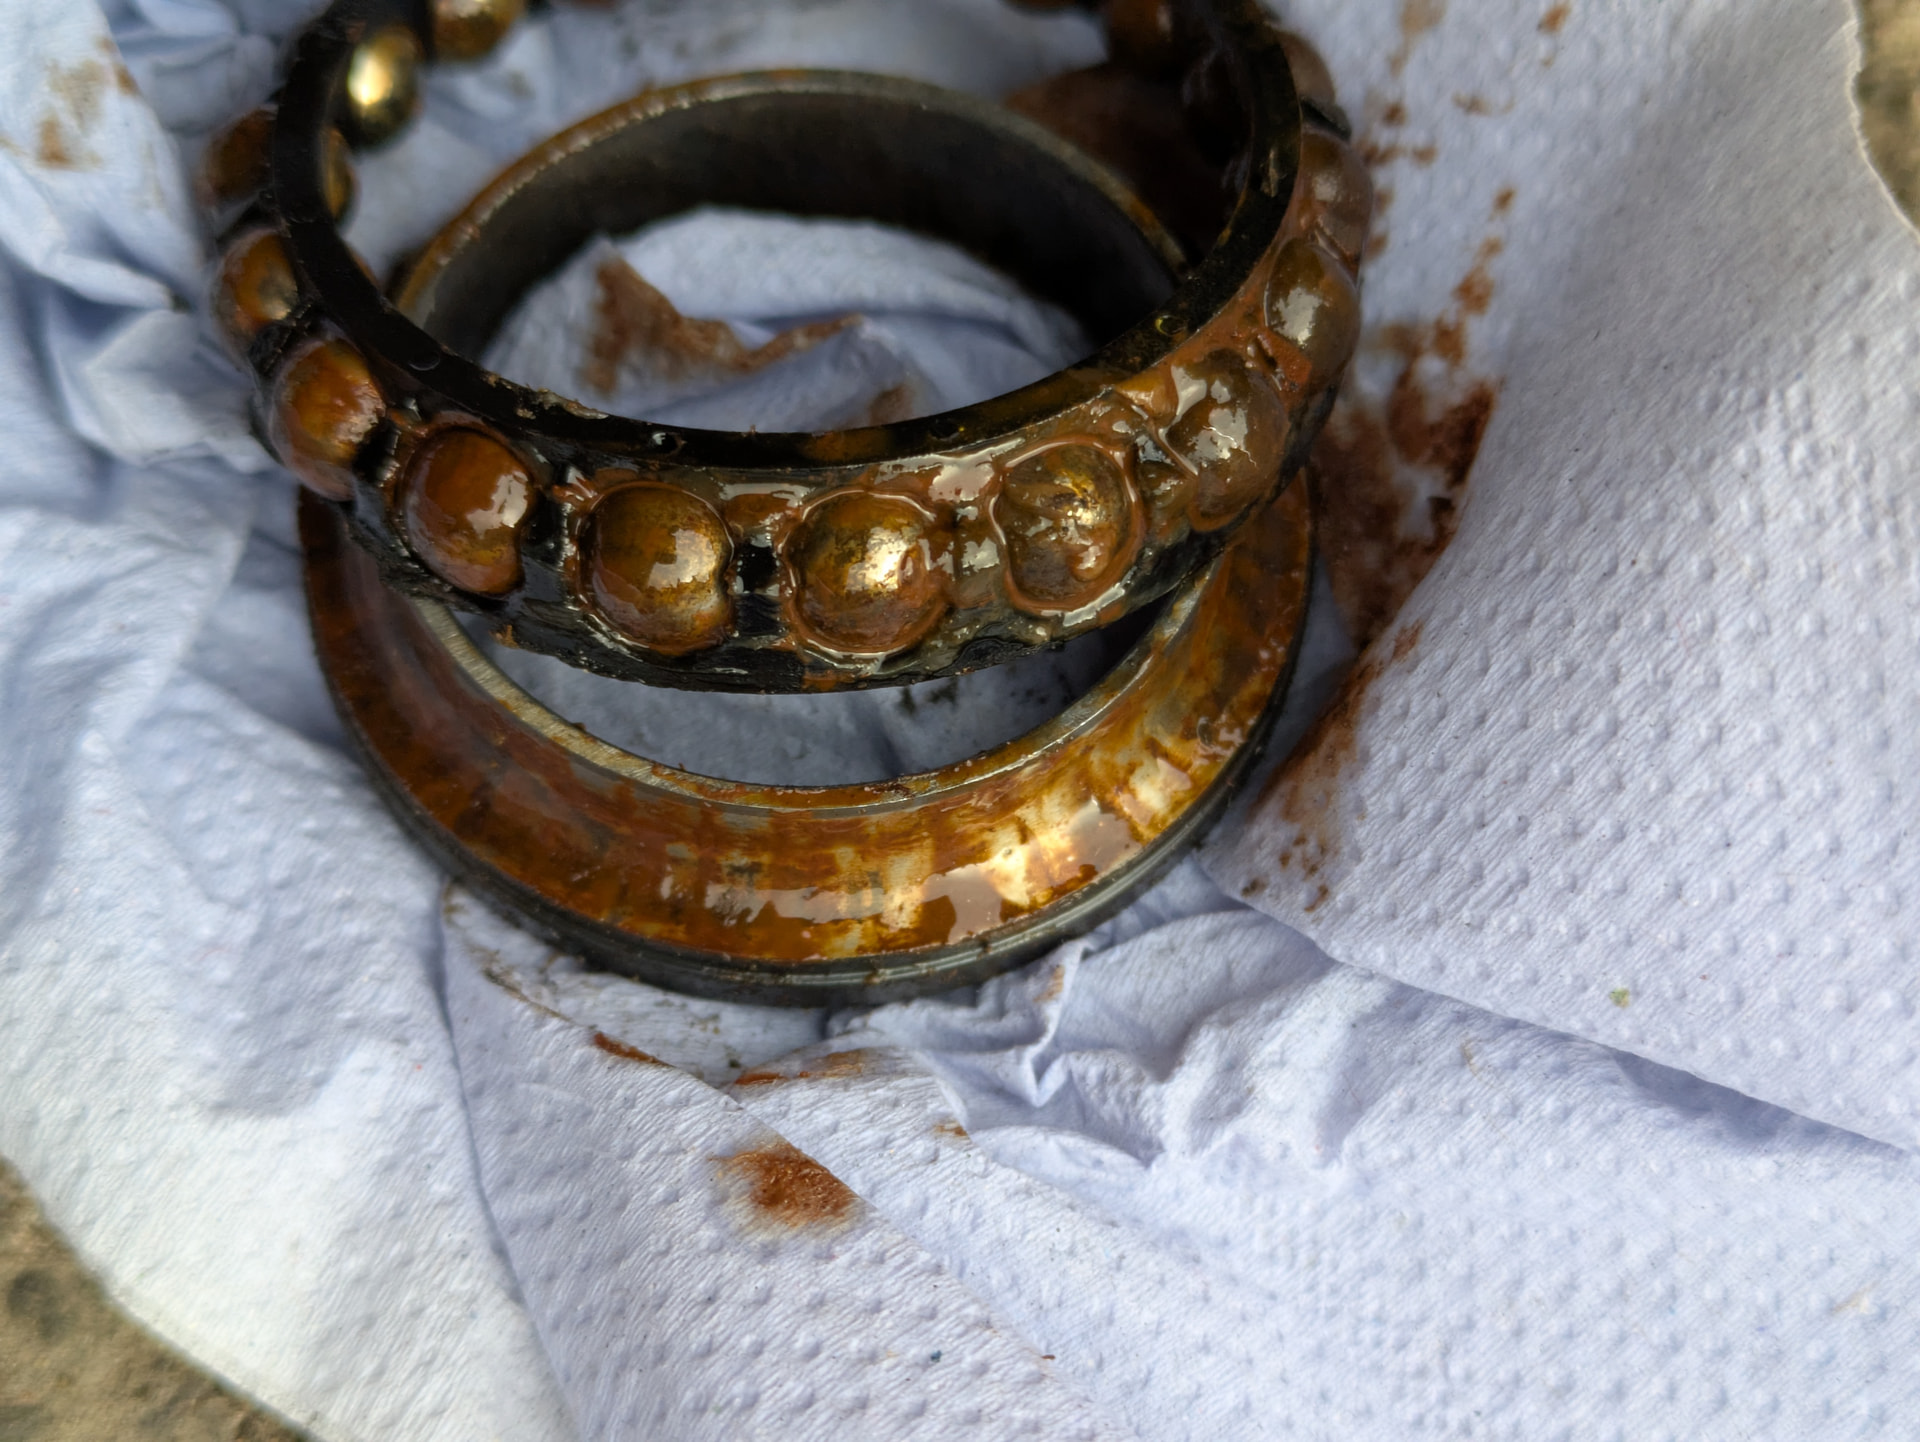
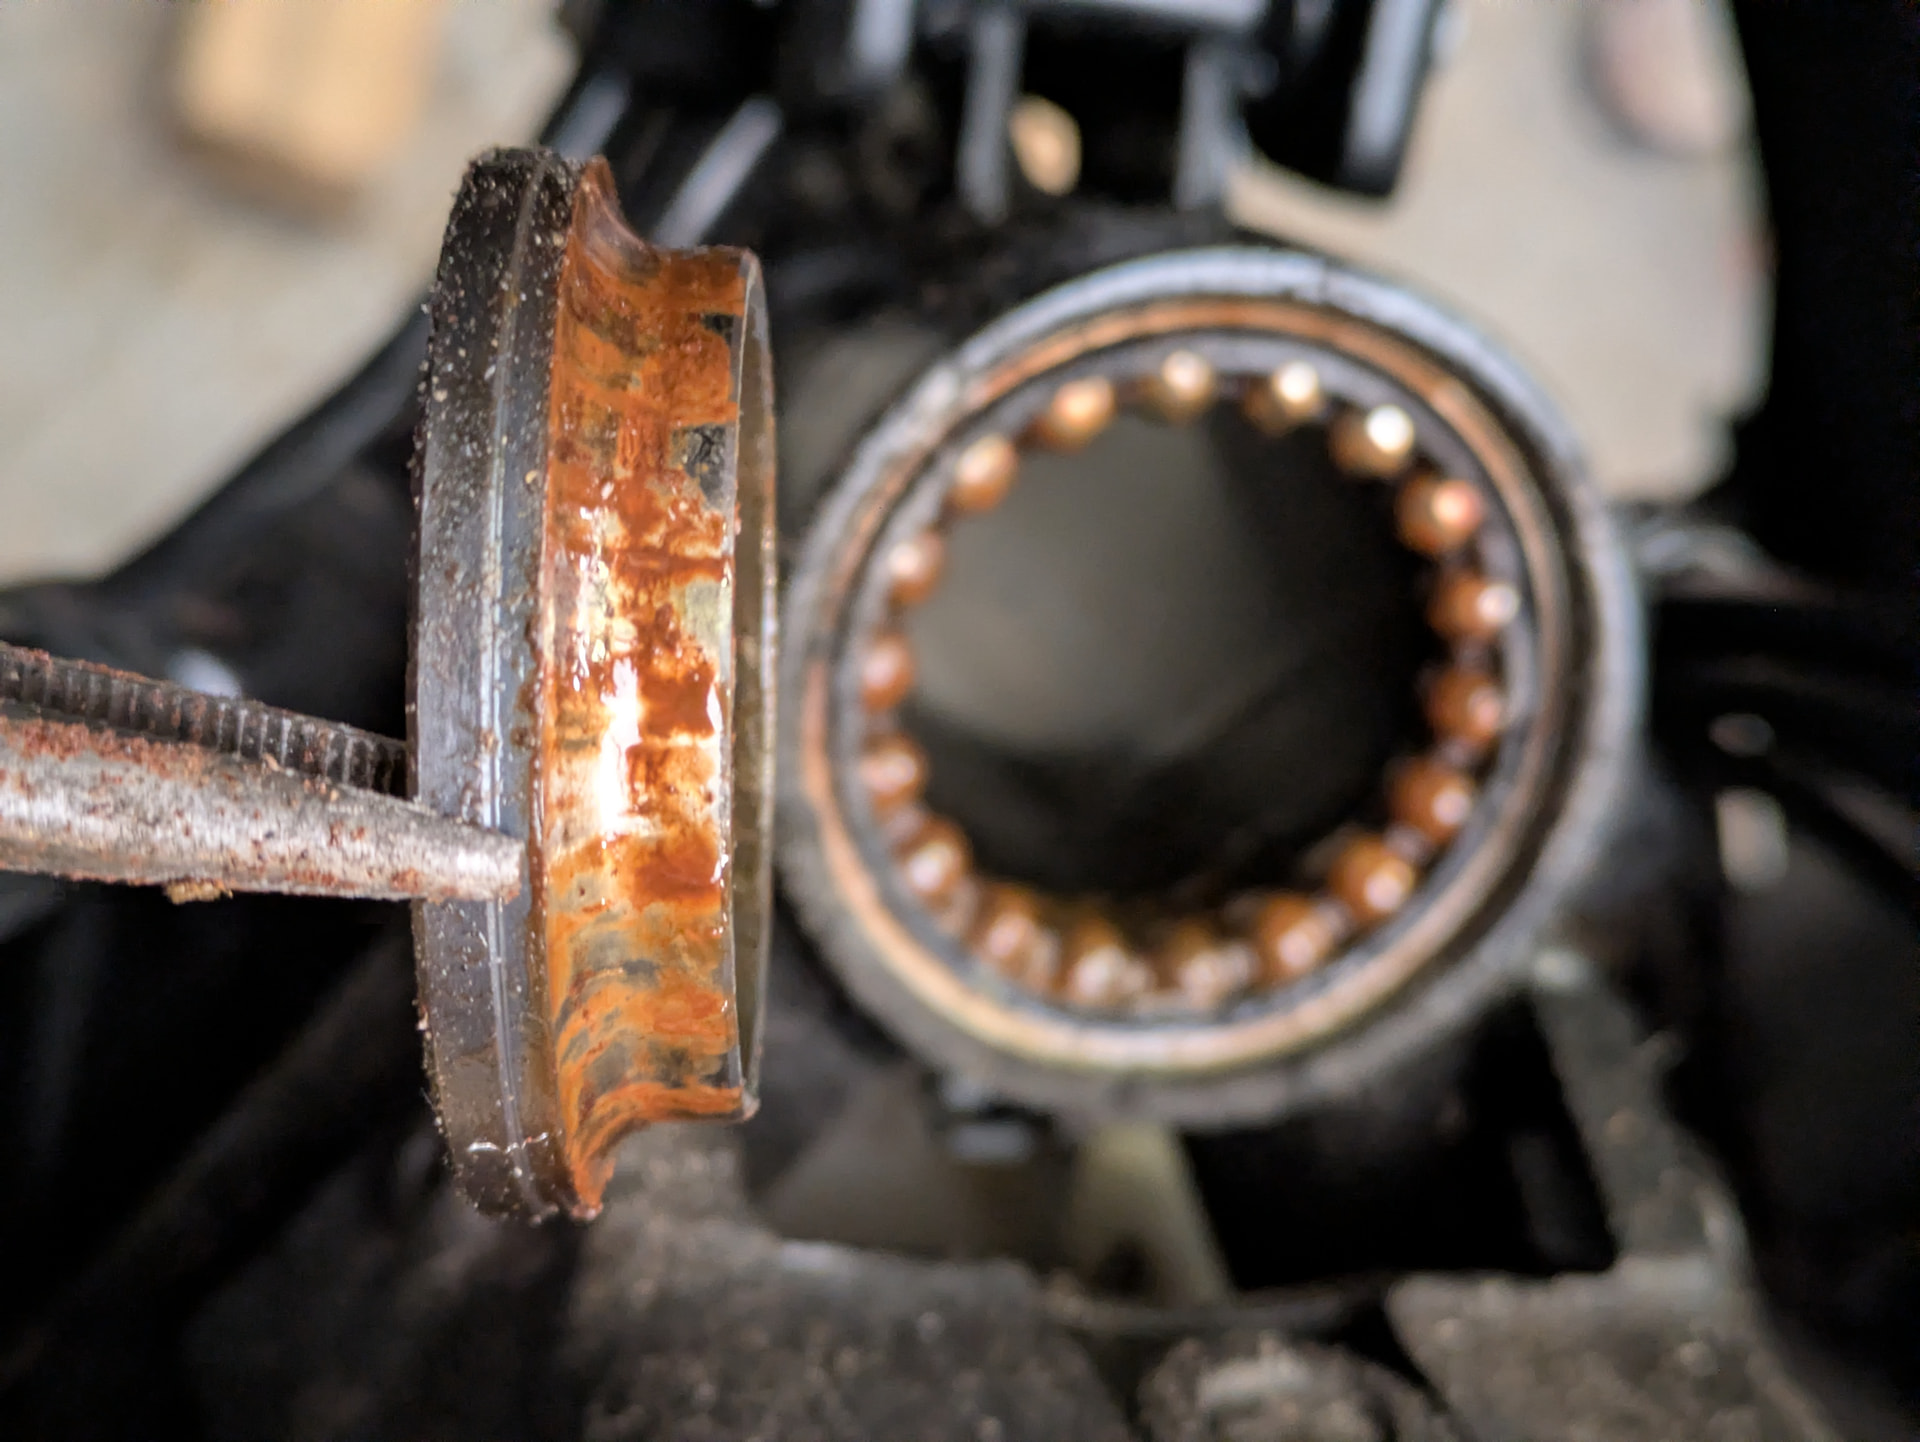
Unfortunately, this meant the top bearing inner race had also corroded onto the steering stem which would not drop out or knock out with a hefty rubber mallet. It took ten days of soaking in penetrating oil before it finally moved and only then as I lost patience and used a hardwood block and club hammer to drift it out. The top bearing set was horribly rusty and completely knackered to use a technical term, the lack of lubrication self-evident – not a hint of grease. The bottom race was less bad, but still beyond reuse.
I’ve changed a few steering head bearing sets in my time but this one was the most difficult to do due to the lack of clearance to get anything below the bearing seats in the headstock. I would strongly advise taking the bike to a workshop and getting them to do the job if your bearings need replacing.
If I can upload them, I’ll add a few photos of the various elements as I found them.
Having done the jobs myself, I now have confidence that the various components are appropriately lubricated and know their condition, which will give me some peace of mind going forwards and hopefully fewer issues in the medium to long term.
If anyone wants me to go into further detail/specifics as relate to the Mandello, feel free to drop me a message and I’ll do what I can.

 More than likely to happen I’m sure but not until the thermometer starts to impress me a little more. I’m not as weatherproof as I used to be!
 or Peterhead as the rest of the world calls it!