Basically have been working through my charging system (1979 sp1000) due to the charging light not going out, and no charge at battery terminals. I concluded, with help of multimeter, that rotor was duff (open circuit), and also that the rectifier was damaged beyond use, as when using the ohm meter setting, again I was getting open circuit on the diodes in both directions .
I did think it odd that both might let go at the same time, unless one failure caused the other.
As a confirmation, I made a test lamp through a 12v battery, and results would say that the board is functioning as it should. Should I chuck my multimeter, or is there a rationale for this?
It is my understanding that the voltage and currents passed by a standard multimeter are too low for the diodes on a 12v bridge rectiier to switch on properly. So ignore those results.
The 12v battery and bulb is the correct way of testing it
Cheers don, think I’ve identified the problem my issue seems to be that my multimeter wasn’t being much help on the rectifier, which I was finding confusing, however a test lamp gave more useful results. Going to go through all the connectors and cables as thoroughly as I can and hopefully, once I’ve put a new rotor in, should be good to go. Hopefully!
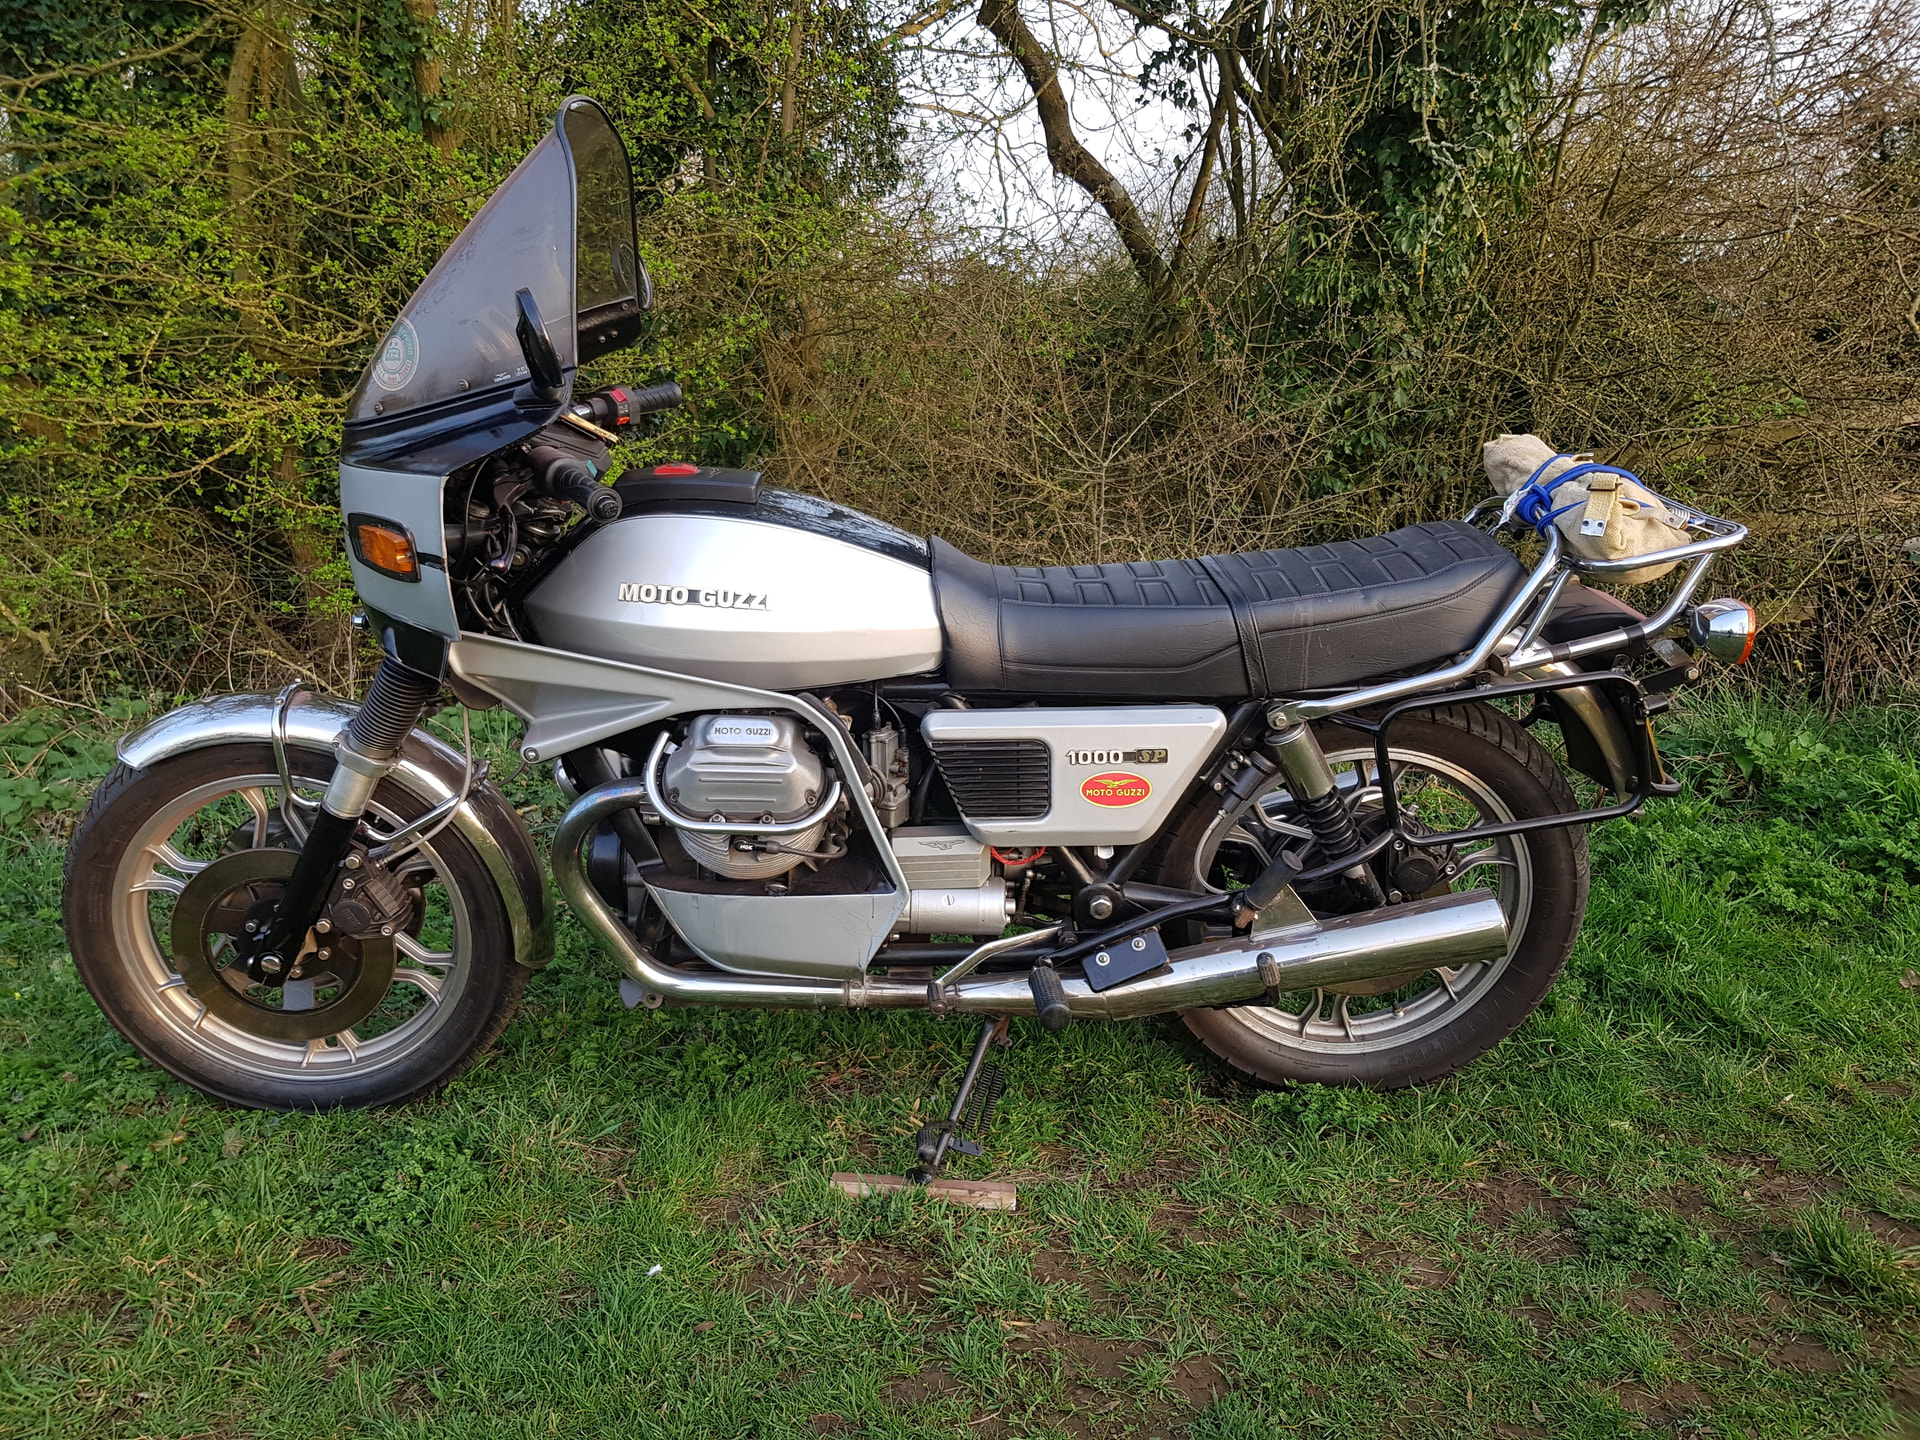
I’ve only had the bike a few months and am very fond of it, am using this winter to adapt it to my preferences. Next job may be to find more room for my pillion, initially by fitting more horizontal silencers so the footrests can be lowered for her. A longer seat would be nice, but may be impractical. She seems more comfortable on my ‘49 AJS however!
One last thing to check on these crank speed alternators. I have encountered two cases where the alternator rotor was not straight on the crank and as it spun above 3-4,000 rpm it was flinging the brushes off the rotor - losing power and the charge rate plummeted to zero. So it is worth using a pointy tool to ensure that there is little or no “wobble” at the commutator
From a look at your previous posts, you have an early SP1000 a bit like mine.
Moto Guzzi used the same big block motor and frame in many different guises and so you can mix and match to suit what you want. A Spada can fairly easily be changed into a T3 or a california or even a leMans by changing a few components.
The T3 footrests and silencers would drop the pillion footrests down a bit, they were also used on the later SP1000NT from about 1981 or so. Mine had them fitted when I bought it many years ago, but I swapped them back for the upswept exhausts.
I’ve been thinking about alternative bracketry, even thought about fabricating brackets myself, given the variable prices for second hand items . Also the issue of needing different control levers. Might wait for the Scottish rally to have a look at other riders bikes.
Update……new rotor fitted, all electrics inspected and cleaned up, and bike is now charging well.
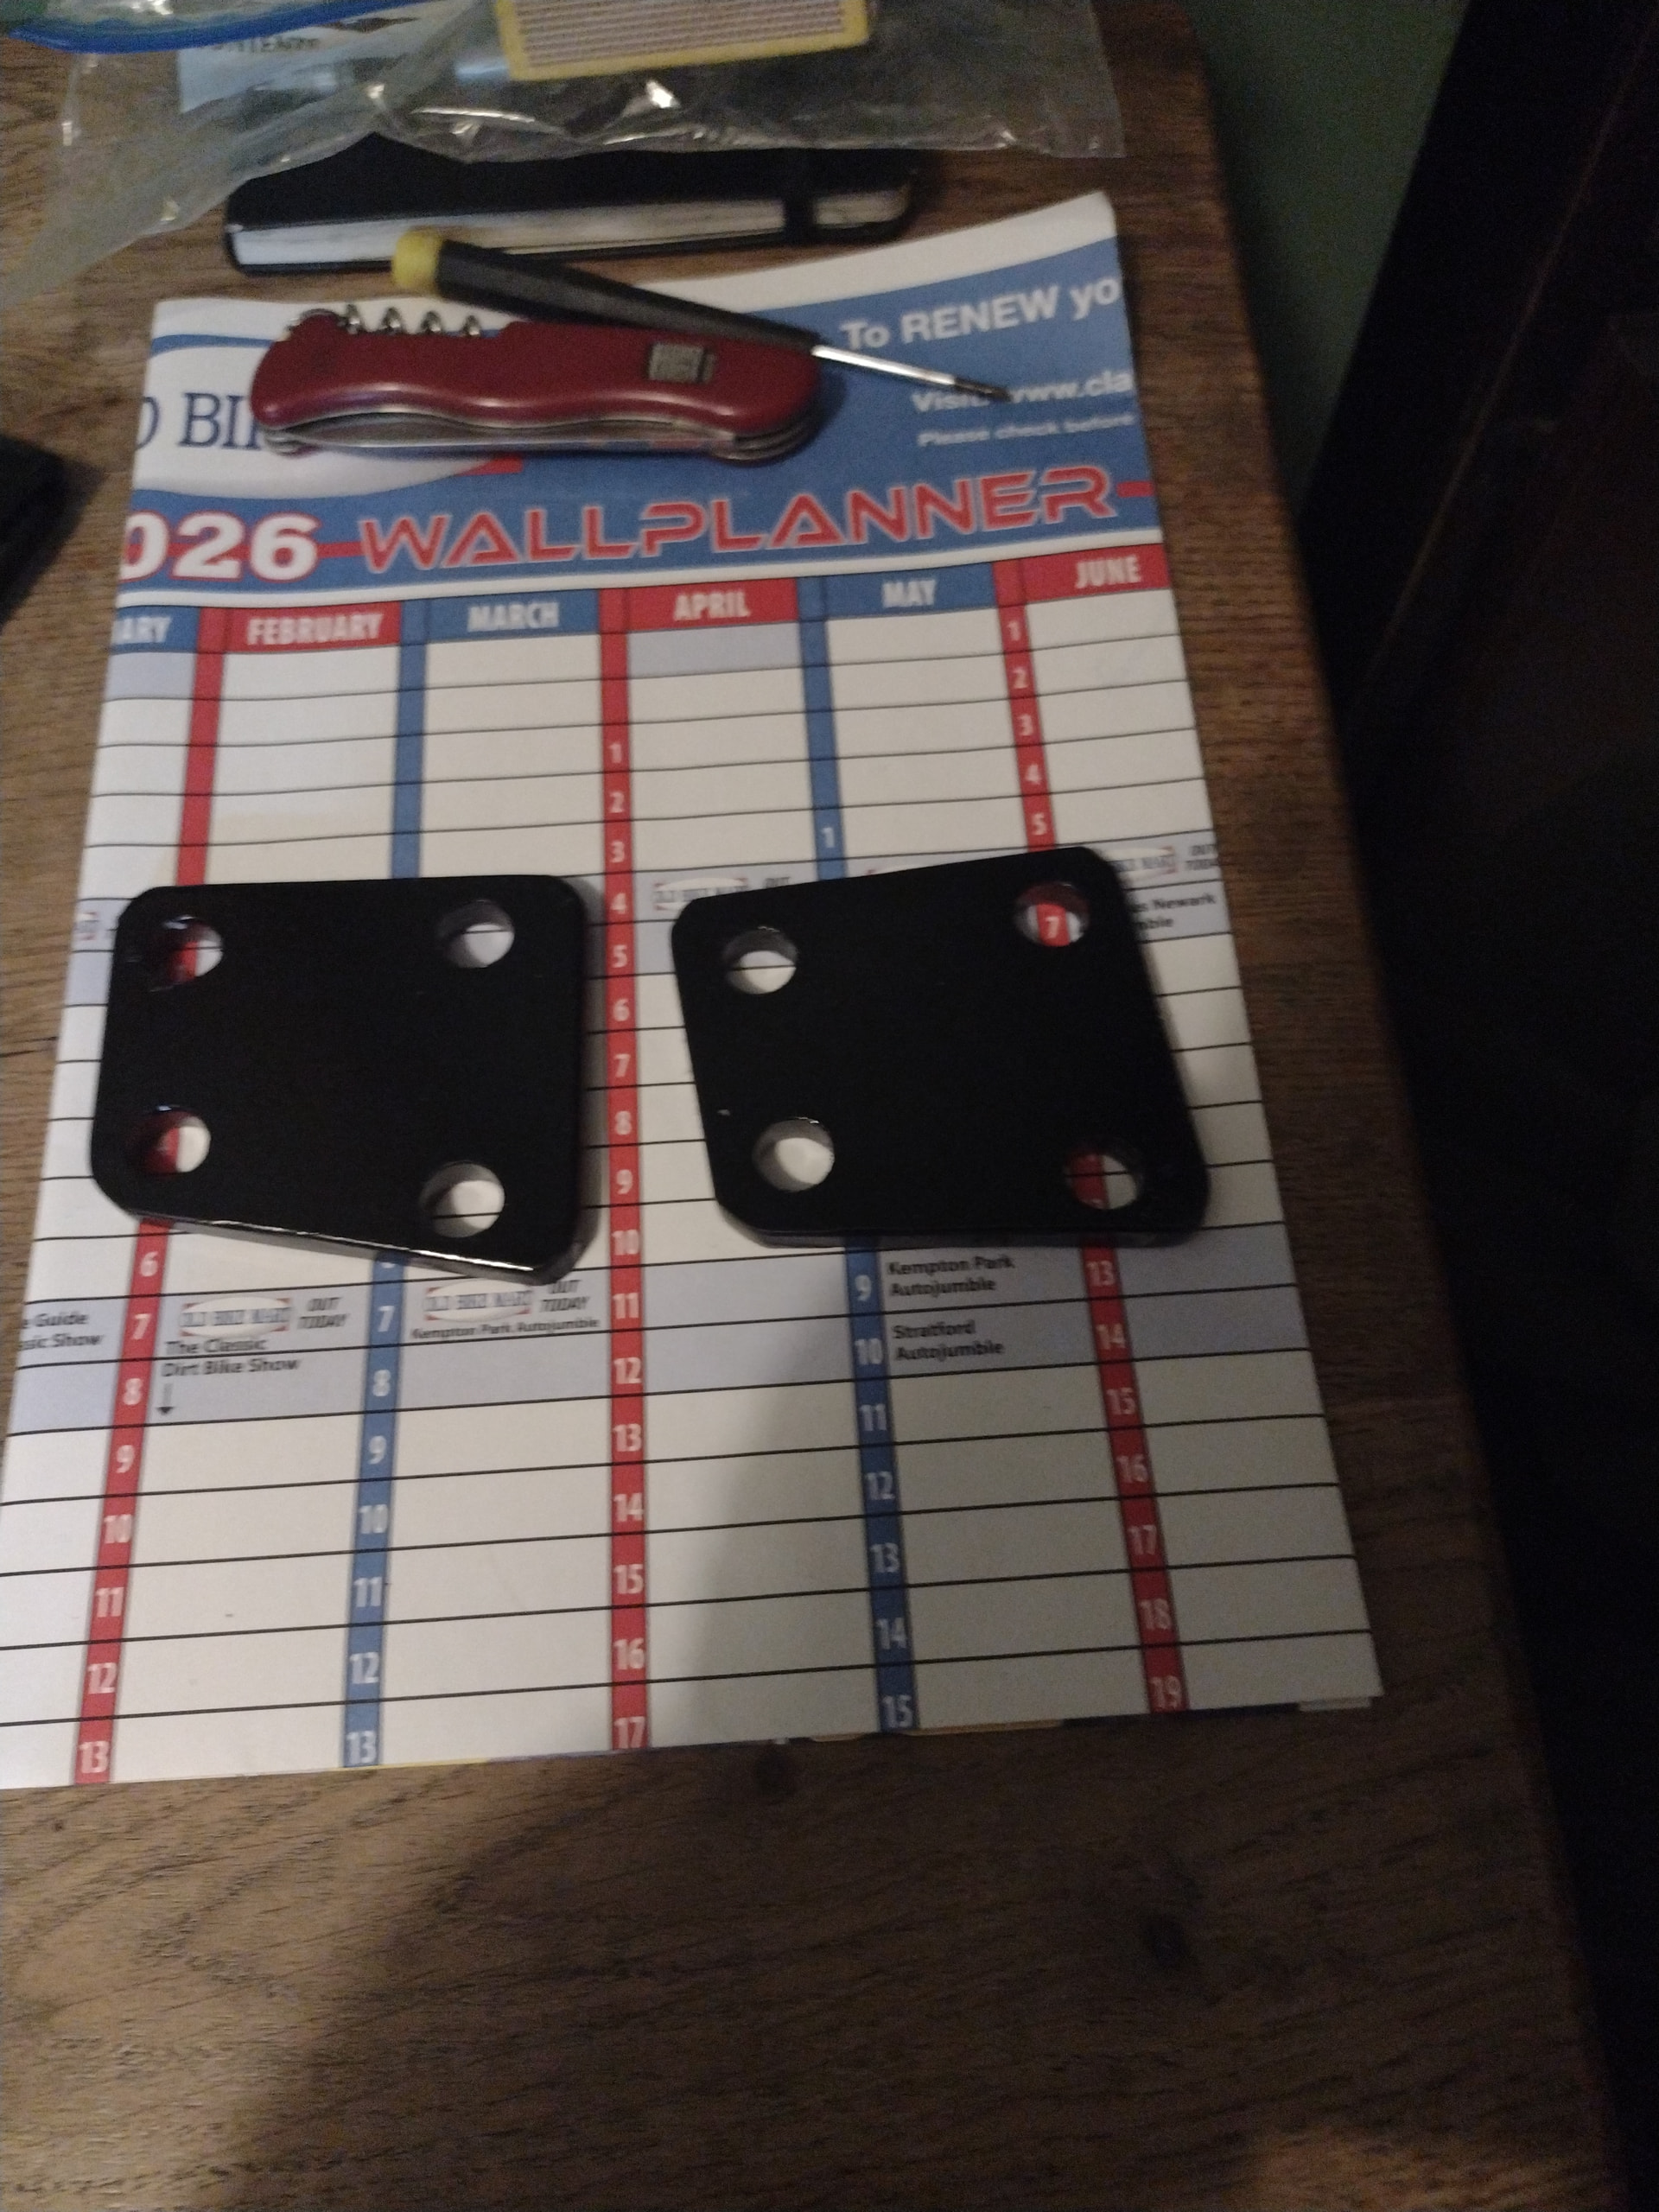
Regarding riding/pillion comfort, have bought a cheap set of dunstall knock offs, which will allow the pillion rests to be lowered.
Then procured some nice 6mm plate (a bit over the top, but it was the nearest to what I wanted) and made two plates which drop the pillion rests, but keep mine in the same position relative to the foot controls. Let’s see how that goes!