First time for the Stelvio 1200 8v, I’ve done my Griso once, and V85 a few times (which sold yesterday )
Mostly pretty straightforward as far as I got, but what a faff getting the silly plastic sump guard off to access the oil filter. Actually the faff was getting it back on. It’s the poorly fitting crash bars what done it. Checking tappets, going for a ride then draining all the oils, oil filter and refilling everything took about 2-3 hours all in. I then spent another 3 hours getting the crash bars back on. Nothing quite lines up, threads are sloppy and weak from bolts being forced in as well as bolts being slightly too short and every one a different size hex head. Slightly longer bolts installed but I’m worried. Rear master cylinder needs moving, along with horn and the starter motor cover. What a marathon.
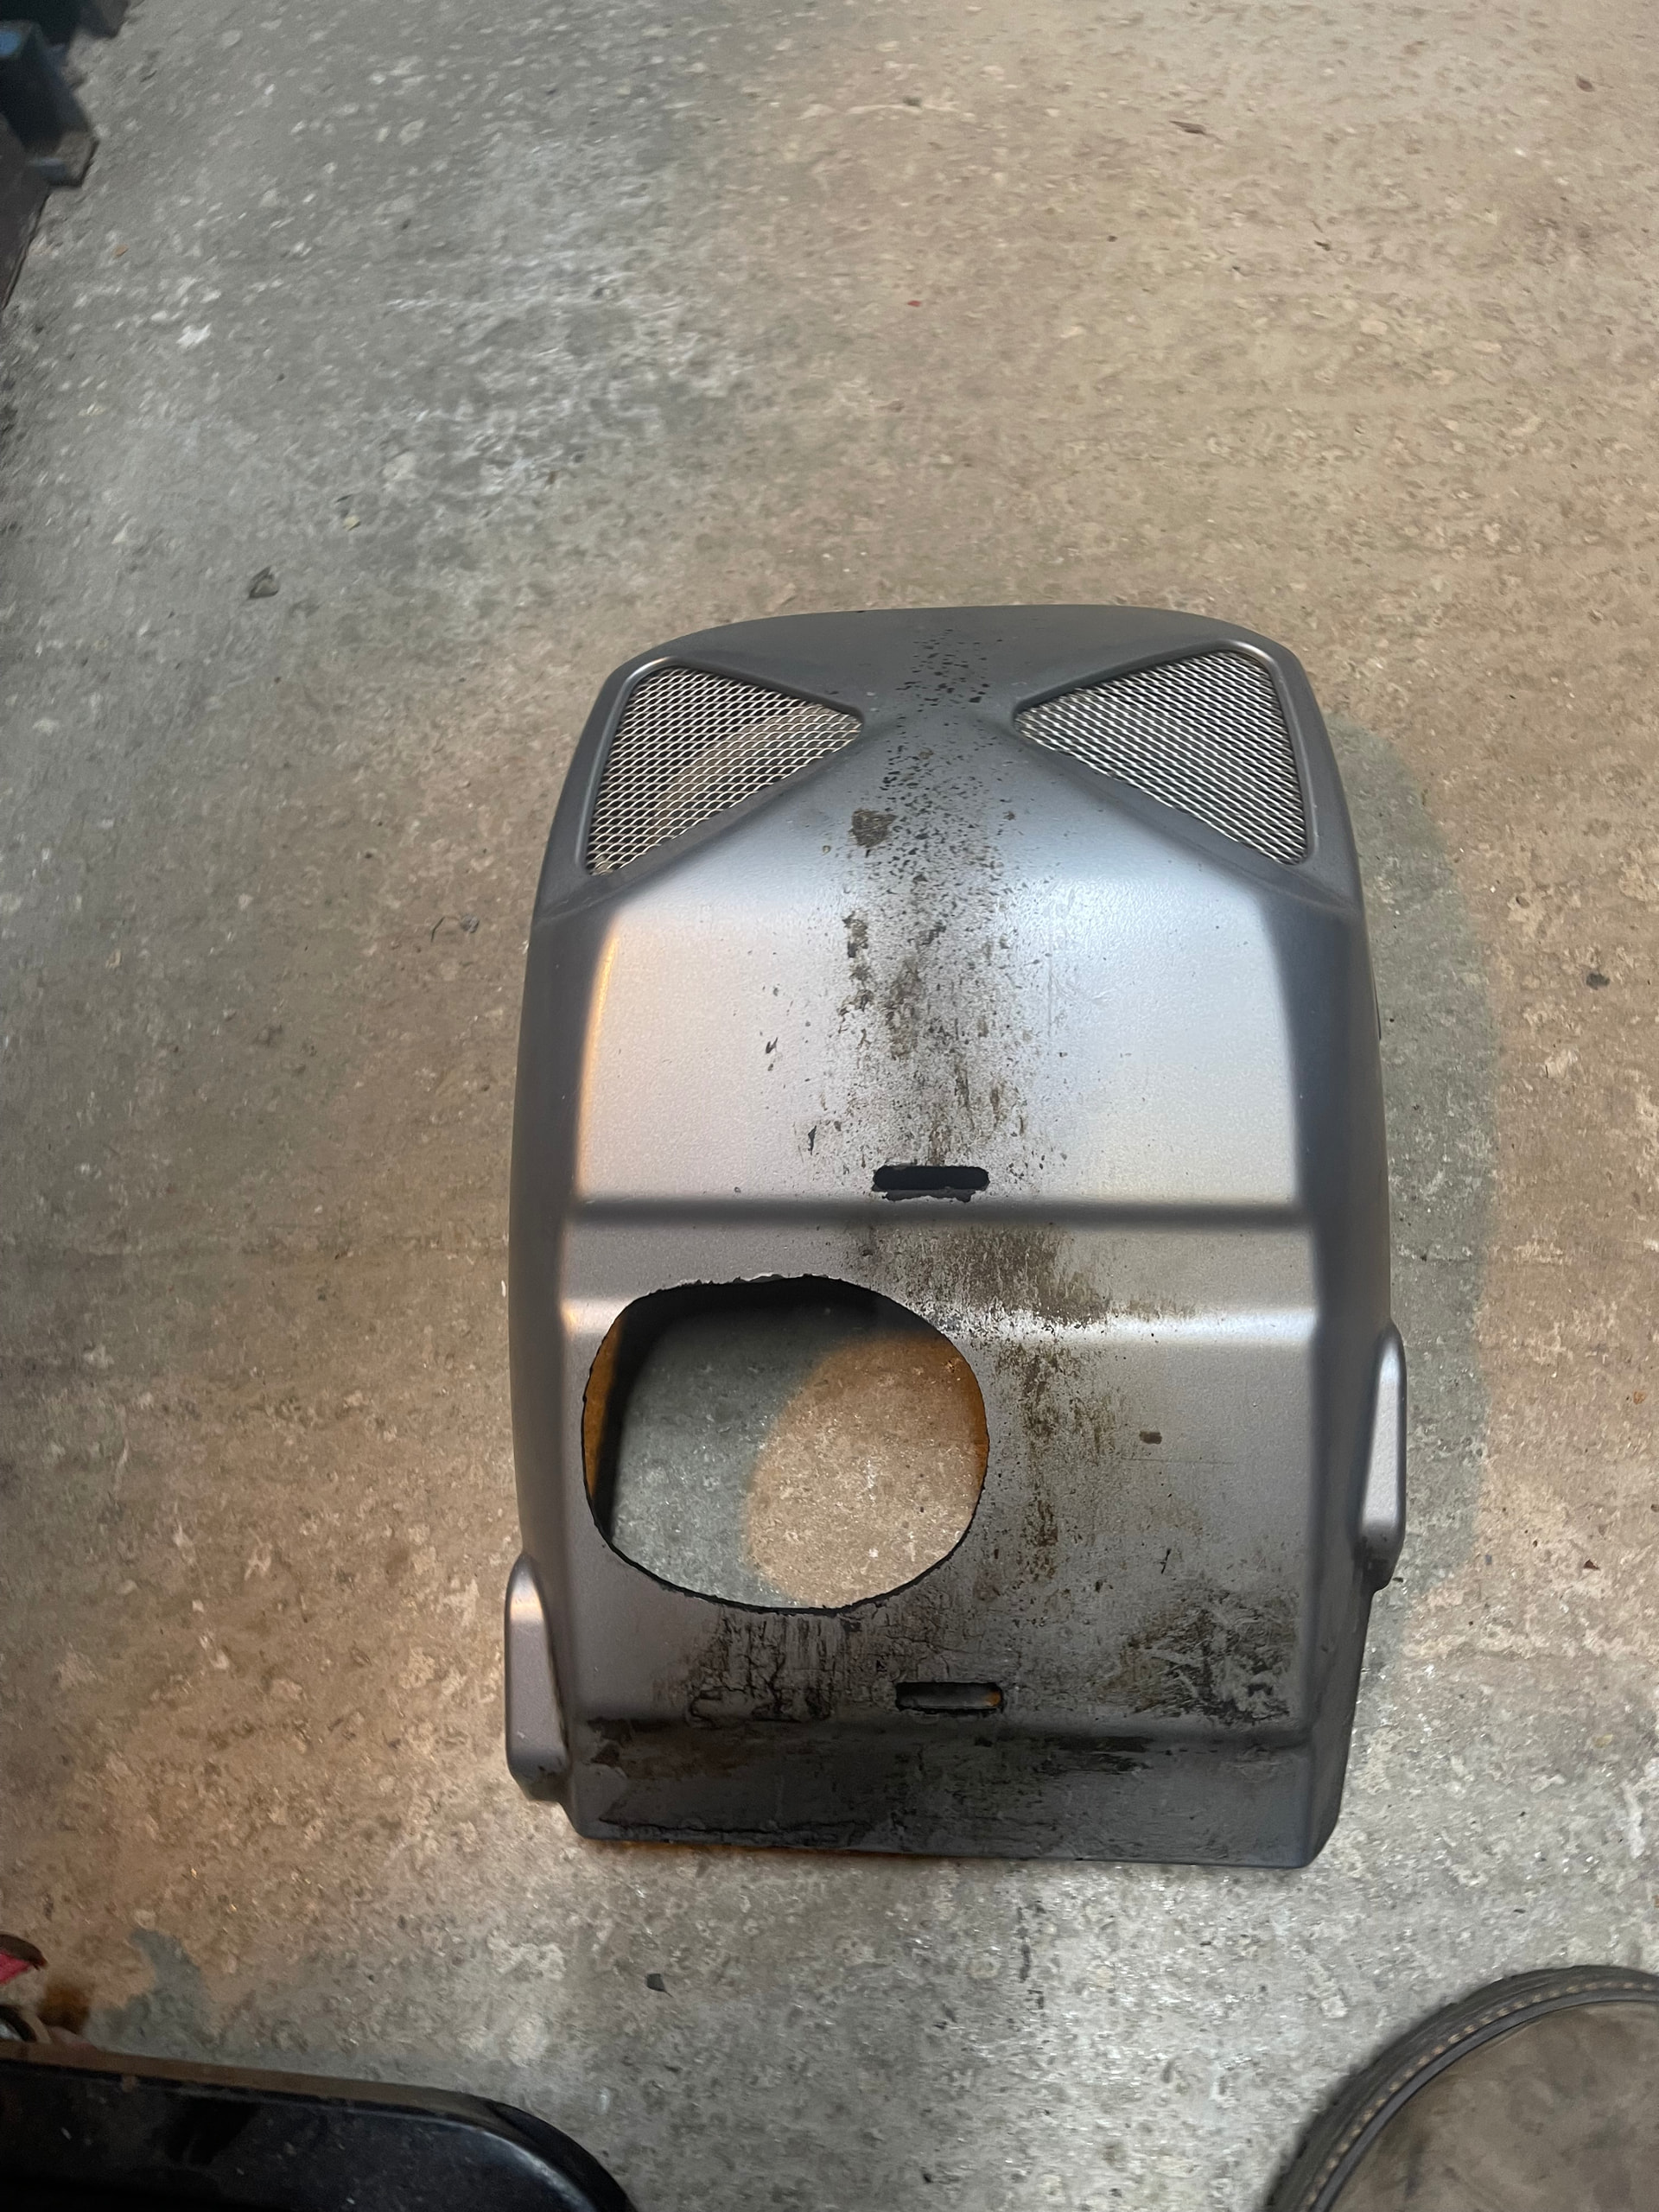
I got it all back eventually but I’m not looking forward to next time. Does anyone run an 8v Stelvio without the plastic sump guard. servicing will be a whole lot easier without it as the crash bars provide much more potential protection. I assume the sump guard is just a nod to the bikes adv status. Or anyone cut a hole in it for access ?
air filter, drains and a throttle body balance tomorrow, and recheck of oil levels after a ride scheduled for tomorrow as I’m supping whisky right now.
Hi Austin, from what you have written about the sump guard and engine protection bars it sounds like something is very “non standard@. The original sump guards are aluminium, not plastic, and are held in place with four 6mm (10mm hex head) bolts. These bolts have nothing to do with the engine protection bar fixings. Some photos would be helpful if you can post them. I also find a full service takes about 3 hours. The trickiest part is getting the gearbox sump plug out and not letting the oil pour all over the floor! The rest is very straight forward. Cheers Phil
Morning Phil, thanks for the reply. My bike is not the NTX version so has a plastic sump guard as standard and alloy wheels.
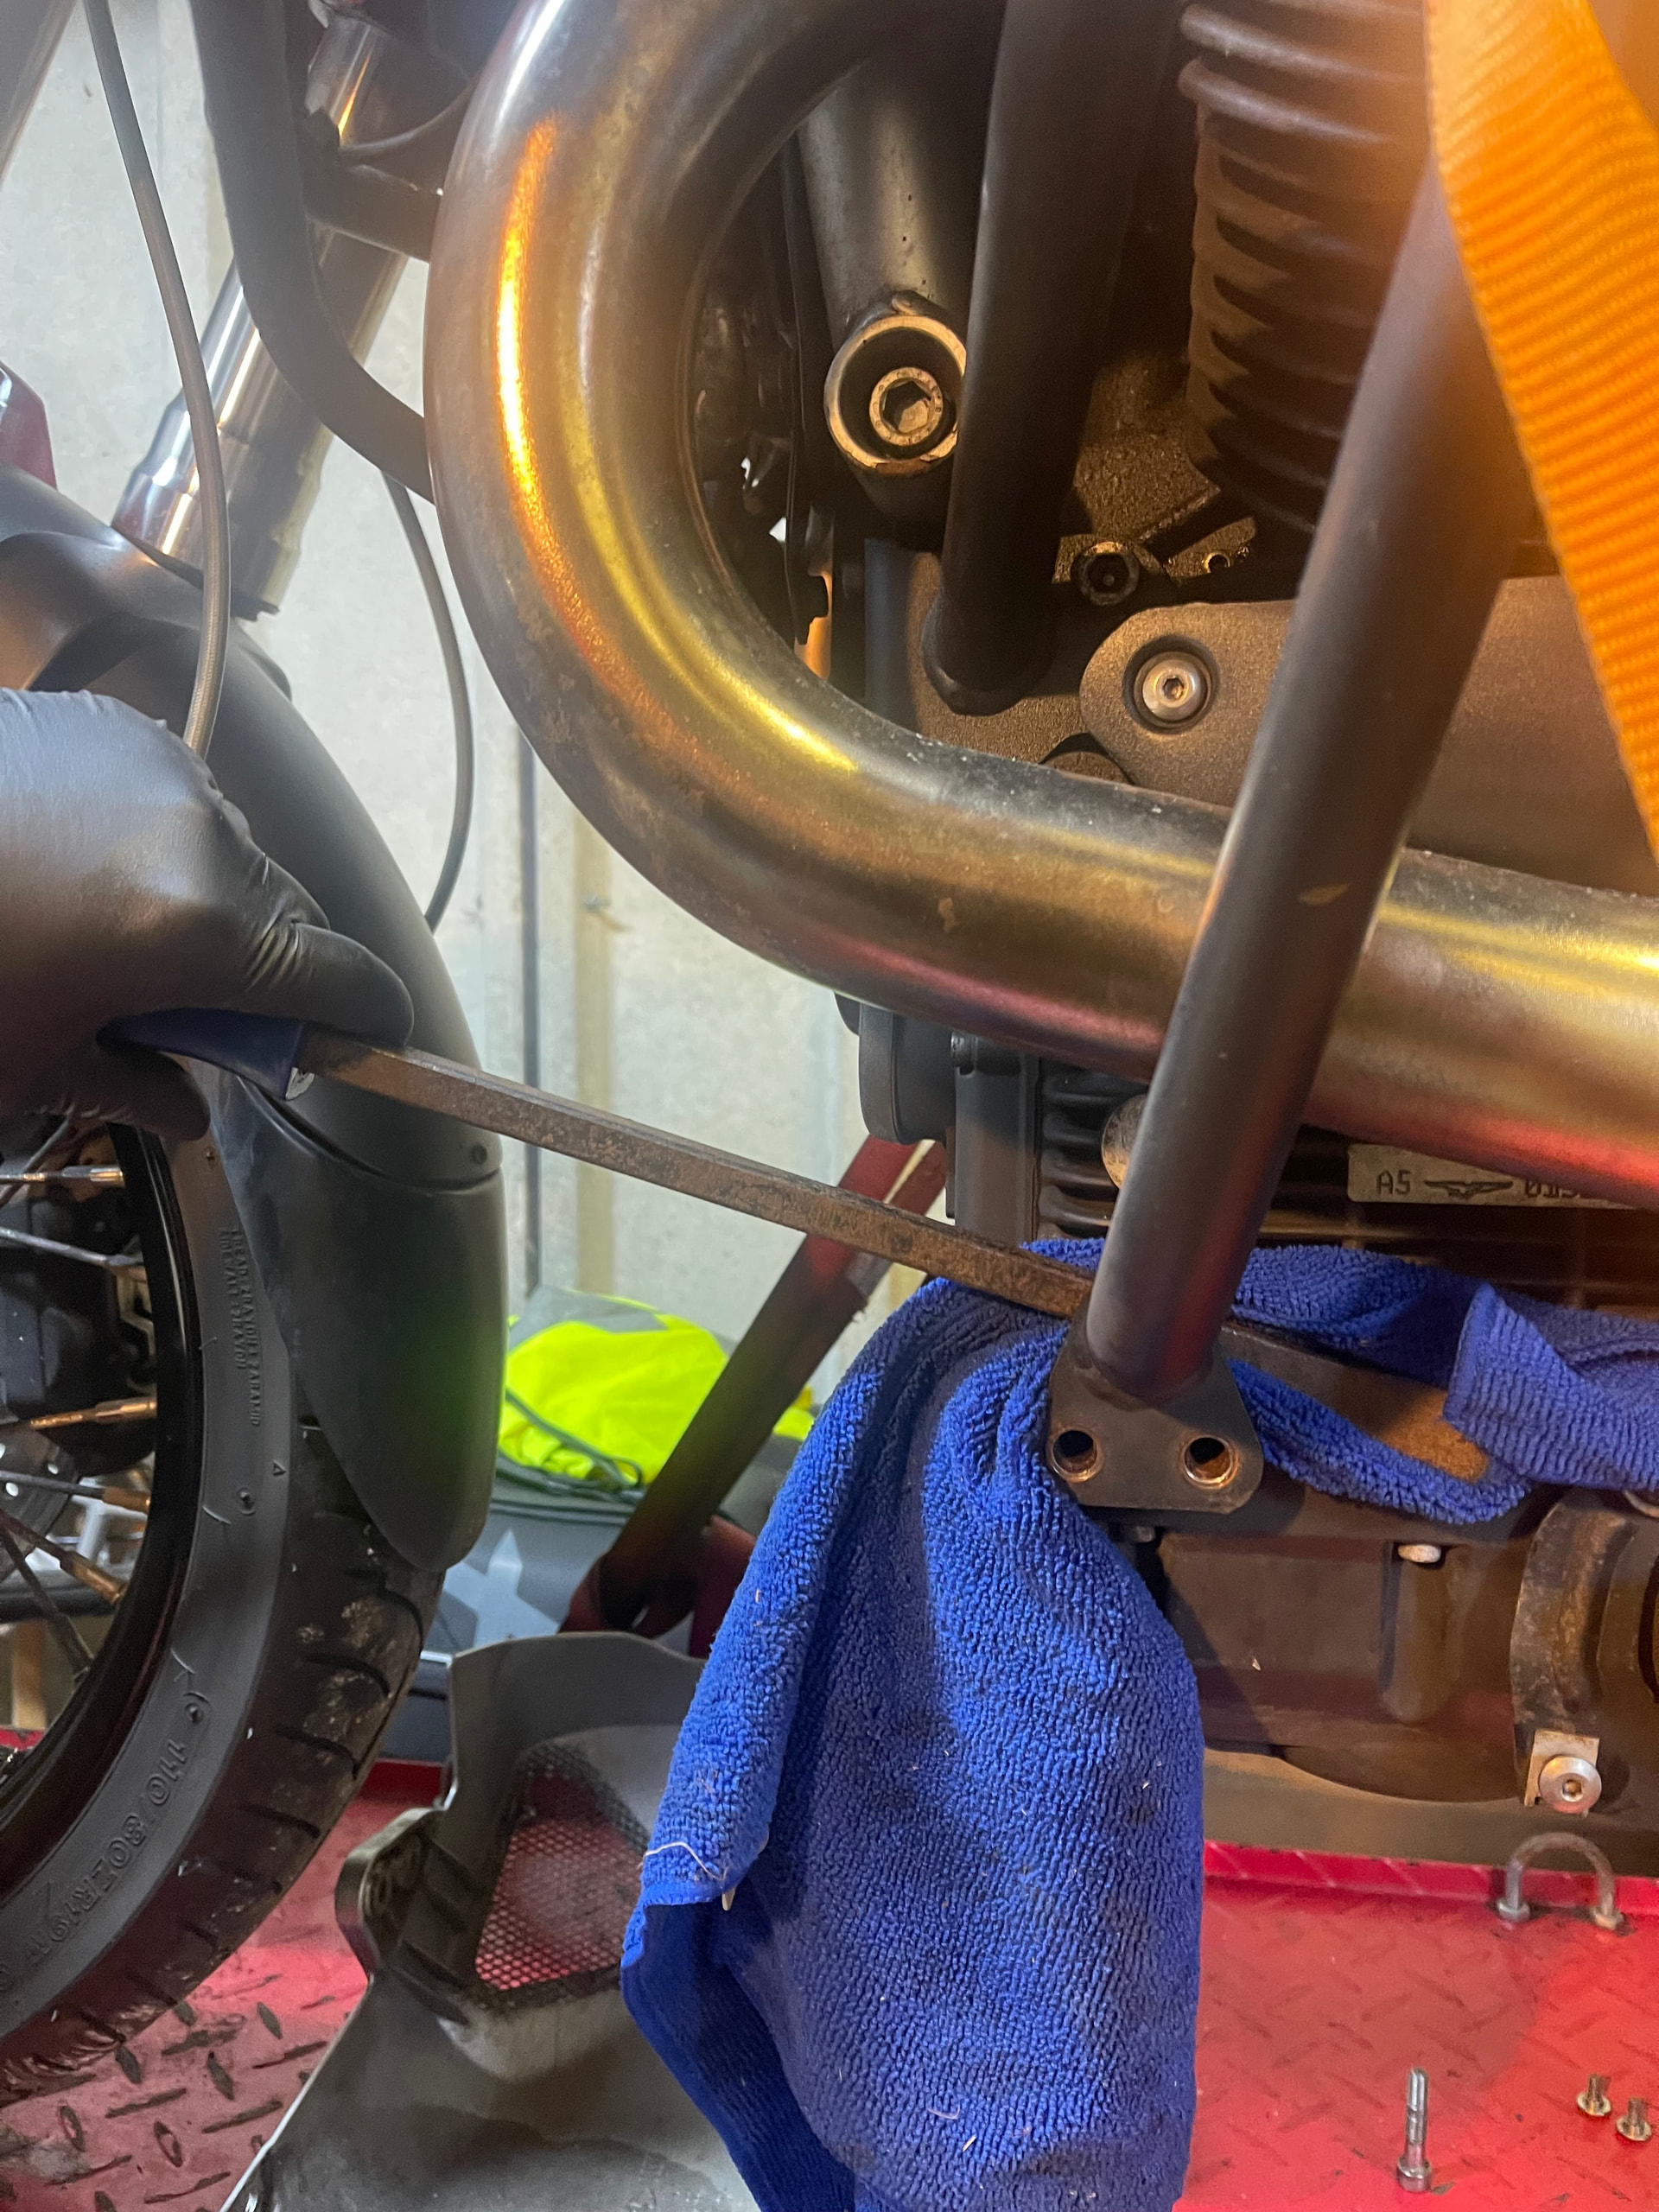
Afaik The crash bars are also standard and bolt through the sump guard at their lower fixing - two long M8 bolts, although the ones fitted weren’t really long enough and only just caught the thread in the engine. If the crashbars were in better alignment it would be easier but even with everything very loosely mounted whichever fitting i did last was out by more than half of its bolt holes and therefore needed a huge amount of force to lever the bars into shape. Doing the lower ones last was easiest as they are more accessible and with two bolts using a long screwdriver all the way in one of bolt holes i could lever the crashbar down and get the other bolt in nice and straight. But it took me a while and a lot of swearing, skinned knuckles and exasperation to work it out. I just need to remember how to do it for next time now.
do you know the torque settings for the crash bars? I’ve not looked anywhere yet, it’s just that the two bolts at the top fitting (8mm Allen head) were incredibly tight - I used a 2foot bit of pipe on my ratchet to get them off. They must have been at 100nm or more. In my excitement at getting the crash bars back on I didn’t really look too closely to check if they are also engine mounting bolts.
Yeah, gearbox drain, that was a faff too. I made a chute out of some cardboard to direct the oil into my old washing up bowl, but getting that drain plug back in was fiddly - you need double jointed fingers about 10inches long really.
My bash plate (sump guard) on my 2010 Stelvio NTX nearly fell off on its own. The aluminium around the bolt holes just failed through metal fatigue and it was hanging off on one side so I took it off to fix, I never put it back on. As you say it was a nod to off road machines that suited the factory’s image.
Thanks Adam. Next time I take the sump guard off I’m either cutting a big hole into or simply leaving it off altogether. It’s not really doing much protection in place as it’s only plastic. My Griso1200SE doesn’t have a sump guard.
Pry bar….interesting and I guess saves loosening a further 4 bolts per side to get the guard off, but my problem was that with the top bracket and rear mount tightened up those bottom two bolts were about 6mm out. Loosen everything off but keep all the bolts all in place and it was about 3mm out and I could force the bottom leg down and get the bolts in. Then everything could be tightened up.
Yeah I wondered about whether the bike had been dropped but if it has been someone’s done a very good repair job as there’s no signs on the bike or the bars. Plus both sides as far out as each other. It is my experience that crash bars are nearly always difficult to fit. It’s a design flaw imho, and I’ve found several other people grumbling about the same thing.
Ain’t ‘routine maintenance’ fun? Putting new tyres on my Mandello this week and extraordinary faff getting the wheel flange 60mm retainer free!! Borke one breaker bar at the hinge plus one step down adapter. Copious amounts of penetrating fluid plus mucho heat and could not budge it. Finally had to invest in a heavyweight impact gun to get it free. Recommended torque is apparently 240nm!! That’s just insane. I’ve had two big Kawasakis with shaft drive and single side swingarms that were quite easy to get the back wheel out.
Then the front. Failed MOT for a distorted wheel rim.. pothole casualty I guess though barely visible.. opted to just replace the wheel. Refitting brake discs, six bolts each, the very last one sheared on me at recommended torque of 30nm. Cheapo bolts! Stud extractor out and mercifully it came out nicely. Waiting arrival of some titanium flanged bolts to finish the job. Predictably all the reasonably priced stainless M8’s come with an 18mm flange which are over wide to fit. Hence had to search limited availability 15mm flanged bolts!! At a price!
But that why we love them. Every issue you encounter, resolve and improve adds a bit more love for your bike. Until one day you suddenly hate the bloody thing.