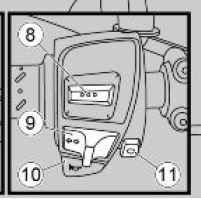
So I had seen a few posts suggesting that the V85TT has - as standard - already got the controls and part of the harness in place for you to add the heated grips yourself. Also, of course we all have the button on the left switchgear (those without heated grips probably wonder what the button does because it has no effect at all unless you connect the grips…). It’s this button (number 11):
So, I decided to give it a go
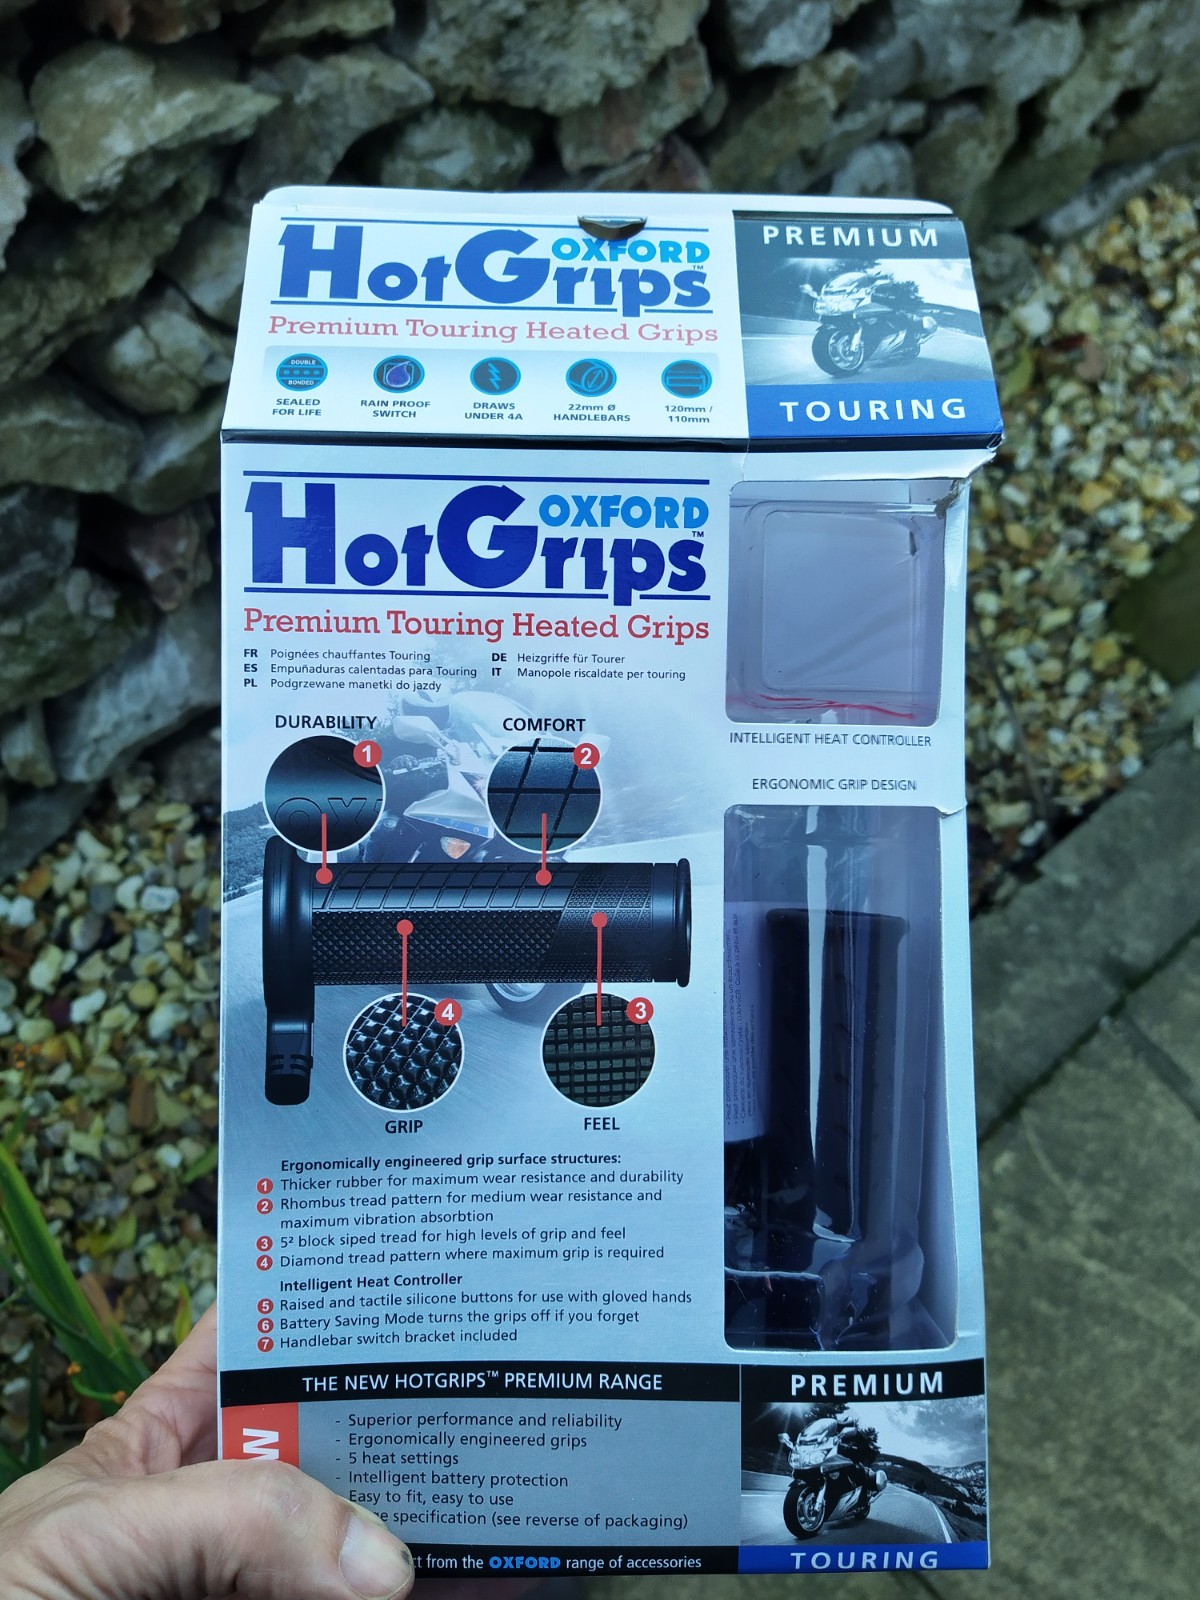
So I ordered a set and they arrived speedily:
The grips themselves are straight forwards to fit. Once you pop off anything that may be obstructing the bar end (barkbusters), I popped a thin screwdriver under the existing rubber grips, and squirted a bit of WD40 in as a lubricant, and the old grips slid off the bars easily (I did not want to cut them as the Oxford instructions say, in case I ever wanted to refit them). The LH Oxford grip slid onto the handlebar easily, but the throttle side took some “gentle persuasion”
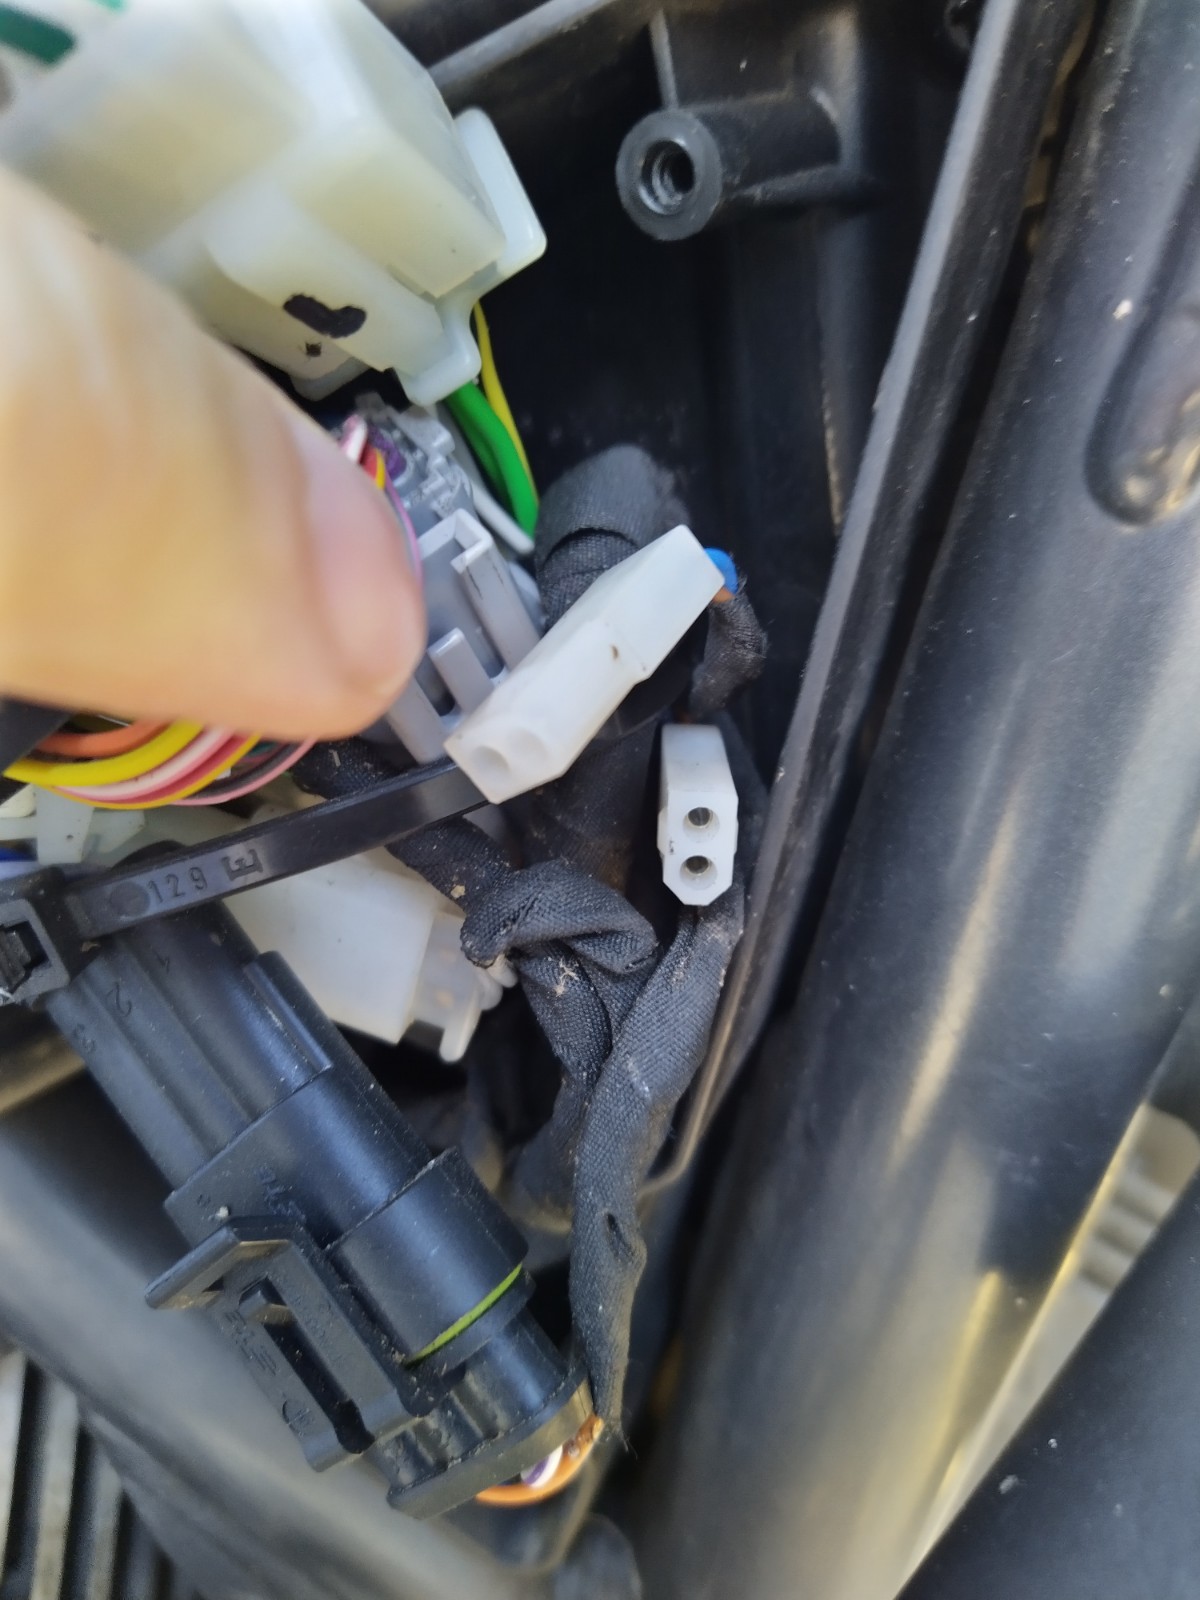
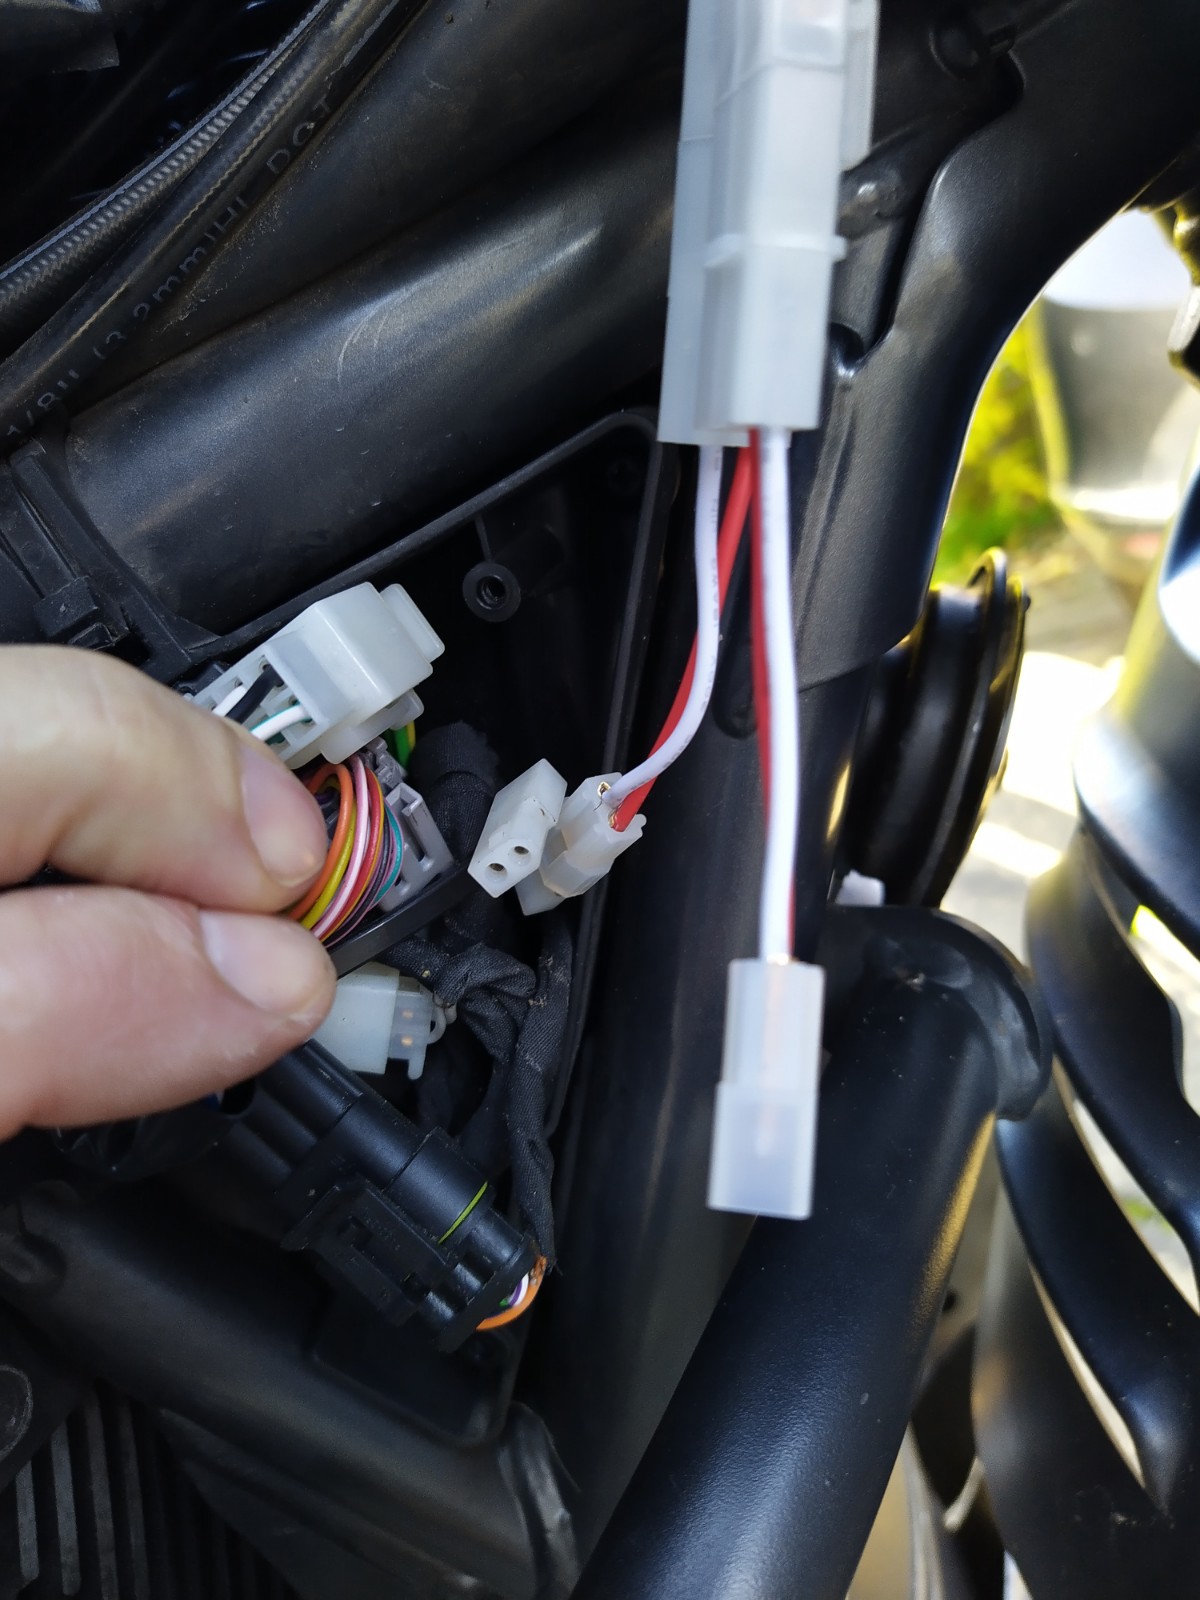
You’ve probably already removed the fuel tank for other reasons, there’s plenty of guides on t’internet if you need them. Fortunately I did not need to remove the tank completely, with the 3 mounting bolts removed, I could raise the tank enough to remove the small plastic panel (4 crosshead screws) on the RH side (the cable cover fastened to the frame immediately behind the steering head), and reveal the connectors Moto Guzzi had kindly supplied:
Now the only job left (assuming you have by now routed the cables from the grips) is connect the Oxford grips to the bike. you’re going to use the bikes existing controller (preinstalled) and the button on the LH switchgear, so you can leave this stuff in the box!.. However you now need to connect the Oxford grips to the bike’s harness. I did not want to splice into the Guzzi harness, so I managed (after much internet hunting) to sourced the “Molex” connectors:
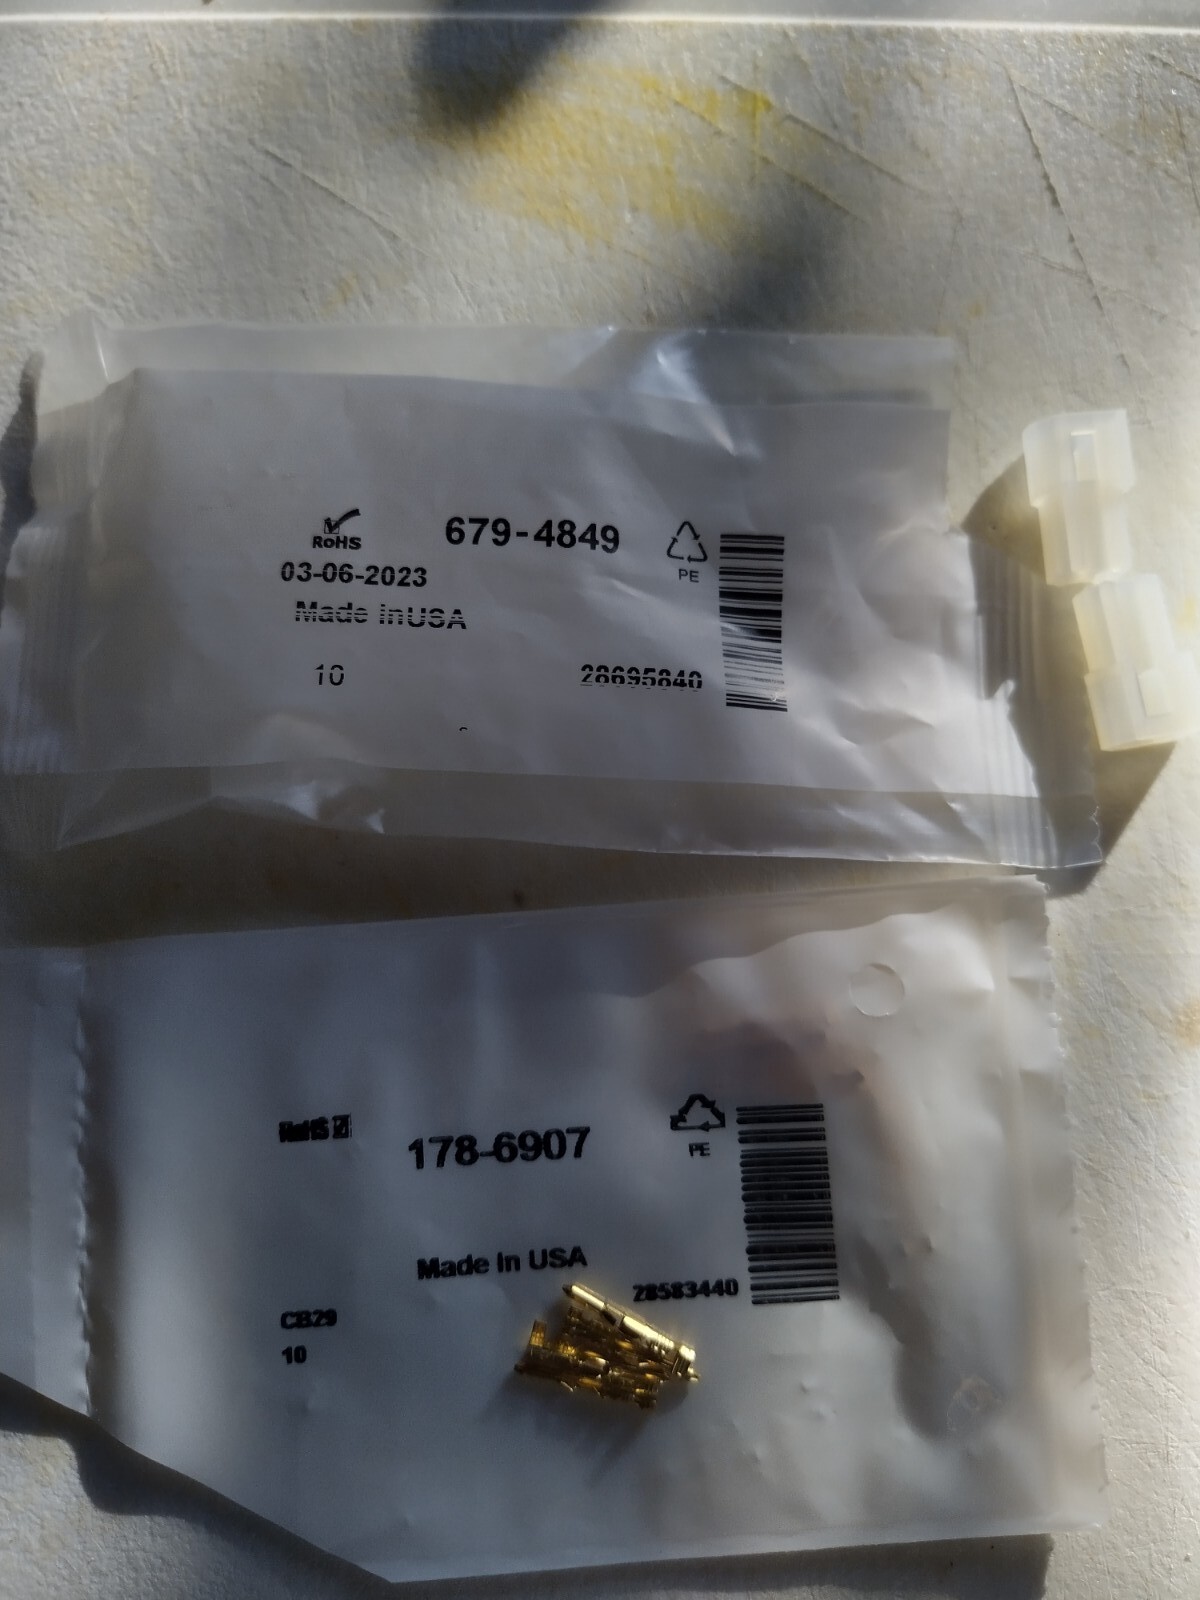
I struggled to find a source for Molex in the UK initially, but found them on RS Components:
the plastic connector: https://uk.rs-online.com/web/p/wire-housings-plugs/6794849
the pins: https://uk.rs-online.com/web/p/crimp-contacts/1786907p/?cm_mmc=UK-PPC-DS3A-_-google-_-3_UK_EN_Connectors_Crimp+Contacts_Phrase-_-Molex+-+1786907P+-+02-06-6103-_-02+06+6103&matchtype=p&kwd-31454910629&s_kwcid=AL!7457!3!526738553671!p!!g!!02%2006%206103&gclid=EAIaIQobChMI47TXlof_8wIVDpftCh17wgkzEAAYASAAEgISFfD_BwE&gclsrc=aw.ds
I cut the Oxford connectors from the Heat Controller. I used these to make short fly-leads, with the Oxford connector at one end, and the Molex connector at the other. This meant I could plug into the bike harness without any modification to the bike itself:
And that’s it! Put the bike back together. As soon as the connections are in place, and the ignition is turned on, you get the blue symbol on your dashboard telling you it can “see” the grips!
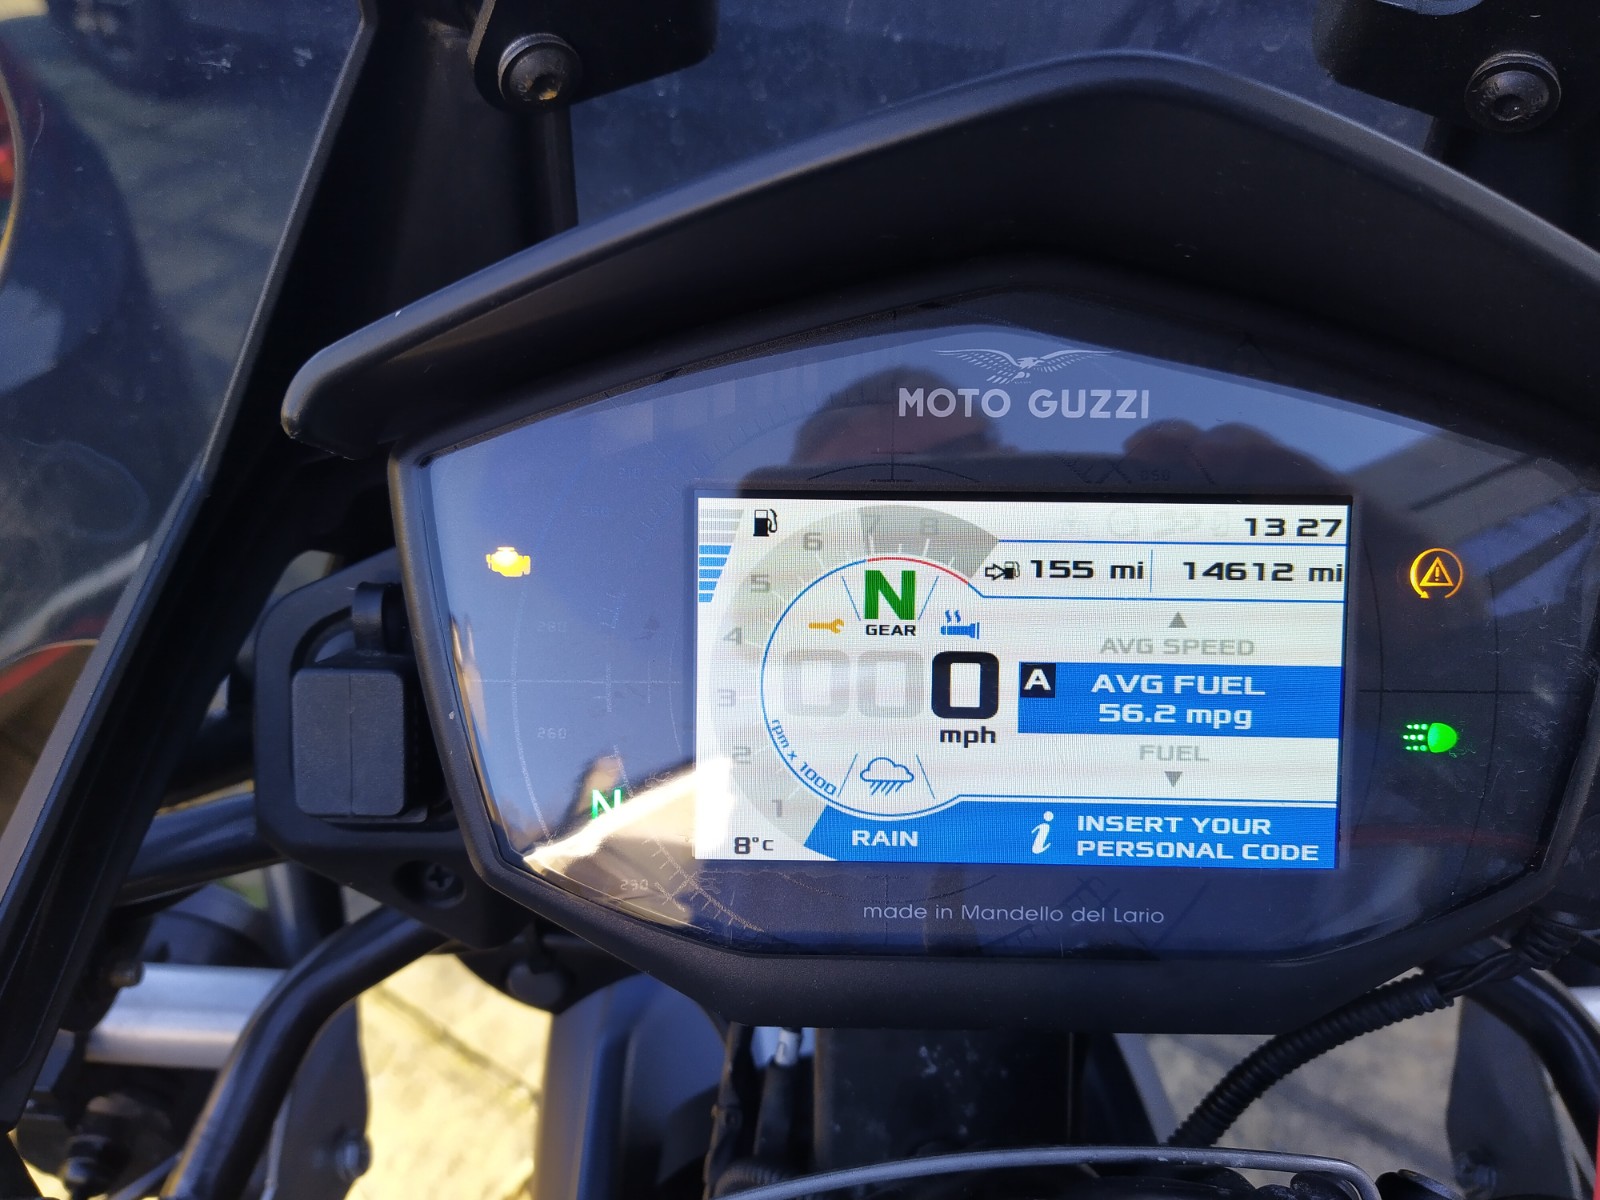
It’s just 8 degrees here today, so I nipped out for a spin with my summer gloves on. On setting 1, it’s only just noticeable. On setting 2 it’s more than enough heat. On setting 3 it’s really toasty (the Guzzi integrated controller has 3 settings whereas the Oxford controller we scrapped has 5 settings).
There’s a rumour I have seen on the internet that the Guzzi does not power the grips until 2000 rpm to save load on the electrical system. I can’t say one way or another but they don’t seem to warm up as quick on tickover…
Delighted! Warm hands, looks just like factory fit, without the muttly Oxford controller, and at a fraction of the cost of MG originals ![]()
Hope this helps someone…