Hello All, Does anyone know the location of the frame number on the Spanish Guzzino ?
Brian.
Hi OGNID,
On mine it is on the left hand side, on a flat section just below the downpipe of the frame. It’s behind the coil. had to scrape the paint off with a knife to read it.
Mine begins MGH for Moto Guzzi Hispania. Cheers Bryn
On the subject of Cardellino’s, Motoleggeras, Guzzino’s etc, I came across quite a selction of manuals, documents etc for these the other day and thought it might help some here…
http://www.rpw.it/Documentazione.htm
Bryn, Thanks, Will check tomorrow. Don’t know about a coil though.
Brian.
I have found the frame number on my guzzino after some searching. Bearing in mind whoever owned it previously must have used it as a field bike until it seized, so, c!ogged with dried on mud.
However, the number is on the right side of the bike on the flat frame member running to-ward the seat. MGH 559455. On the left side of the same frame member is the letter T in an inverted triangle next to the letters EMTISA in rectangle.
Engine number is ISA 56500. I have tried to date this machine using book and internet but the numbers don’t seem to fit anywhere.
I will ask the club dating officer, see if he can make any sense of it.
Brian.
The Dutch Guzzi club has a good database of frame numbers and that suggests yours is a Hispania model, but your numbers fall into a gap in the sequence
Hi again OGNID,
Sorry for my silly mistake. Yes, the frame number on mine is also on RHS of frame.
Mine also has what looks like an externally mounted ignition coil which is situated between the generator output and the plug. It can only be some sort of coil to enhance the spark. Bryn
If the system is anything like my Stornello, it uses a coil within the flywheel to create low voltage AC. This is then sent up to the external high tension coil (via a condensor) to create the spark. There is a very good explanation of the system in Real Classics magazine Jan 21 issue.
If anyone has any dead coils from one of these, I would be interested in buying them as they are apparently the same as those used in a Stornello and could be interesting for me to experiment with some rewinding to get a better voltage output.
Hi again,
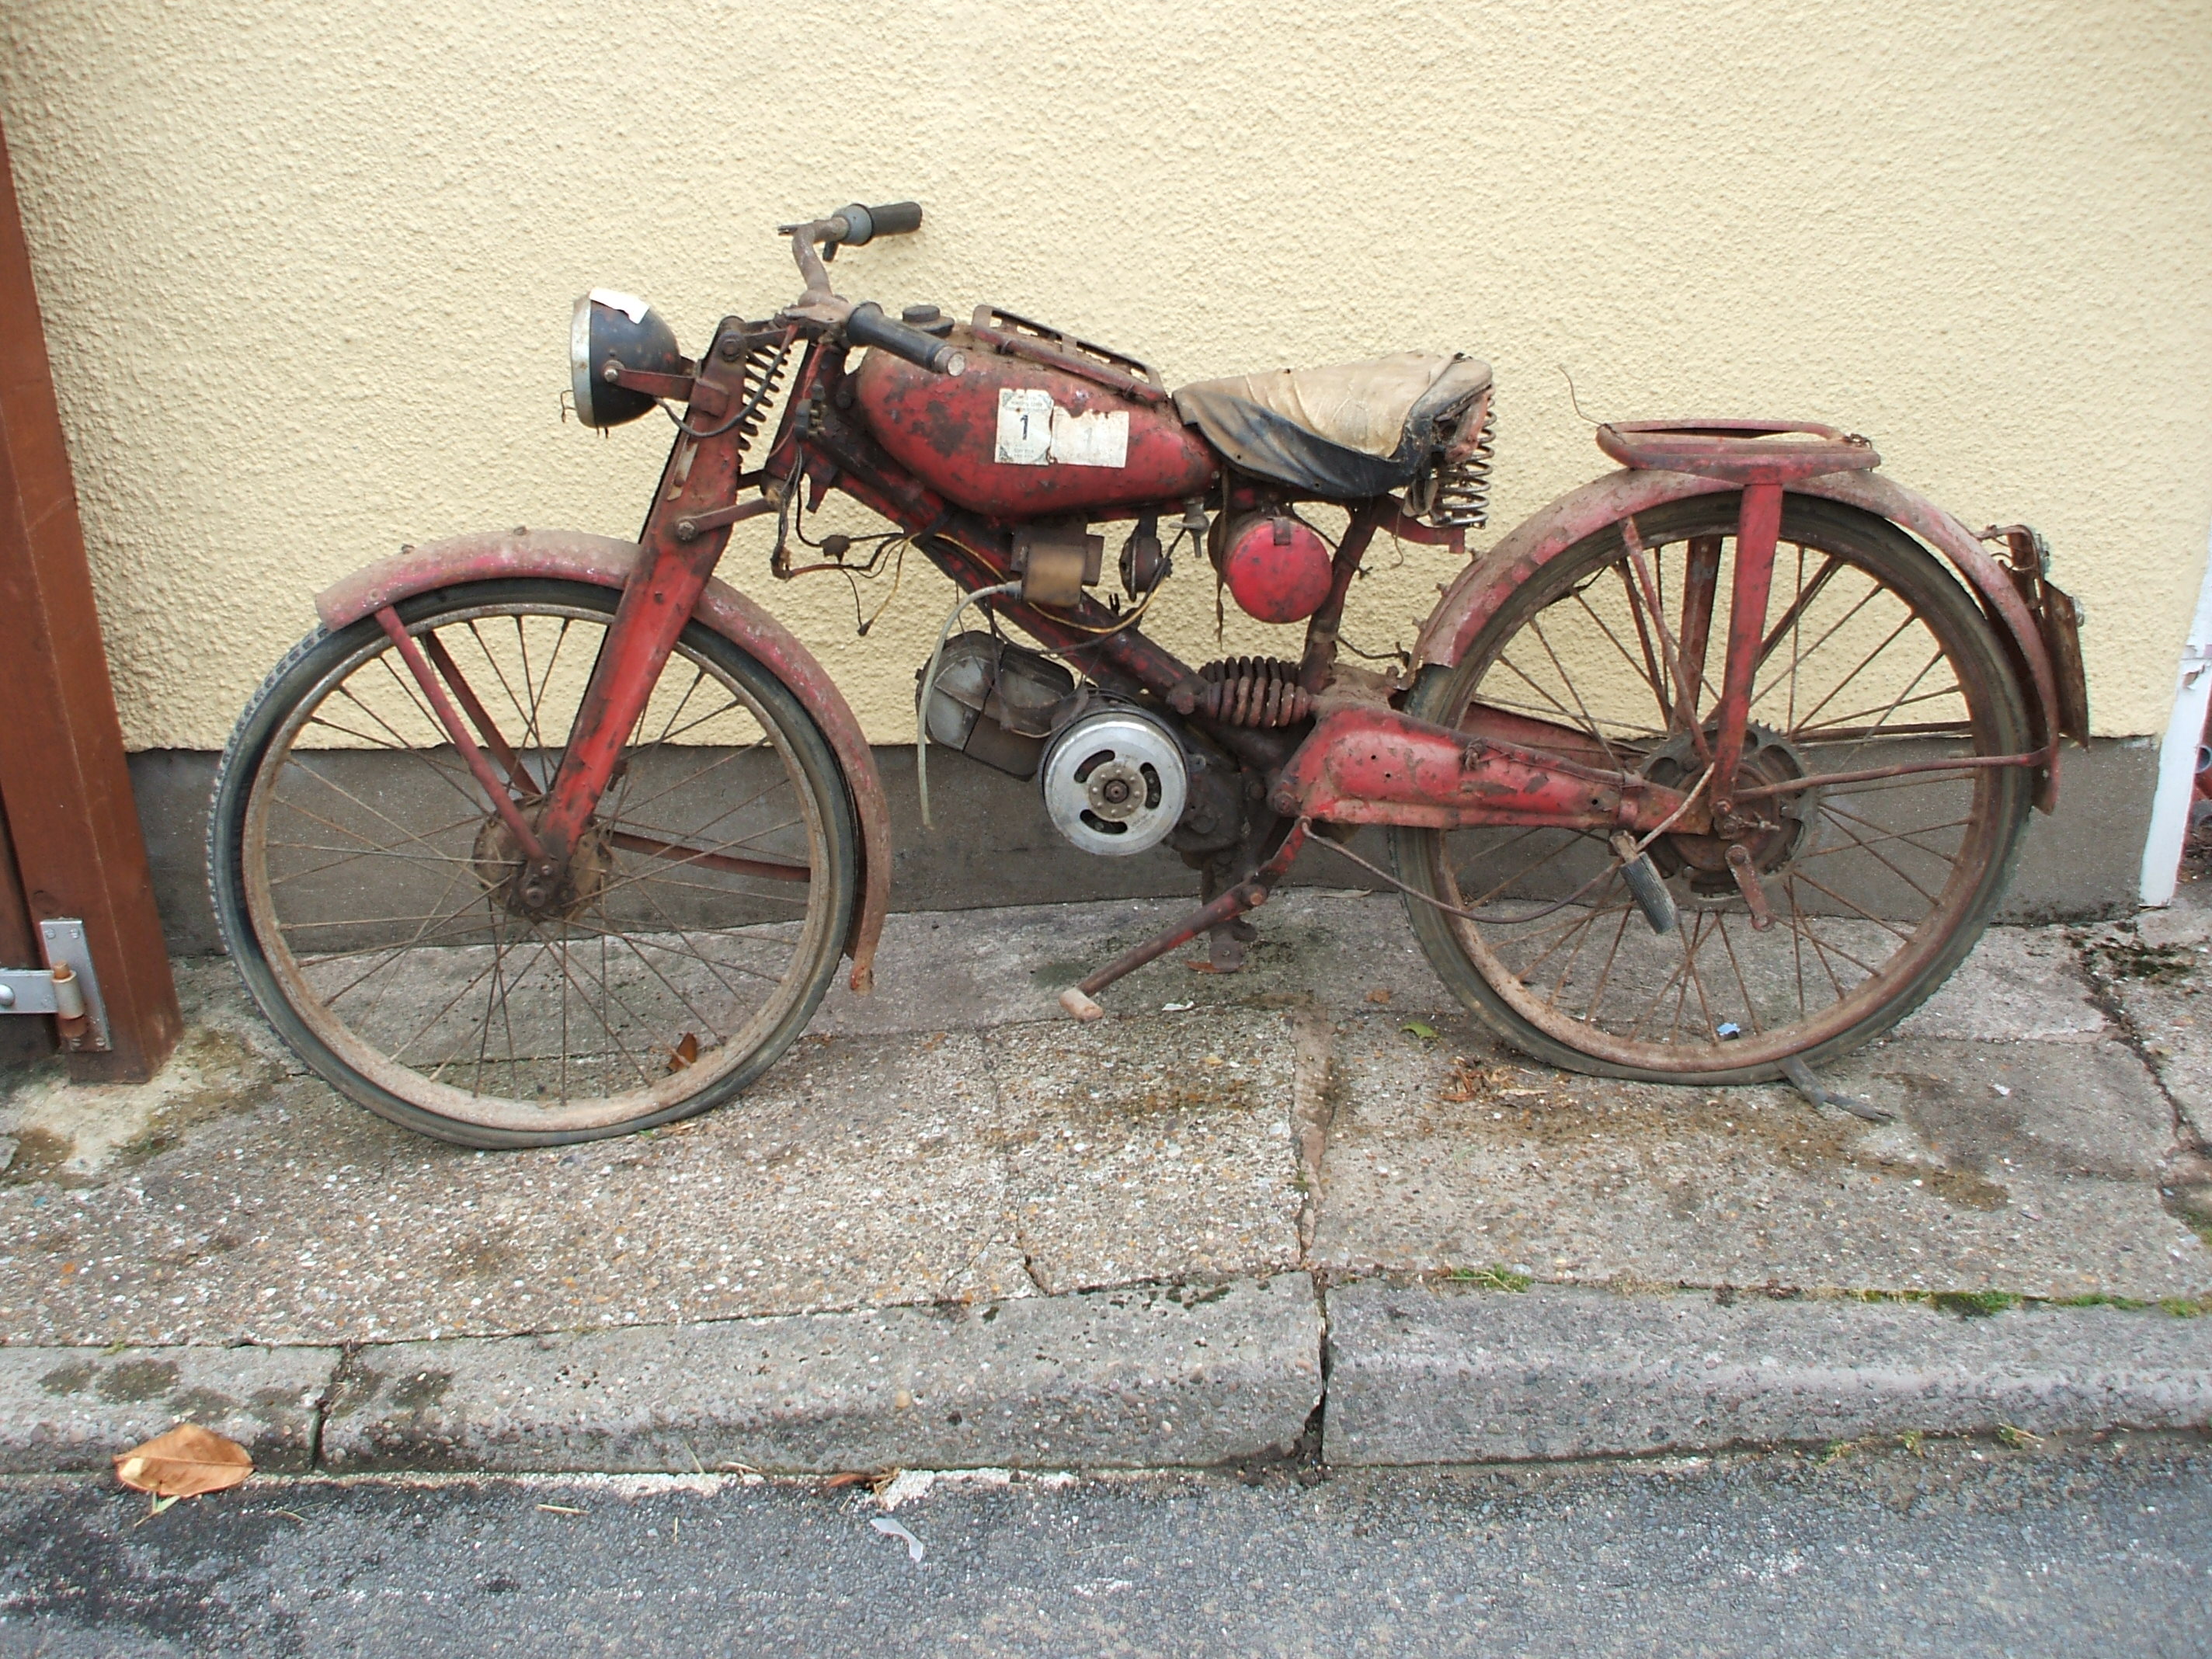
Well I’m just about to start the dismantling of my very dilapidated, Spanish built 1953 (? I believe) Guzzino. Despite the 1953 date it appears to be an earlier model, probably Type A. It appears to have an aluminium cylinder, and also an electric horn.
So, a couple of questions:-
- Does anyone have a wiring diagram for the bike? Mine is in a terrible state and will need replacing.
- What is the RAL number or correct name for the Moto Guzzi red used at that time?
- Is there a powder coating available that would match it? I love the hard finish of powder coating compared to paint. Saves a lot of damage when I drop a spanner on it!!
I’ve just found the “attachments” tab below. Hope this works.
Cheers, Bryn
When repainting my Stornello, I opted for a car colour that was about the right colour and comes in cans. I opted for Ford Colorado red as a nice bright red colour. It is a bit soft and does chip and wear where cables rub. The problem with powder coating is can you get everything done, or are there bits that aren’t suitable, then you have an issue of colour matching.
I assume you will be painting the whole bike. Can you find a decent bit of old paint such as inside the fork lgs or under the tank where you can clean up some of the old paint to determine the colour, polish it up with T cut to remove the years of grime.

Naseby by Don West, on Flickr
Your Stornello looks a beauty. Great work. The Ford Colorado red looks nice and bright.
You certainly have a point regarding paint matching to the chosen powder coating colour should that become necessary. But I think it may be possible to get the benefits of both options.
I may check with my powder coating guy and see if he has any similar bright red options that match a commercially available standard car colour.
He could then powder coat everything, and when I find some small piece that was originally overlooked ( it often happens to me!) I could spray it to match.
As you can see I do like the results obtained by using powder coating.
Another point. I was looking for Guzzino wiring diagram but found one instead for a 1958 Cardellino. See attached.
It is very basic but with the same components as the Guzzino so there is every chance that it will match.
I will check it out as I dismantle the Guzzino.
I find it much easier to have a diagram for reference even on such a relatively simple system.
1958_Cardellino wiring diag.pdf (79.4 KB)
I believe there is something very quirky about the Cardellino wiring. There was a lengthy conversation in this forum and the Google Guzzi Singles group about how it works, something to do with a retro fitted brake light switch that was added in the 60’s and had to be retrofitted to existing bikes.
Either search this forumor have a look here and see what you can find out…
https://groups.google.com/g/guzzi-singles/search?q=cardellino
Hi to you all.
Well I have now dismantled the main chunks of the Guzzino and stripped and cleaned the frame ready for repair and shot blasting.
The frame had a thick layer of what looked like solid cement dust all over it and the underside of the mudguards.
Several hours of poking with a screwdriver to get down to the metal and inspect for damage.
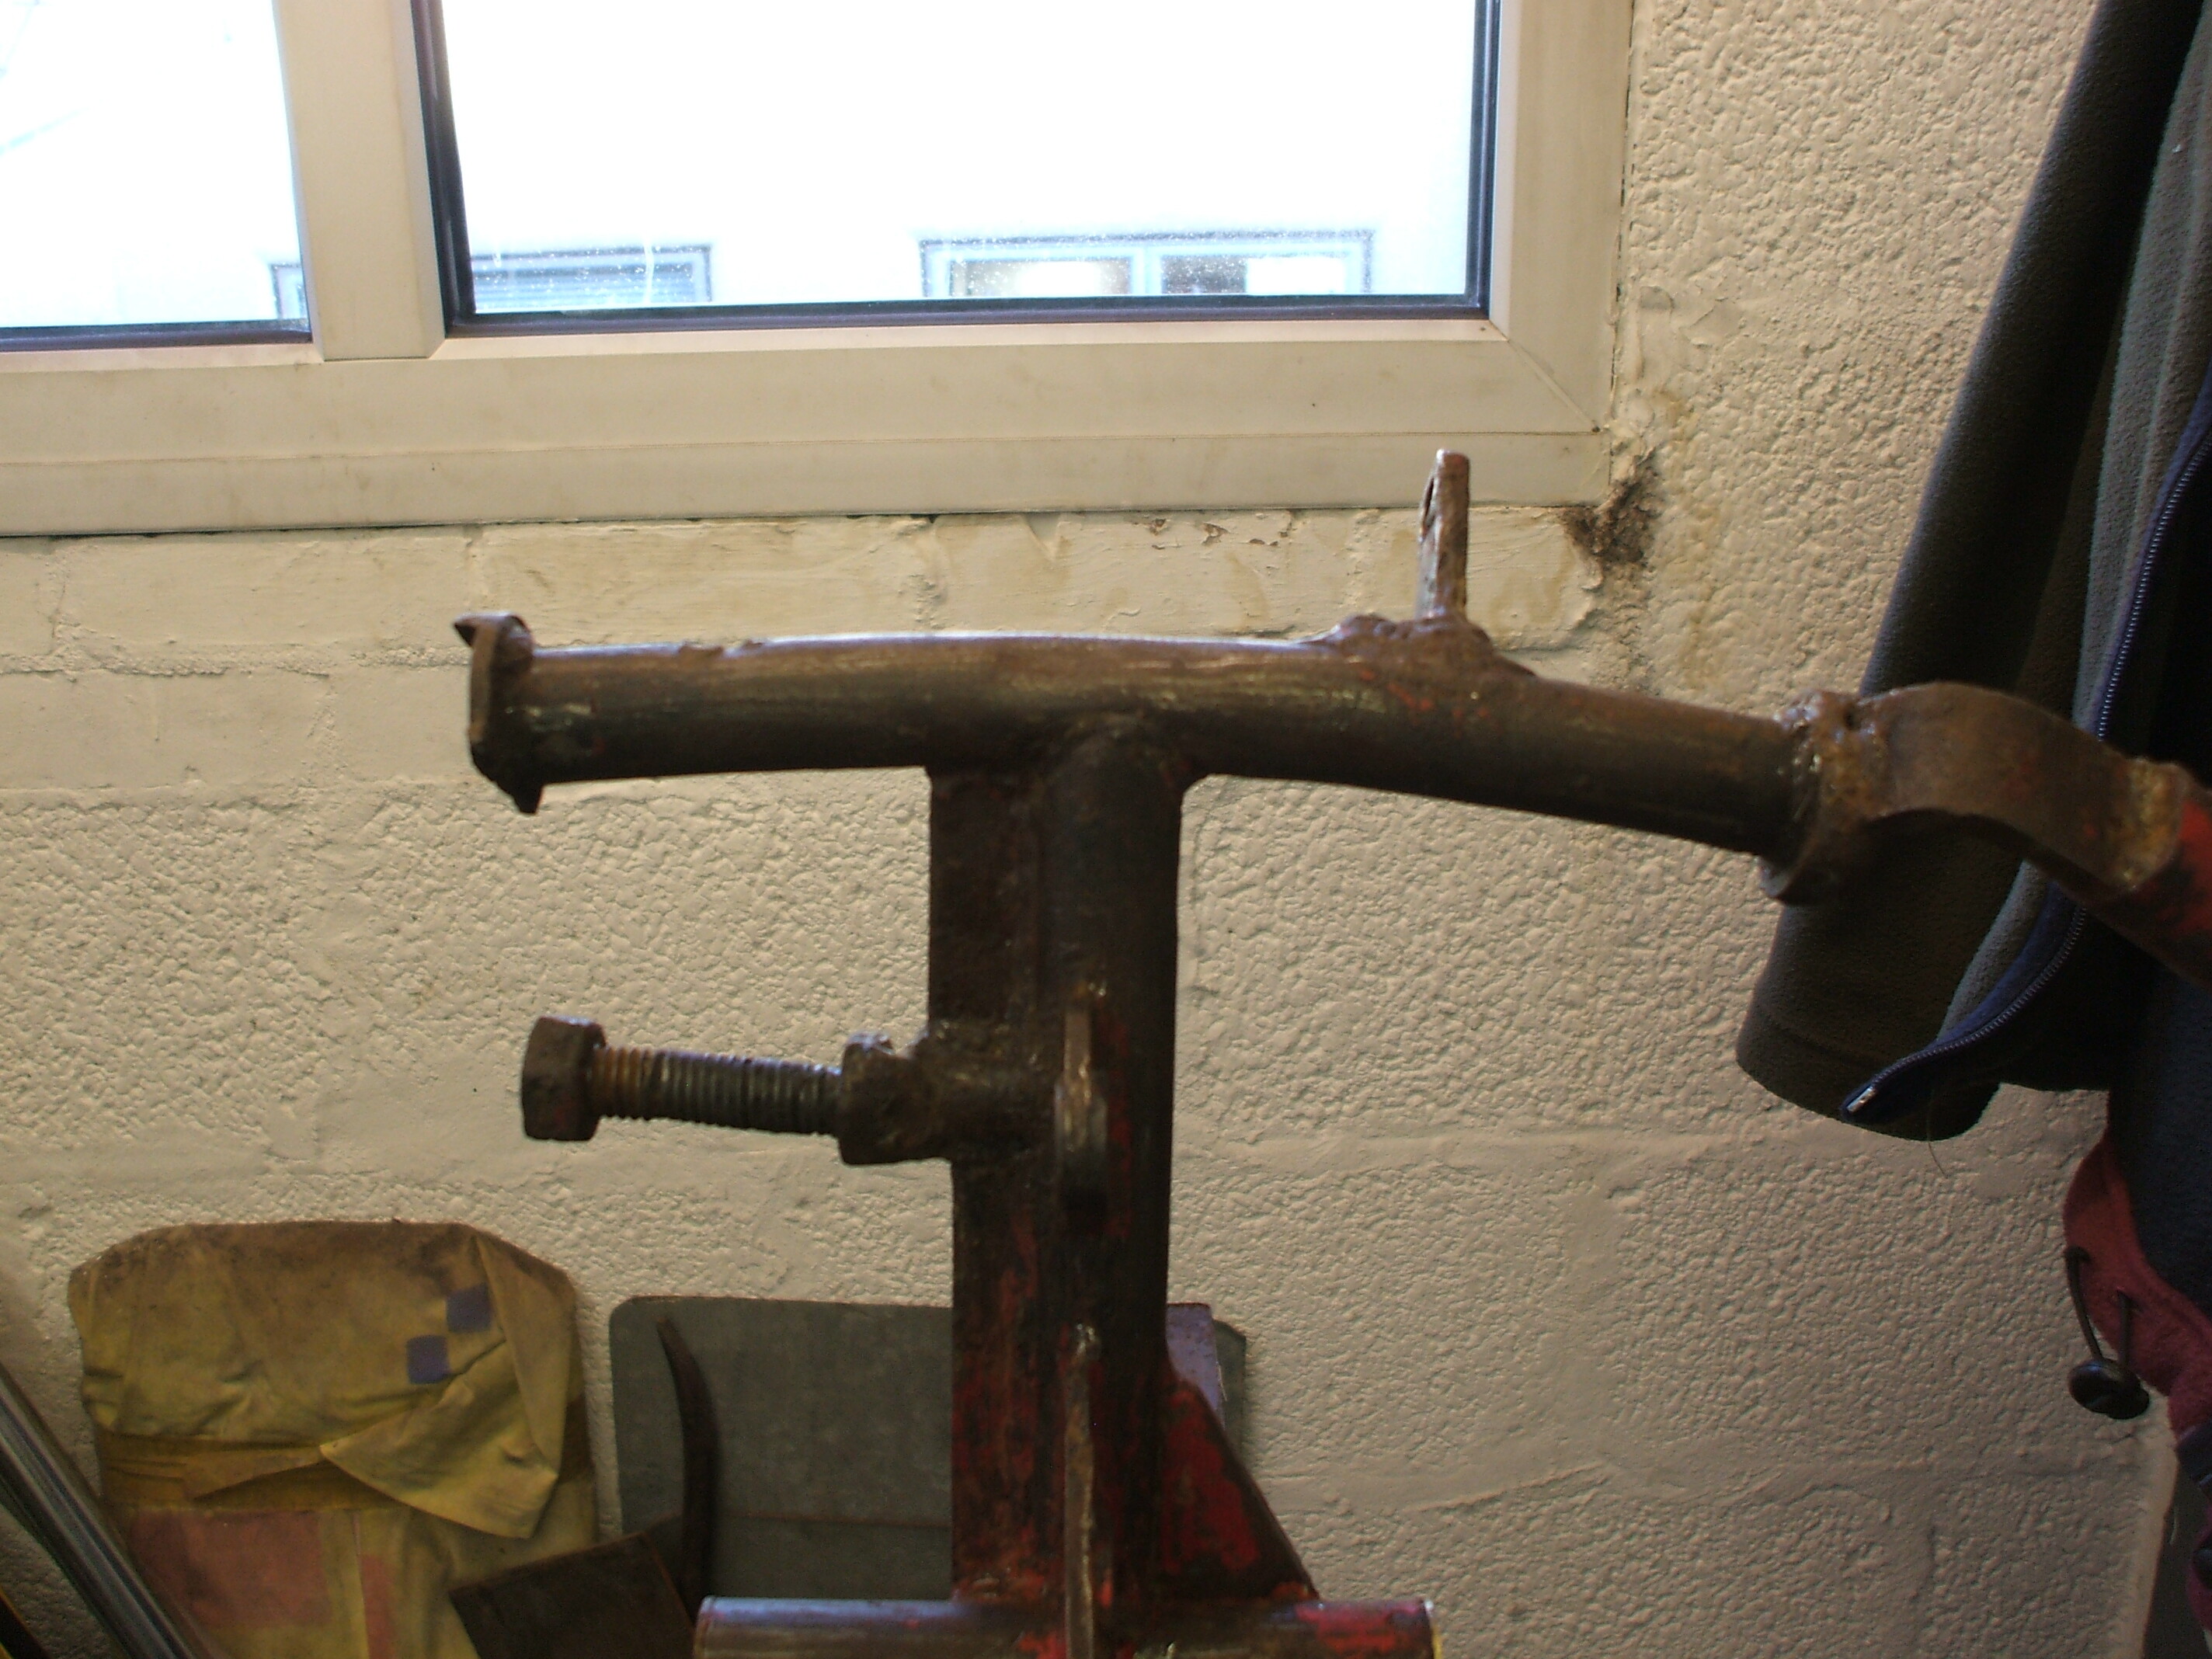
And here’s the problem.
As you will see from the attached photo the cross member below the engine, the one that the centre stand hinges from and the footpegs are attached to is in need of major TLC
It is well bent and has had many welding repairs to it.
My plan is to fabricate a complete, new tube assembly and have my friendly local welder weld it in place.
BUT… and there’s always a BUT!! I notice that the RH side of the cross member is 25 mm longer so protrudes from the frame centre more than the LH side.
This doesn’t appear to be as a result of previous repairs.
Indeed, looking at pictures of a spare frame that if currently on sale on ebay, that also has a longer RH side.
My question is why, and how does this affect the riding position?
Or is the LH footpeg post modified to cater for the offset?
Any thoughts would be welcome, please.
Cheers, Bryn
Hi “Bryn the bike”,
The 25mm offset is correct. I have just checked my 65cc Cardellino. The centre line of the cylinder is offset the right compared to the frame downtube. The footrest arms are different lengths to compensate.
Hope this helps,
Cheers Phil
Hi Phil, thanks for checking that for me.
I will fabricate the replacement as per the original, but it doesn’t seem to make sense to me.
Why have the LH footpeg longer that the RH one, when the centre tube could have been made the same on both sides to allow standardisation of the footpegs.
Which, incidentally, they appear to be when viewed on the “blown up” drawings towards the back of the GUZZINO book.
Also, take a look at the many GUZZINO photos, and both rh and LH pegs appear the same size.
Confusing. I must be missing something.
I will post again as the restauration progresses.
By the way, does anyone have the small original version of the chainguard for sale? I need one.
Hi to you all.
I am still progressing slowly with the fabrication of the replacement footrests etc.
Currently prepping the mudguards for welding repairs and dent filling.
Several of the front and rear mudguard stays are either severely bent / twisted or completely snapped off.
Does any know of a supplier or a company that can manufacture them?
The front ones are a “half tube” section, about 18mm wide.
The rear ones are 10mm diam steel tube.
All have flattened ends.
Any suggestions welcome.
Also still on the lookout for the smal chain guard.
Cheers, Bryn
Hi all,
I have just about got everything barring the engine stripped to its component parts on my Galletto 160.
However the rubber bushes and spacers at the upper end of the front forks have resisted coming out into the open air.
From the parts manual it looks like the spacer sits on top of the spring with two rubber compression bump stops above the spacer, all of these look like they are below the fixed hole in the fork leg. Then it looks like there are four rubber extension bump stops above the fixed hole.
Does anyone know if this is correct? If so I assume i can tap them out with some sort of hooked drift. The fork tubes are very rusty on the inside which I think is also adding to the stubbornness of the bushes.
Any comments would be appreciated.
Cheers
Phil
Hi to you all,
Well progress on restoring my 1953 Spanish built Guzzino is painfully slow. Currently waiting for return of frame parts from welder.
So in the meantime looking into rebuilding both wheels.
They both need new rims and spokes. Problem is that the front spokes are 3mm diam and the rear ones are 4mm diam
In contact with B&Bmeccanica who inform me that Guzzzino spokes are either 2.5 or 3mm max in diameter.
Can anyone comment / confirm or otherwise, please.
If they are correct, then there seems to be several options as to why my rear ones are 4mm.
-
Factory was using up old stock spokes.
-
The spokes have been replaced during the bikes lifetime with whatever the owner could source at that time.
-
They were deliberately fitted to carry more load.
Any help gratefully appreciated. Cheers, Bryn
I use Anglian Wheels in Sudbury, they may be able to help you.
4mm spokes are pretty heavy duty My Stornello only uses 3mm.
I seem to recall some odd sizes of wheels on some of the little Cardellinos etc. Don’t some of them have large but narrow wheels, more like bicycle wheels? Before rebuilding the wheels, make sure you can get tyres to suit the size.
Wheel building is not that difficult. Do one at a time and copy the other. Watch a few youtube vids to show you how to do it. The inner spokes go in first.