Hi Don-Spada,
Thanks for the response and the suggestion to fit the inner spokes first. Very practical.
Some years ago I rebuilt a pair of wheels for my 1973 Triumph T100P, so I am not too phased out about the process. I have taken many pictures to assist in the rebuild so hopefully can put it all together okay.
The existing holes in the rims mean that I need to use the same spoke diameters again. But I am currently having problems getting the rims from B&B Meccanica with holes large enough to take the nipples. (They have rims at sensible prices compared to some other suppliers). It may well be that I have to drill out the holes and then varnish them to prevent corrosion.
Not ideal but it would be a practical “get around”.
Another option would be to re-chrome the existing rims, but that sound expensive. Time to get a few quote I think!!
I will be getting in contact with some UK spoke manufacturers as well to see what other option there are.
Cheers for now, and ride safely… Bryn
Not sure where you are, but I had some excellent plating done on a silencer I made for my Scrambler ptoject by a small outfit in Hinckley, close to the new Triumph factory. Quick turn around on this.
Classic and Chrome. Unit 8 Hinckley Business Park, Dodwells Bridge Ind Est, Hinckley, LE10 3BY 01455 637921
As we seem to have a few Guzzino owners on here, could I piggy back a question onto the thread? My Cardellino does not have matching numbers and I thought this was the norm but now not so sure. As a straw poll, do any of you chaps have match numbers please? thanks.
Chris
Hi Chris
Not sure if this helps you at all?
https://www.mgcn.nl/database/mg-framenummers
Hi Chris,
I have both a 65cc and 73 cc Cardellino and the engine and frame numbers match on both of them. I’ll be very interested in seeing what others say about theirs. I’d also like to know how the frame numbers progressed from the first to the last for each model. I have asked this before but nobody has come back with an answer.
Cheers
Phil
Thanks Don and Phil.
I had looked at the Dutch owners table before, which seems the most comprehensive list readily available. Phil, have you tried asking on the singles Facebook page? There are quite a few Dutch members on it as I’m sure you know. One of them I corresponded with seemed to have an awful lot of knowledge on the tiddlers. As an aside, I know you are both 'compulsive restorers’ , did your respective singles have solderless nipples on the Bowden cables when you got them? I have an idea that they were original fitment.
I do believe the Stornello had solderless nipples as standard. I have terrible memories of those from my early riding days on old BSA Bantams and would never rely on one ever again. I had cables made for the bike by J J cables near Leamington for the little red one. I am currently working on three other bikes and must go and see him again soon to get cables made for those.
Hi guys,
My Guzzino has frame No. MGH 13219 which is 1953 Spanish manufacture.
The engine No. is 546439 ISA, and I have no idea how to determine of this is “matching” or not.
Can anyone help, please. Bryn
Your comment that it is a 53 model concurs with the Dutch club info MGH 11800 - MGH 18632 Hispania 65 1953 chassis (5 numbers)
The list also mentions ISA …Hispania : engine code with chassis number which would suggest to me that originally the engine number would have matched the frame number.
Hi Chris,
All of my singles had solderless nipples on the control cables, so I assume that it was the standard back when they were manufactured. I have purchased all of my new cables from Guzziretro and they supply them as a kit of parts. ie the outer, the inner wire with one nipple soldered on, the correct solderless nipple for the other end and two ferules for the outer ends. The soldered nipple is usually a “special” and determines the type of cable ie throttle, advance and retard, choke, clutch or brake. The clutch and brake wires are a larger diameter than the other control cable wires. Like Don, I do not trust solderless nipples, so I turn up brass nipples to suit and then solder them onto the wire.
The procedure is to determine the cable routing, install the inner wire and then slip on any adjusters, then slip on the outer and determine the correct length of outer and inner. remember the golden rule “measure twice and cut once”! Disassemble everything, and cut the outer to the correct length. Re-assemble everything remembering to slip on the adjusters as well the ferules which slide over each end of the outer and are crimped into position. Now slide on the nipple to be soldered on, then measure the wire length and cut it. Make sure the nipple is on the cable before cutting it otherwise it can be difficult to thread if the cable strands have spread a little. The hole through the nipple should be a good fit on the wire and should be counter bored on the outlet end to allow the splayed end of the cable to be flush with the nipple. I then melt solder in a small bowl (actually a half inch galvanised pipe end cap). the cable and nipple needs to be dipped in phosphoric acid which acts as the flux and then the assembly dunked in the molten solder for a few seconds. Lift the soldered assembly out of the solder and shake off the excess. Wait for it to cool and dress up any excess solder. This has worked fine for me.
All of the above was found on Youtube.
Hope this is of interest and useful.
Cheers
Phil
Thanks again for your replies, chaps. I too have scary memories of solder less nipples as a uneducated youth. as an engineer, they go against everything you are taught. Having said that, I took to turning my own nipples up after getting cable kits as described by Phil, from Valenti and dare I tempt fate, they seem to work very reliably. I have had varied results with soldering nipples, never tried the solder pot method but will have a go with it.
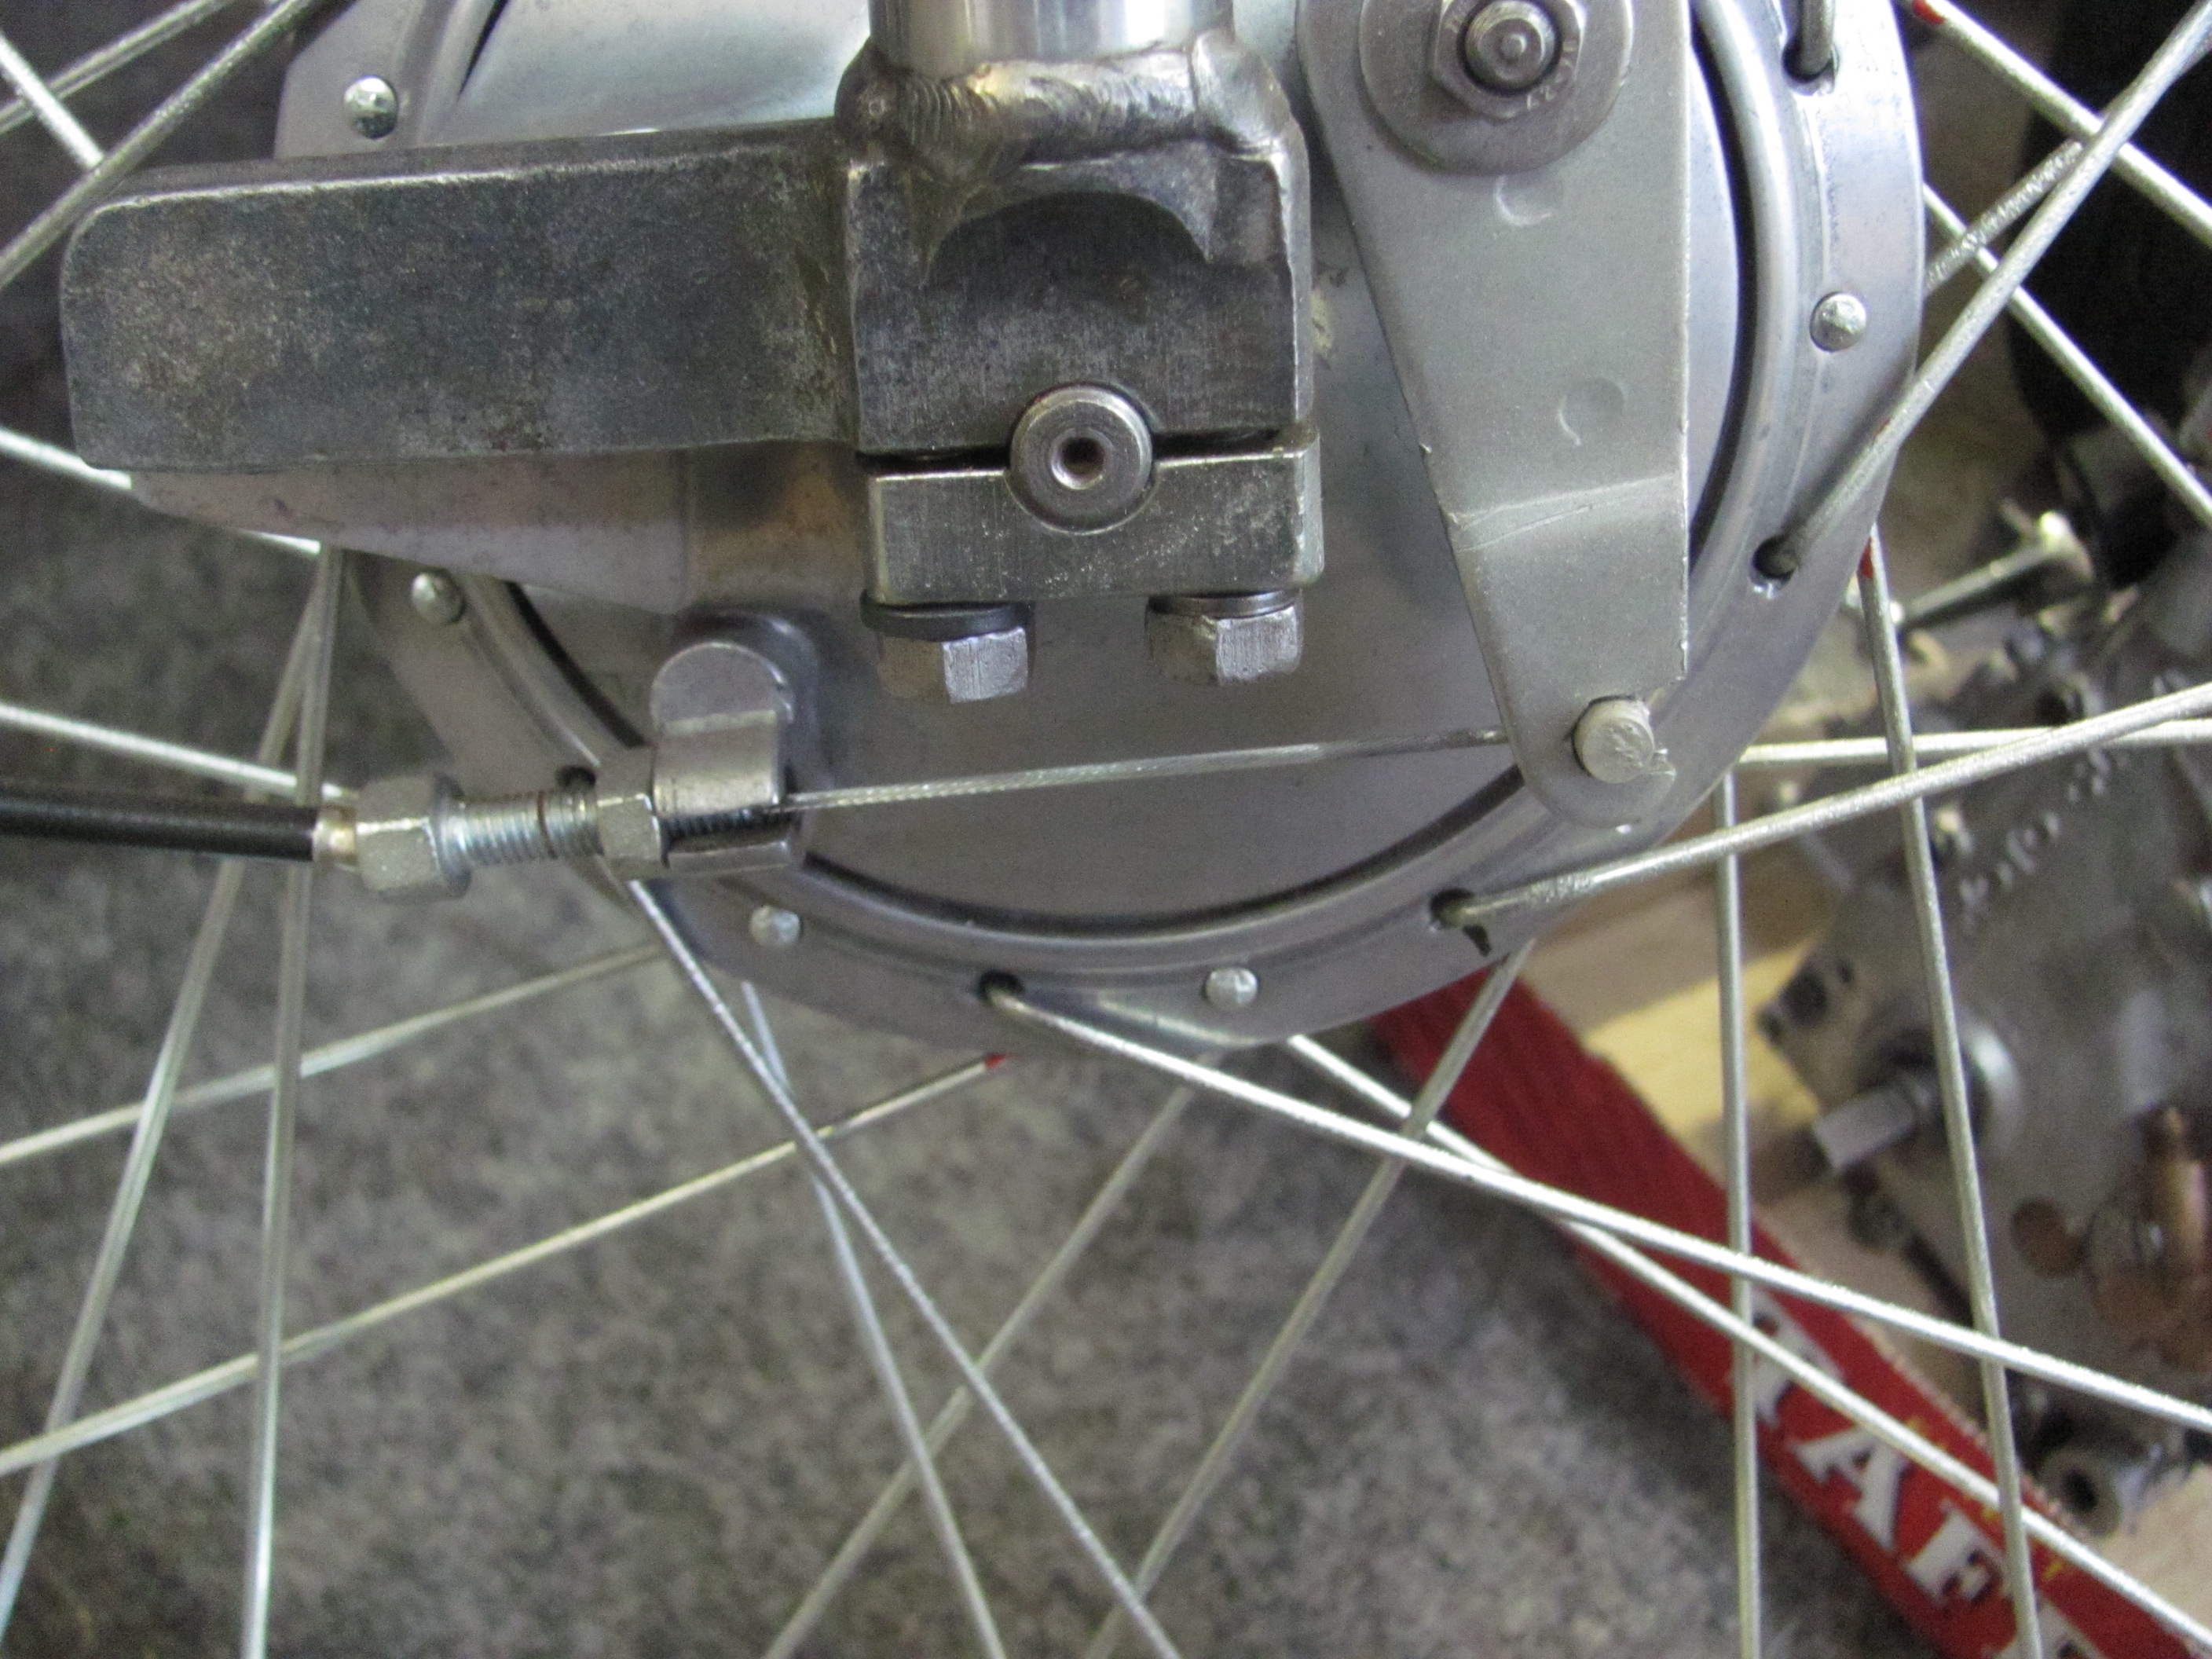
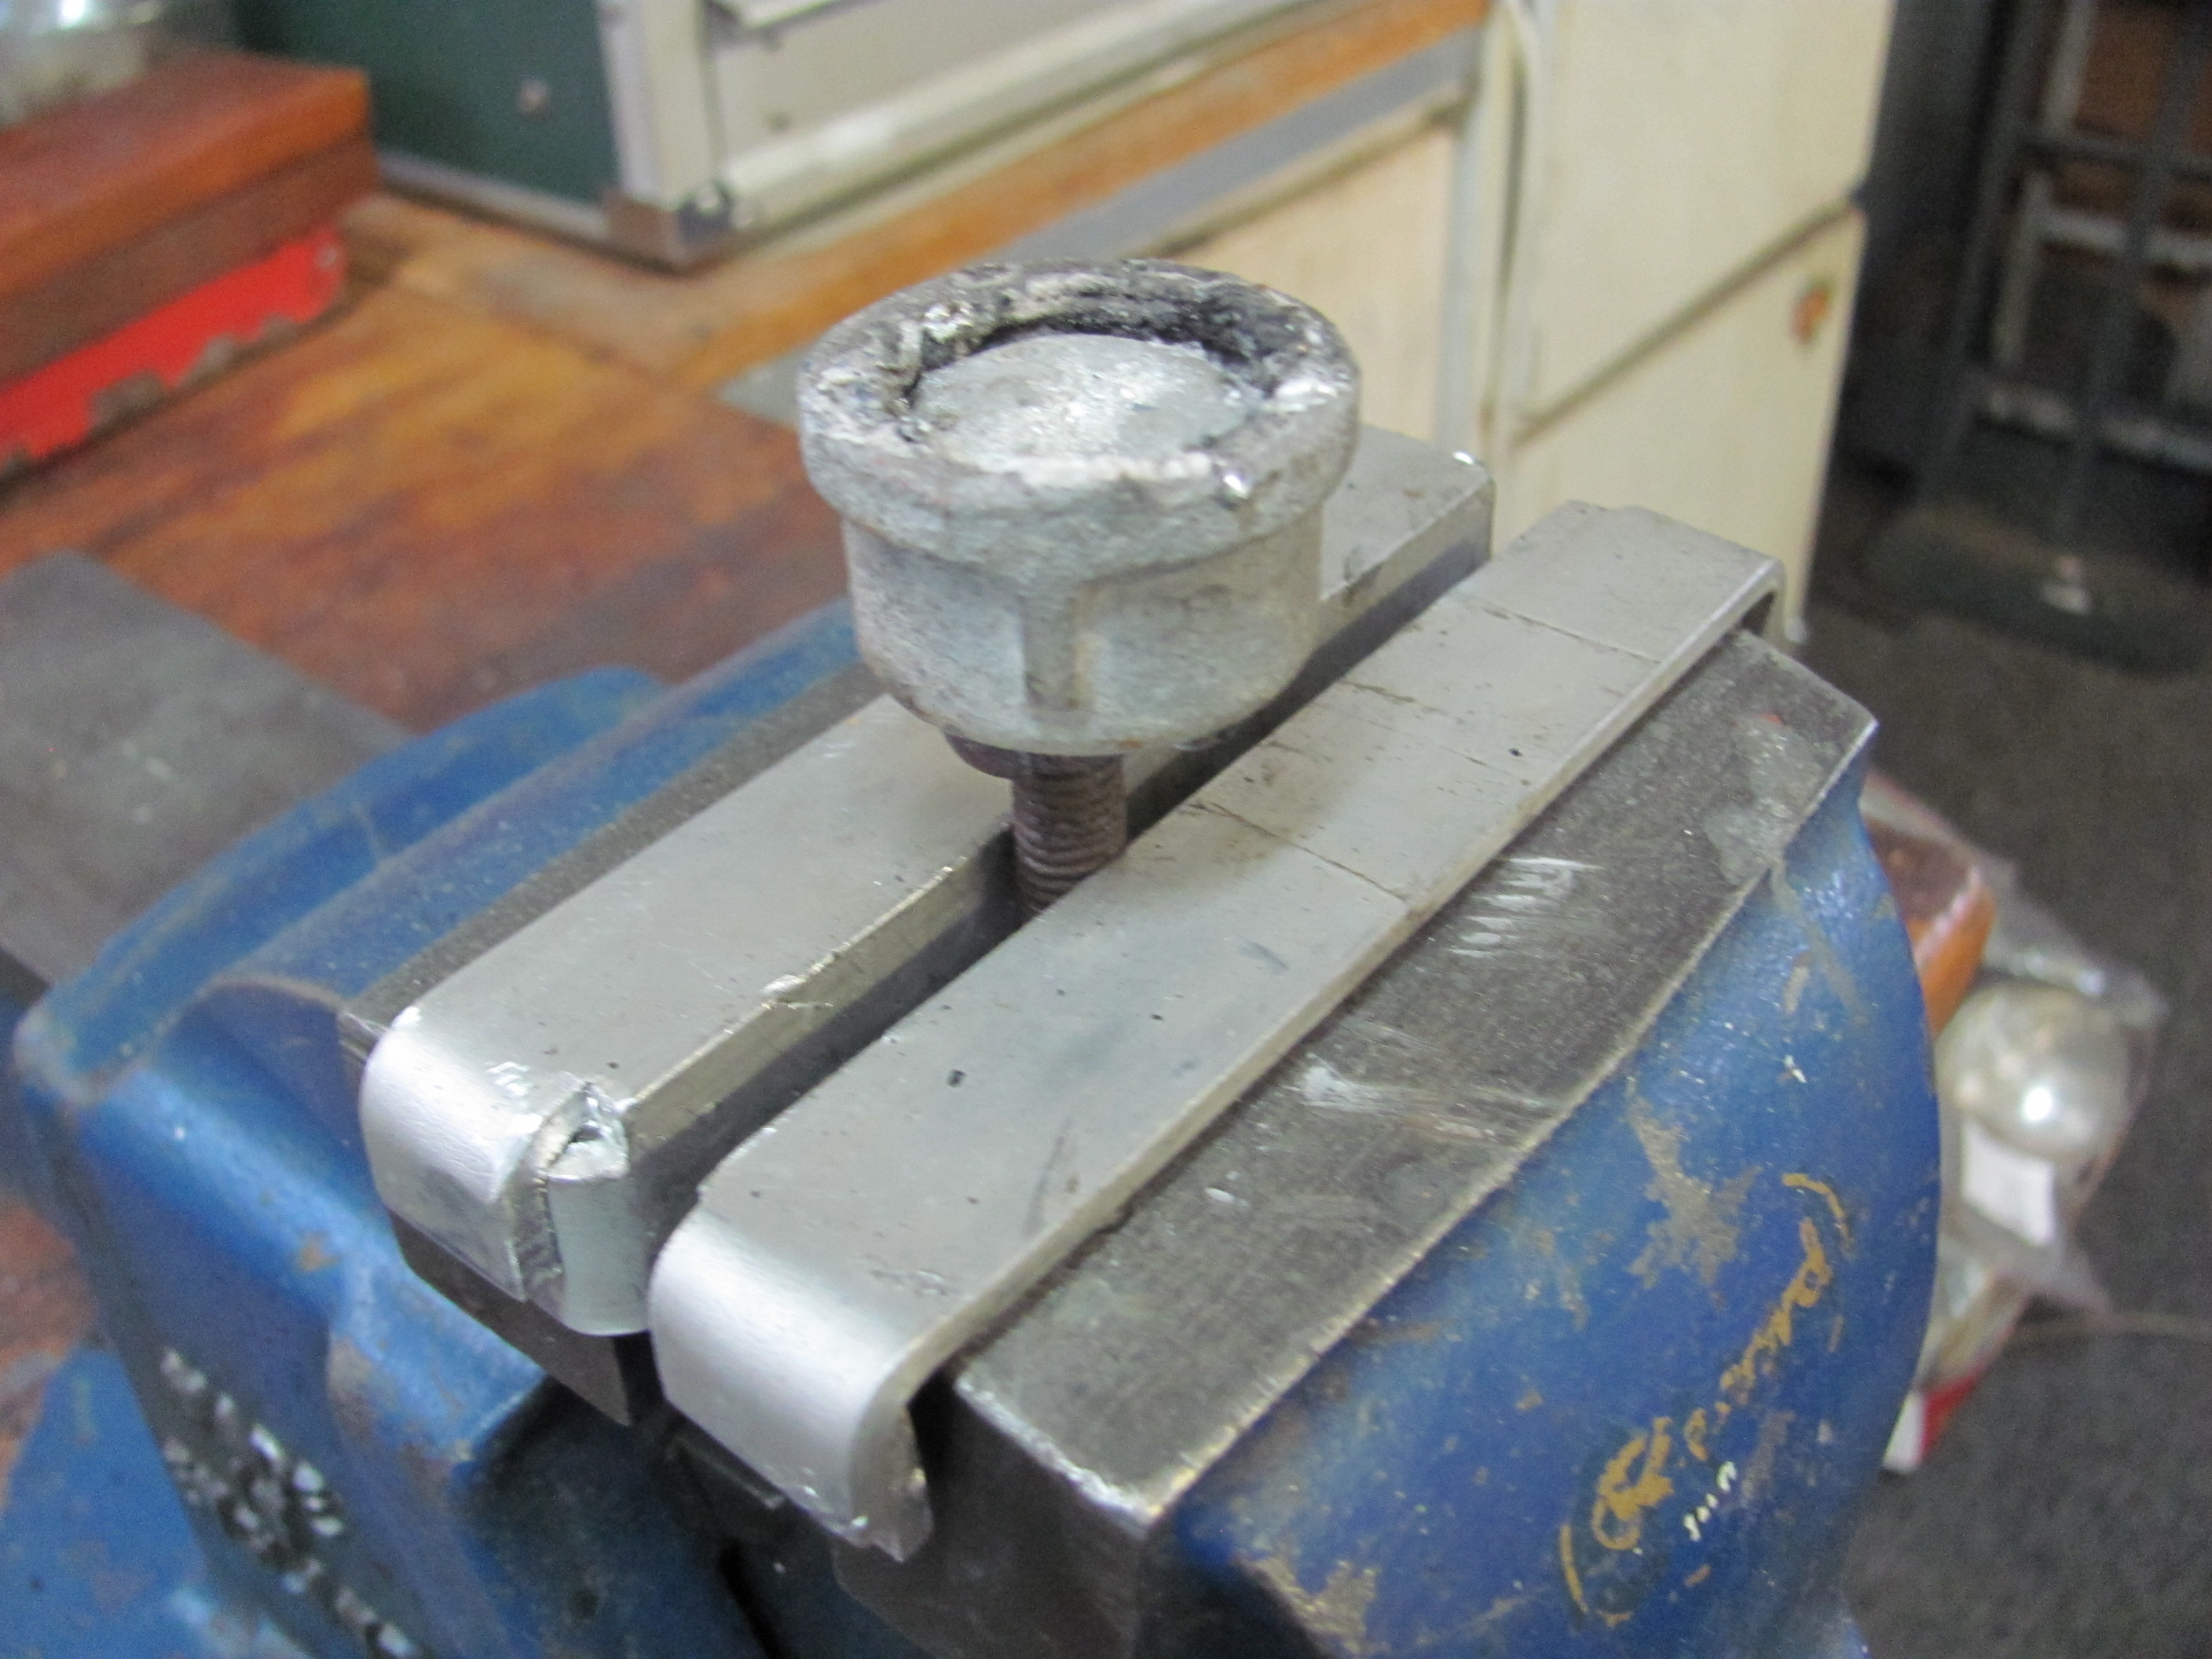
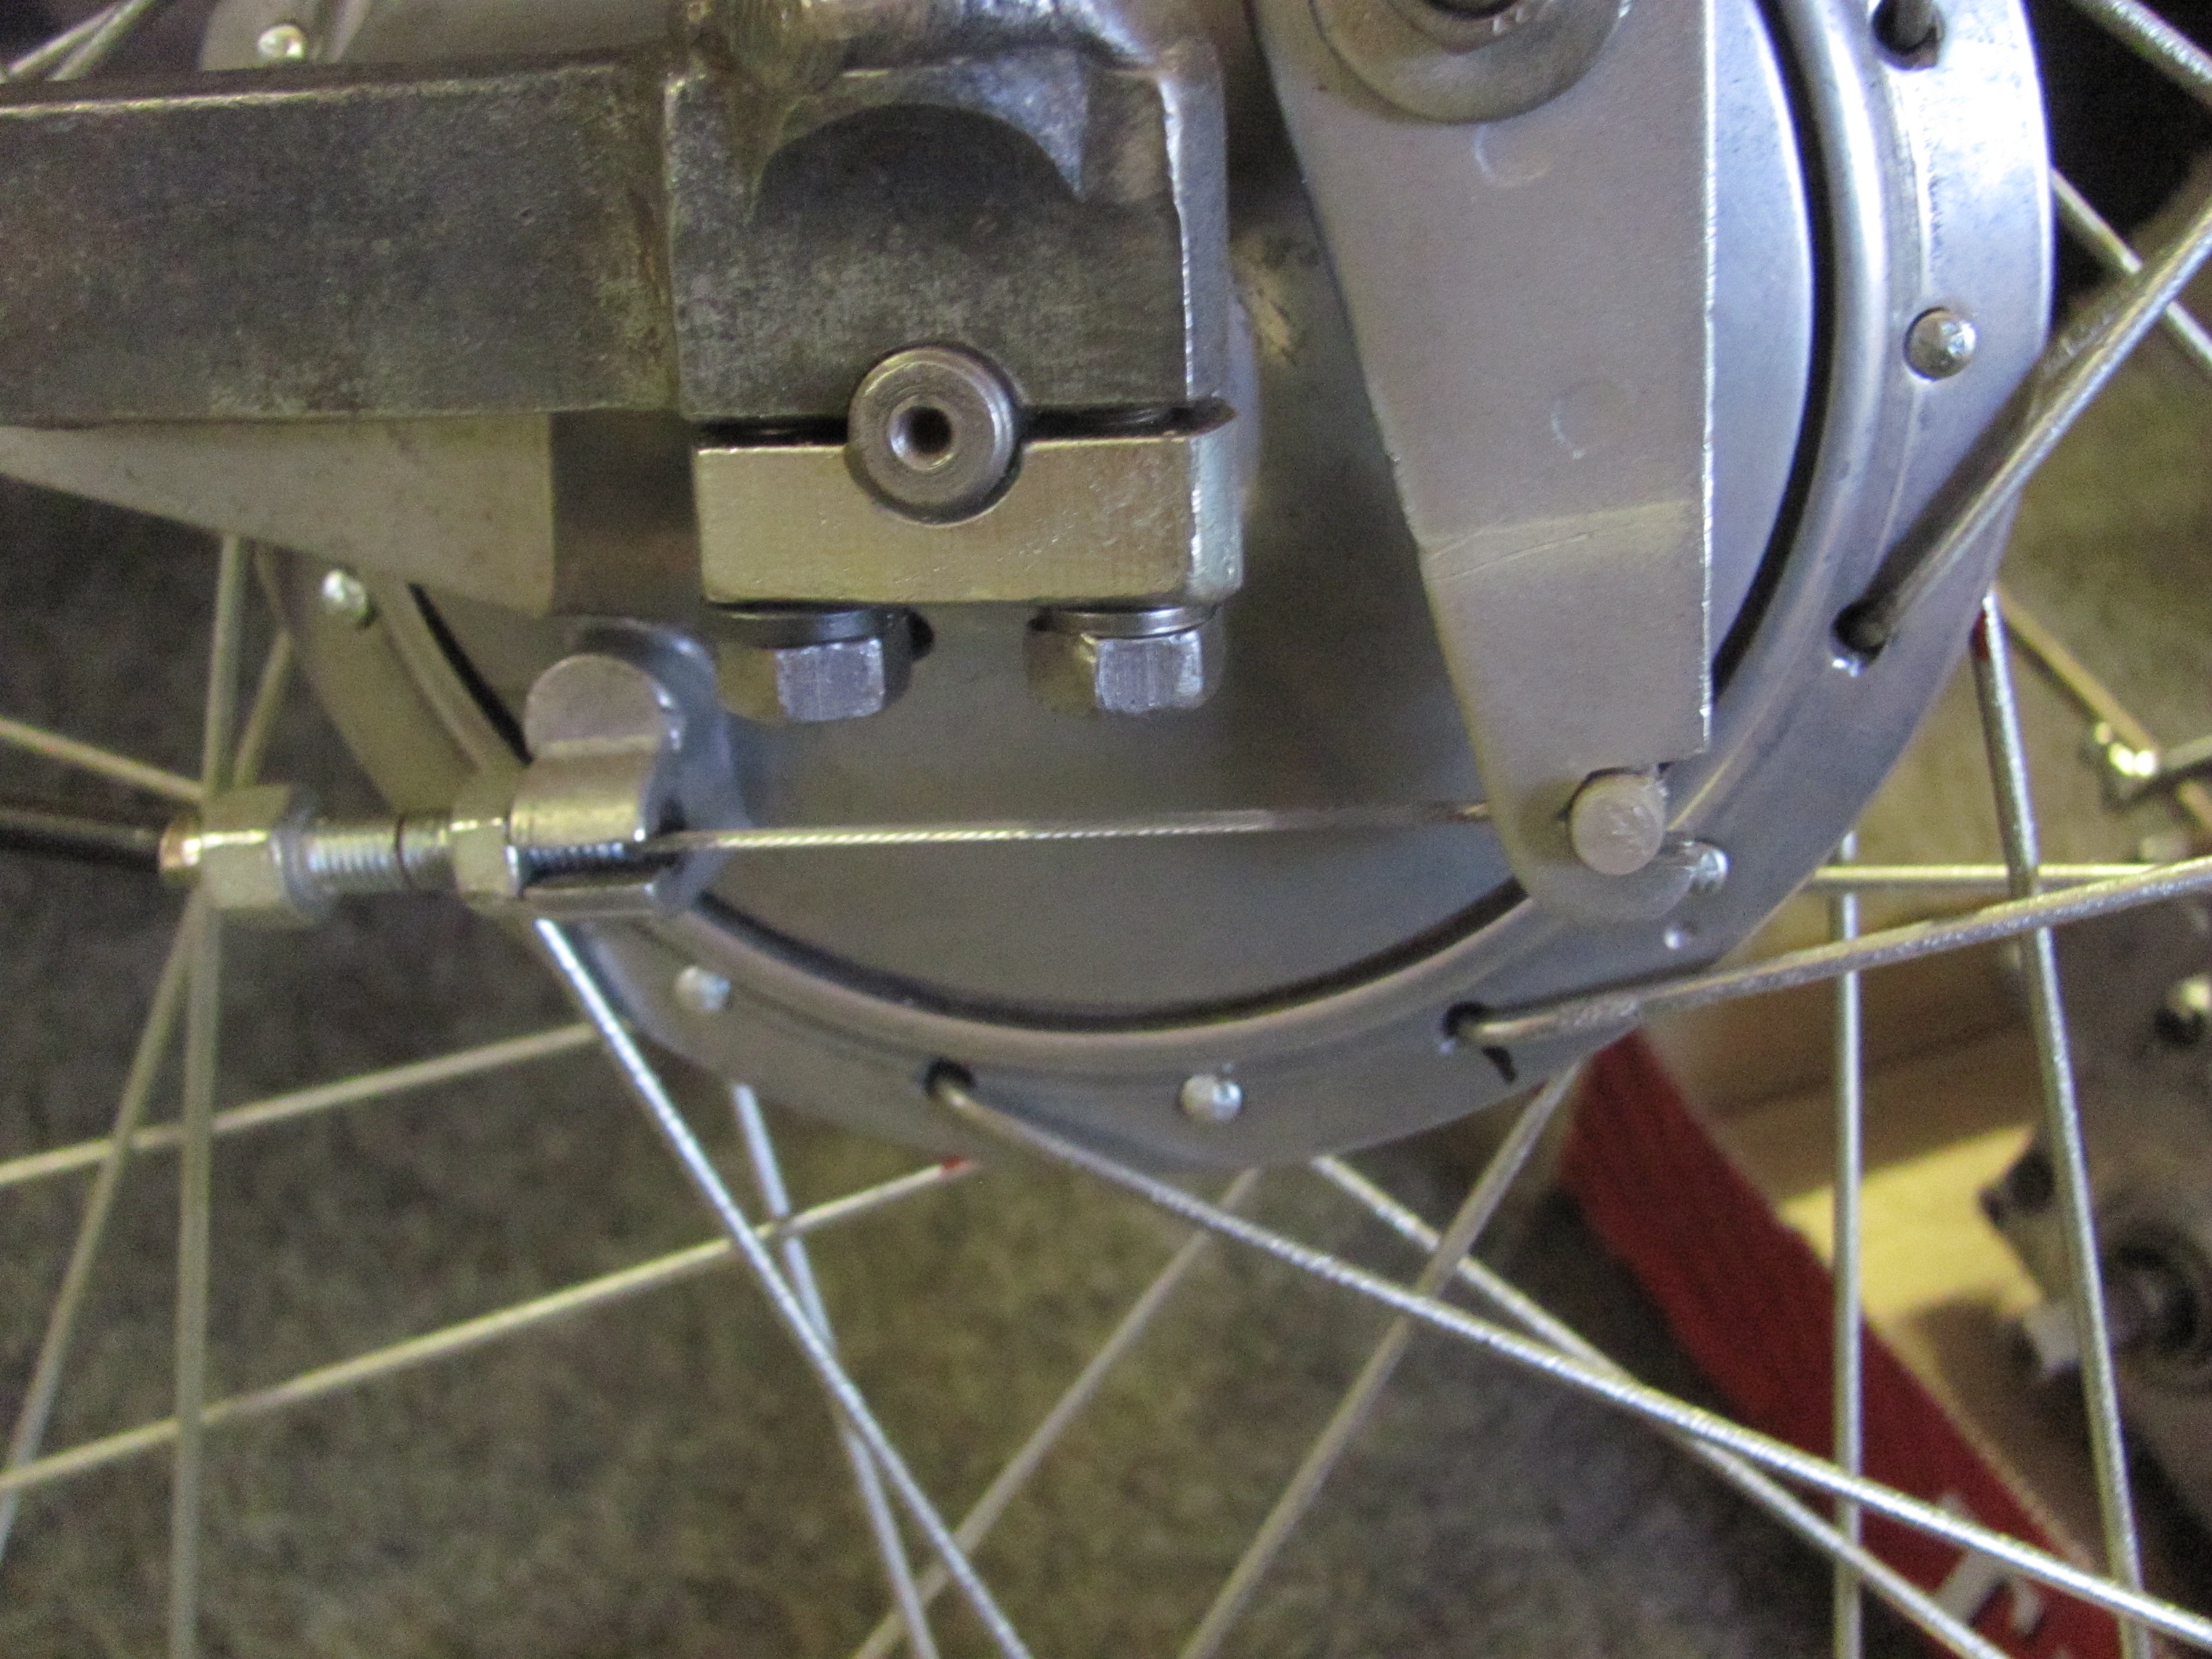
Hi Chis, they say a picture paints a thousand words. Here are some photos of the cable making. the crucible is a half inch water pipe galvanised end cap welded to a stud so it can be held in the vice. It is heated with a gas blow torch until the solder is liquid. the fluxed cable and nipple are then dipped for a few seconds. this has been 100% successful once I discovered the correct flux, Phosphoric acid. I had a bit of a job finding a small quantity (one supplier had a minimum delivery of 20000 litres!!) I managed to find a scientific supplier who would decant 500ml for me. I think it will last my lifetime.
As you can see from the last two photos the final result is quite satisfactory and due to the larger counterbore in the nipple and the splaying of the the cable end there is no chance of the cable pulling through the nipple.
Cheers
Phil
Hi guys, just had my GUZZINO parts powder coated in RAL 3020. Look pretty good and I have also had a couple of aerosol cans of same colour made because it is inevitable that I will find a part that I forgot about!!
I would now like to pin strip the mudguards, forks and swinging arm. Does anyone know if transfers are available or something similar?
Cheers Bryn
Hiya Bryn
Not sure what pinstriping the mudguards etc would have had on them?
When I did my Stornello tank, I had the tank stripes done in vinyl by a company that does van graphics. I sent them a clear photo of what I wanted, they scanned it and managed to copy the stripe and cut it out in white vinyl. It’s not quite perfect, but stil looks pretty good to me. Better than I could ever manage.
Could you just use white pinstriping for the mudguards etc? This wouldn’t work on my tank as the curve radius was too tight and it wouldn’t go on smmothly (or so my painter told me)

IMG_0237 by Don West, on Flickr
Hi Don, thanks for the quick response.
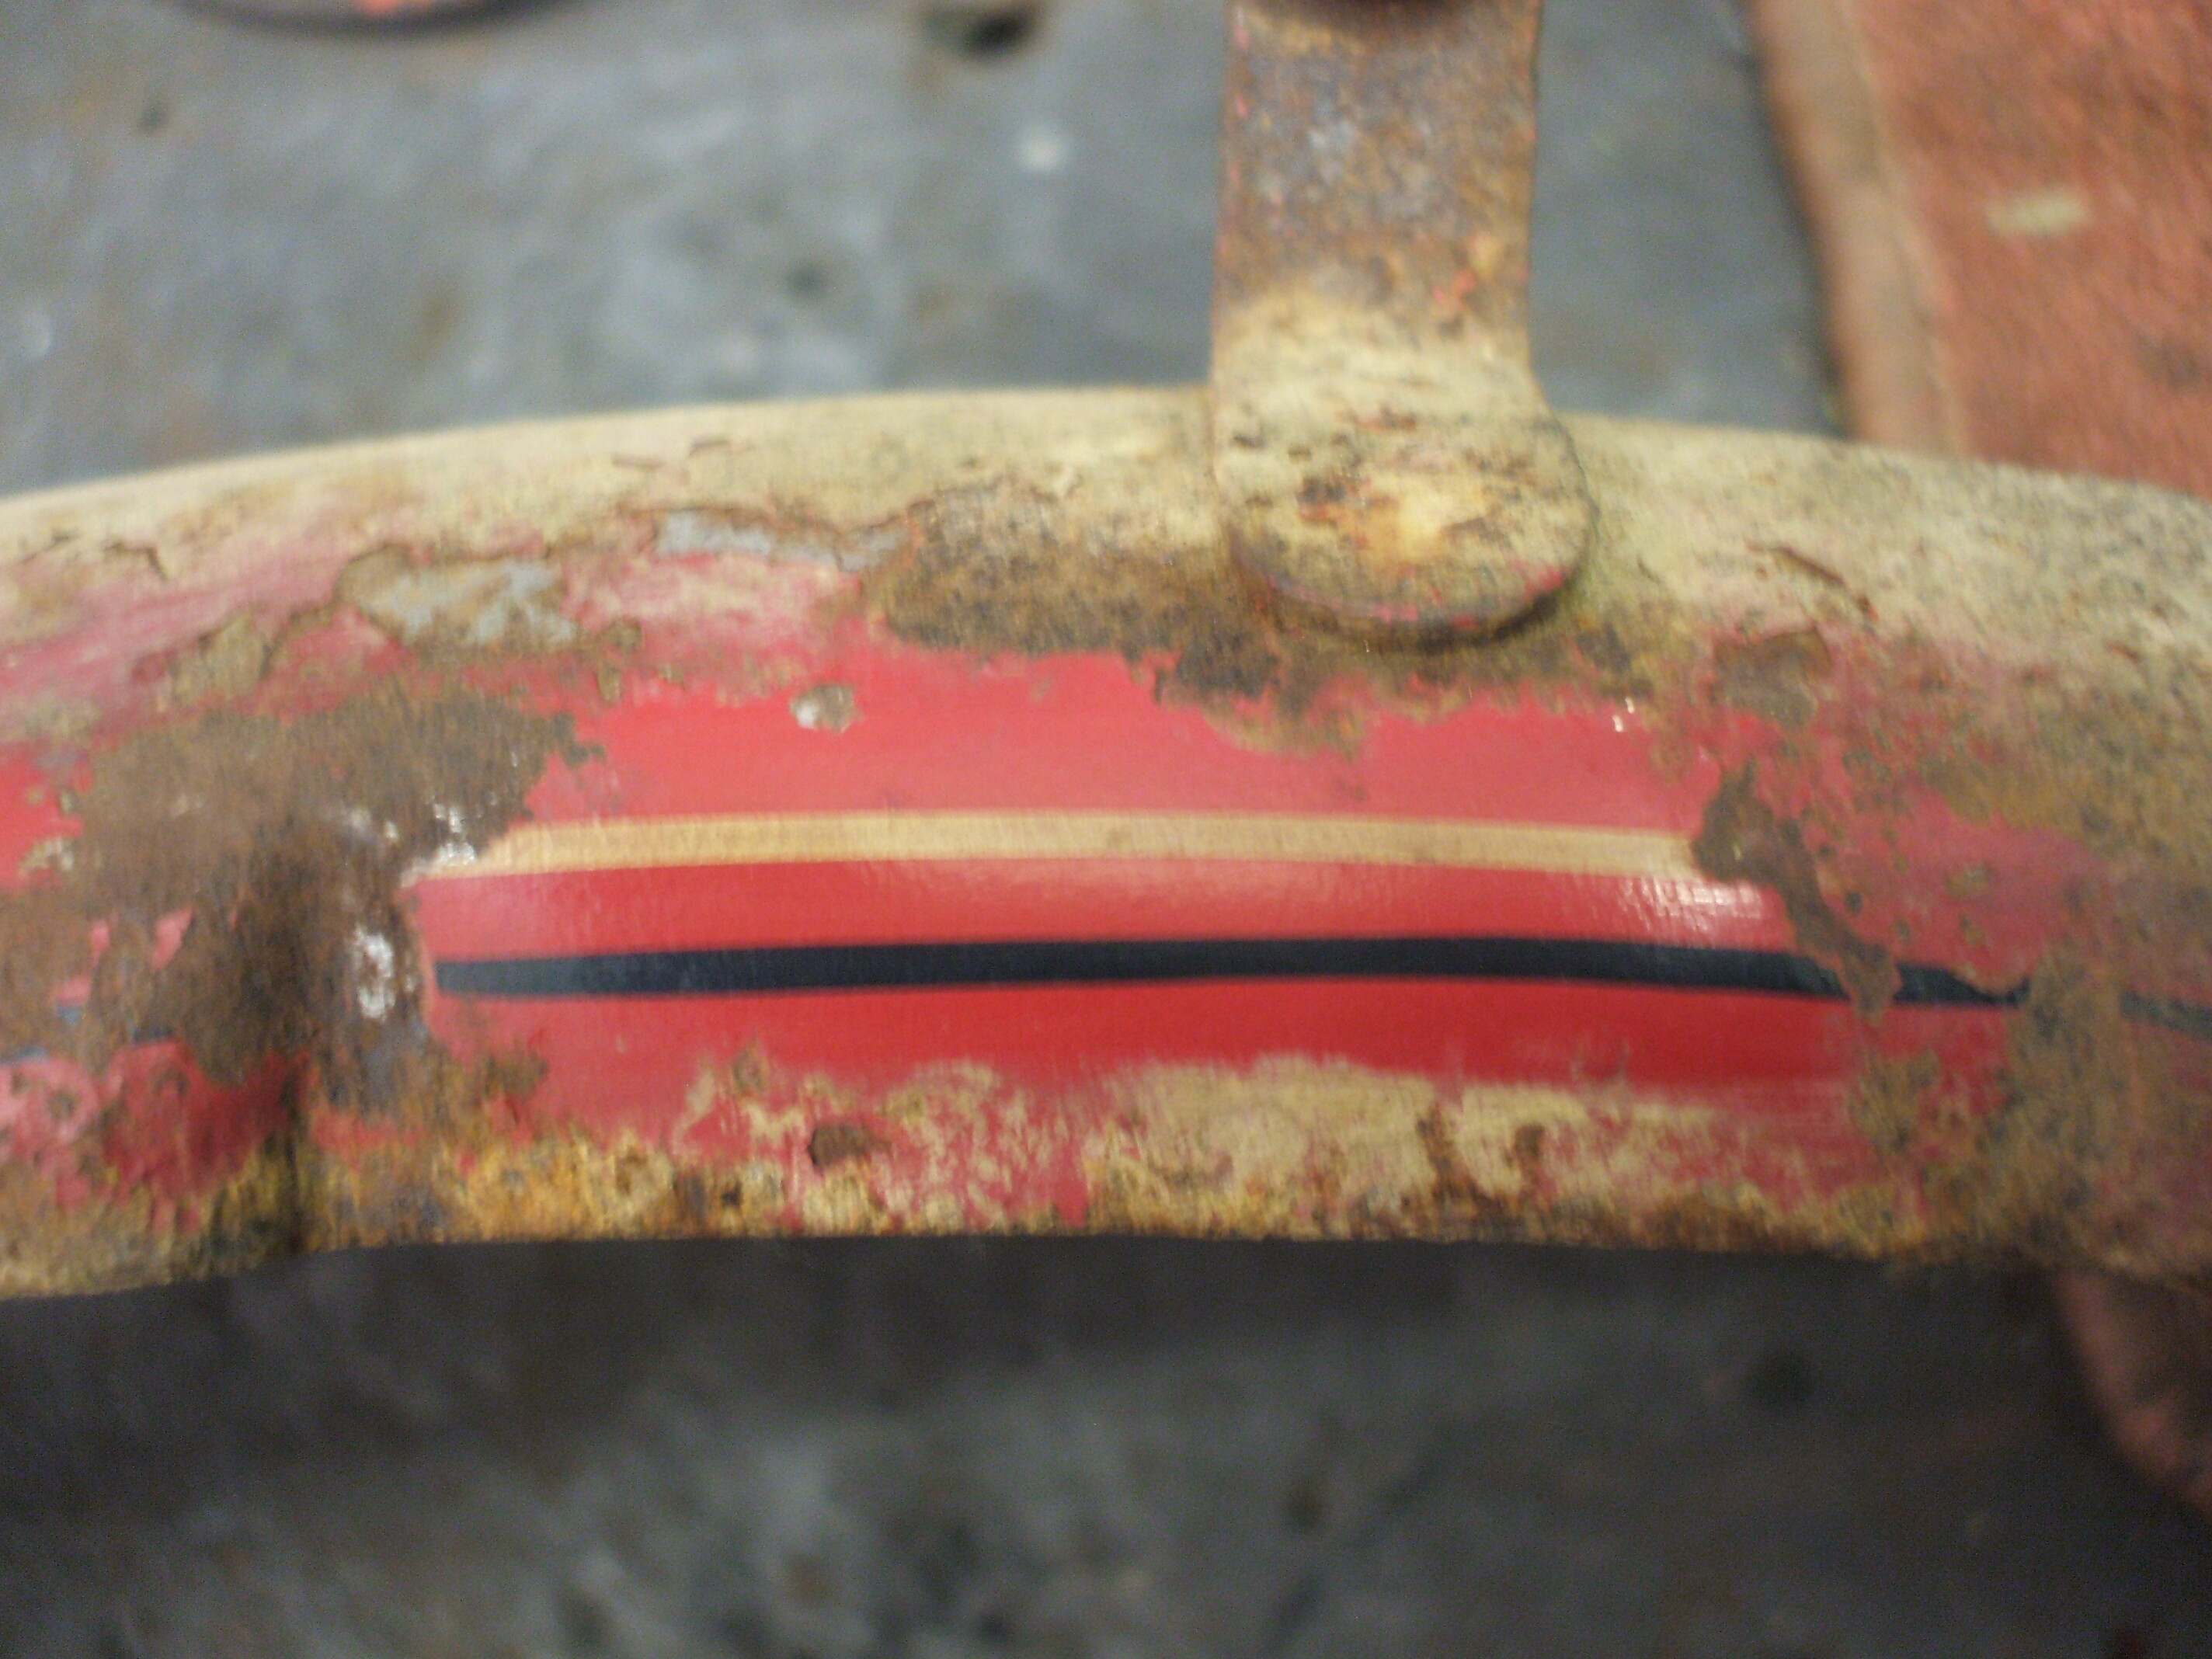
Attached photo shows a section of the front mudguard where the original 9I believe it to be original) pinstriping as still clearly visible.
Gold and black which I think would look rather good.
A local vinyl company has suggested that they could do it in vinyl, but that it would need a coating of clear lacquer after to prevent contact with petrol spillages. They say it will curl up if that happens.
Did you have to do that?
Cheers Bryn
I did have the tank laquered, for the same reason. The paint still blistered around the filler cap and has been stuck down with superglue!
It is unlikely that the mudguards etc would get much petrol on them so I’m sure normal car laquer would be fine for the job.
Hi Bryn, just to add to Dons comments. I obtain my decals from Marco at Guzziretro. I think they are about 12 Euros per sheet and for your 65cc version you will need the Gold Eagle version. You will use four off the sheet, one each side of the petrol tank and one on each mudguard. My understanding is that the eagles face forward or to the right depending on their location.
Re the pin stripes, I had similar ones on my Super Alce and had them spray painted on after relevant masking (originally they were hand applied) then the items were clear coated. All decals should be clear coated to give them last lasting protection. I don’t think the originals were clear coated hence the reason why they are often in poor shape.
Hope this helps a bit.
Cheers
Phil
Thanks Phil, I’ll order those decals. The pin striping is still a bit of an issue. masking seems a bit of a fiddly job for me.
fir the time being i will continue to search for an old fashioned sign writer who wants some cash for his Chistmas funds.
I’ll update you when sorted.
Cheers Bryn
Hi Phil,
Hope you are about at the moment. Or anyone who can advise, please.
Firstly Ref the Decals:- GuzziRetro are asking me what model I have; A, B or C? Mine is a Spanish made model.
Frame No. MGH 13219. Engine No. ISA 546439.
You have previously told me that this is a 1953 model, but that would make it a “C”.
In the GUZZINO book there is a list showing changes with date / Model. The trouble is that mine could fit a couple of categories. A few points.
- The frame appears to have the stronger swinging arm, suggesting “B” or later.
- But the rear light is NOT cylidrical, but rectangular with tapered in sides suggesting pre 1949 thus “A”.
- the rear mudguard is the skinny version. There is no “additional” suspension between the rear luggage rack / seat and the rear of the swinging arm.
- The original paint was pinstriped suggesting pre 1953.
- The cylinder fins and head are aluminium. Does that mean anything?
- The handlebars have a traditional type twist grip for the carb control. Not a lever.
In short I am totally confused. You did mention that I needed the Gold Eagle decals for my model. Is that enough info for GuzziRetro to supply on?
HELP!!!
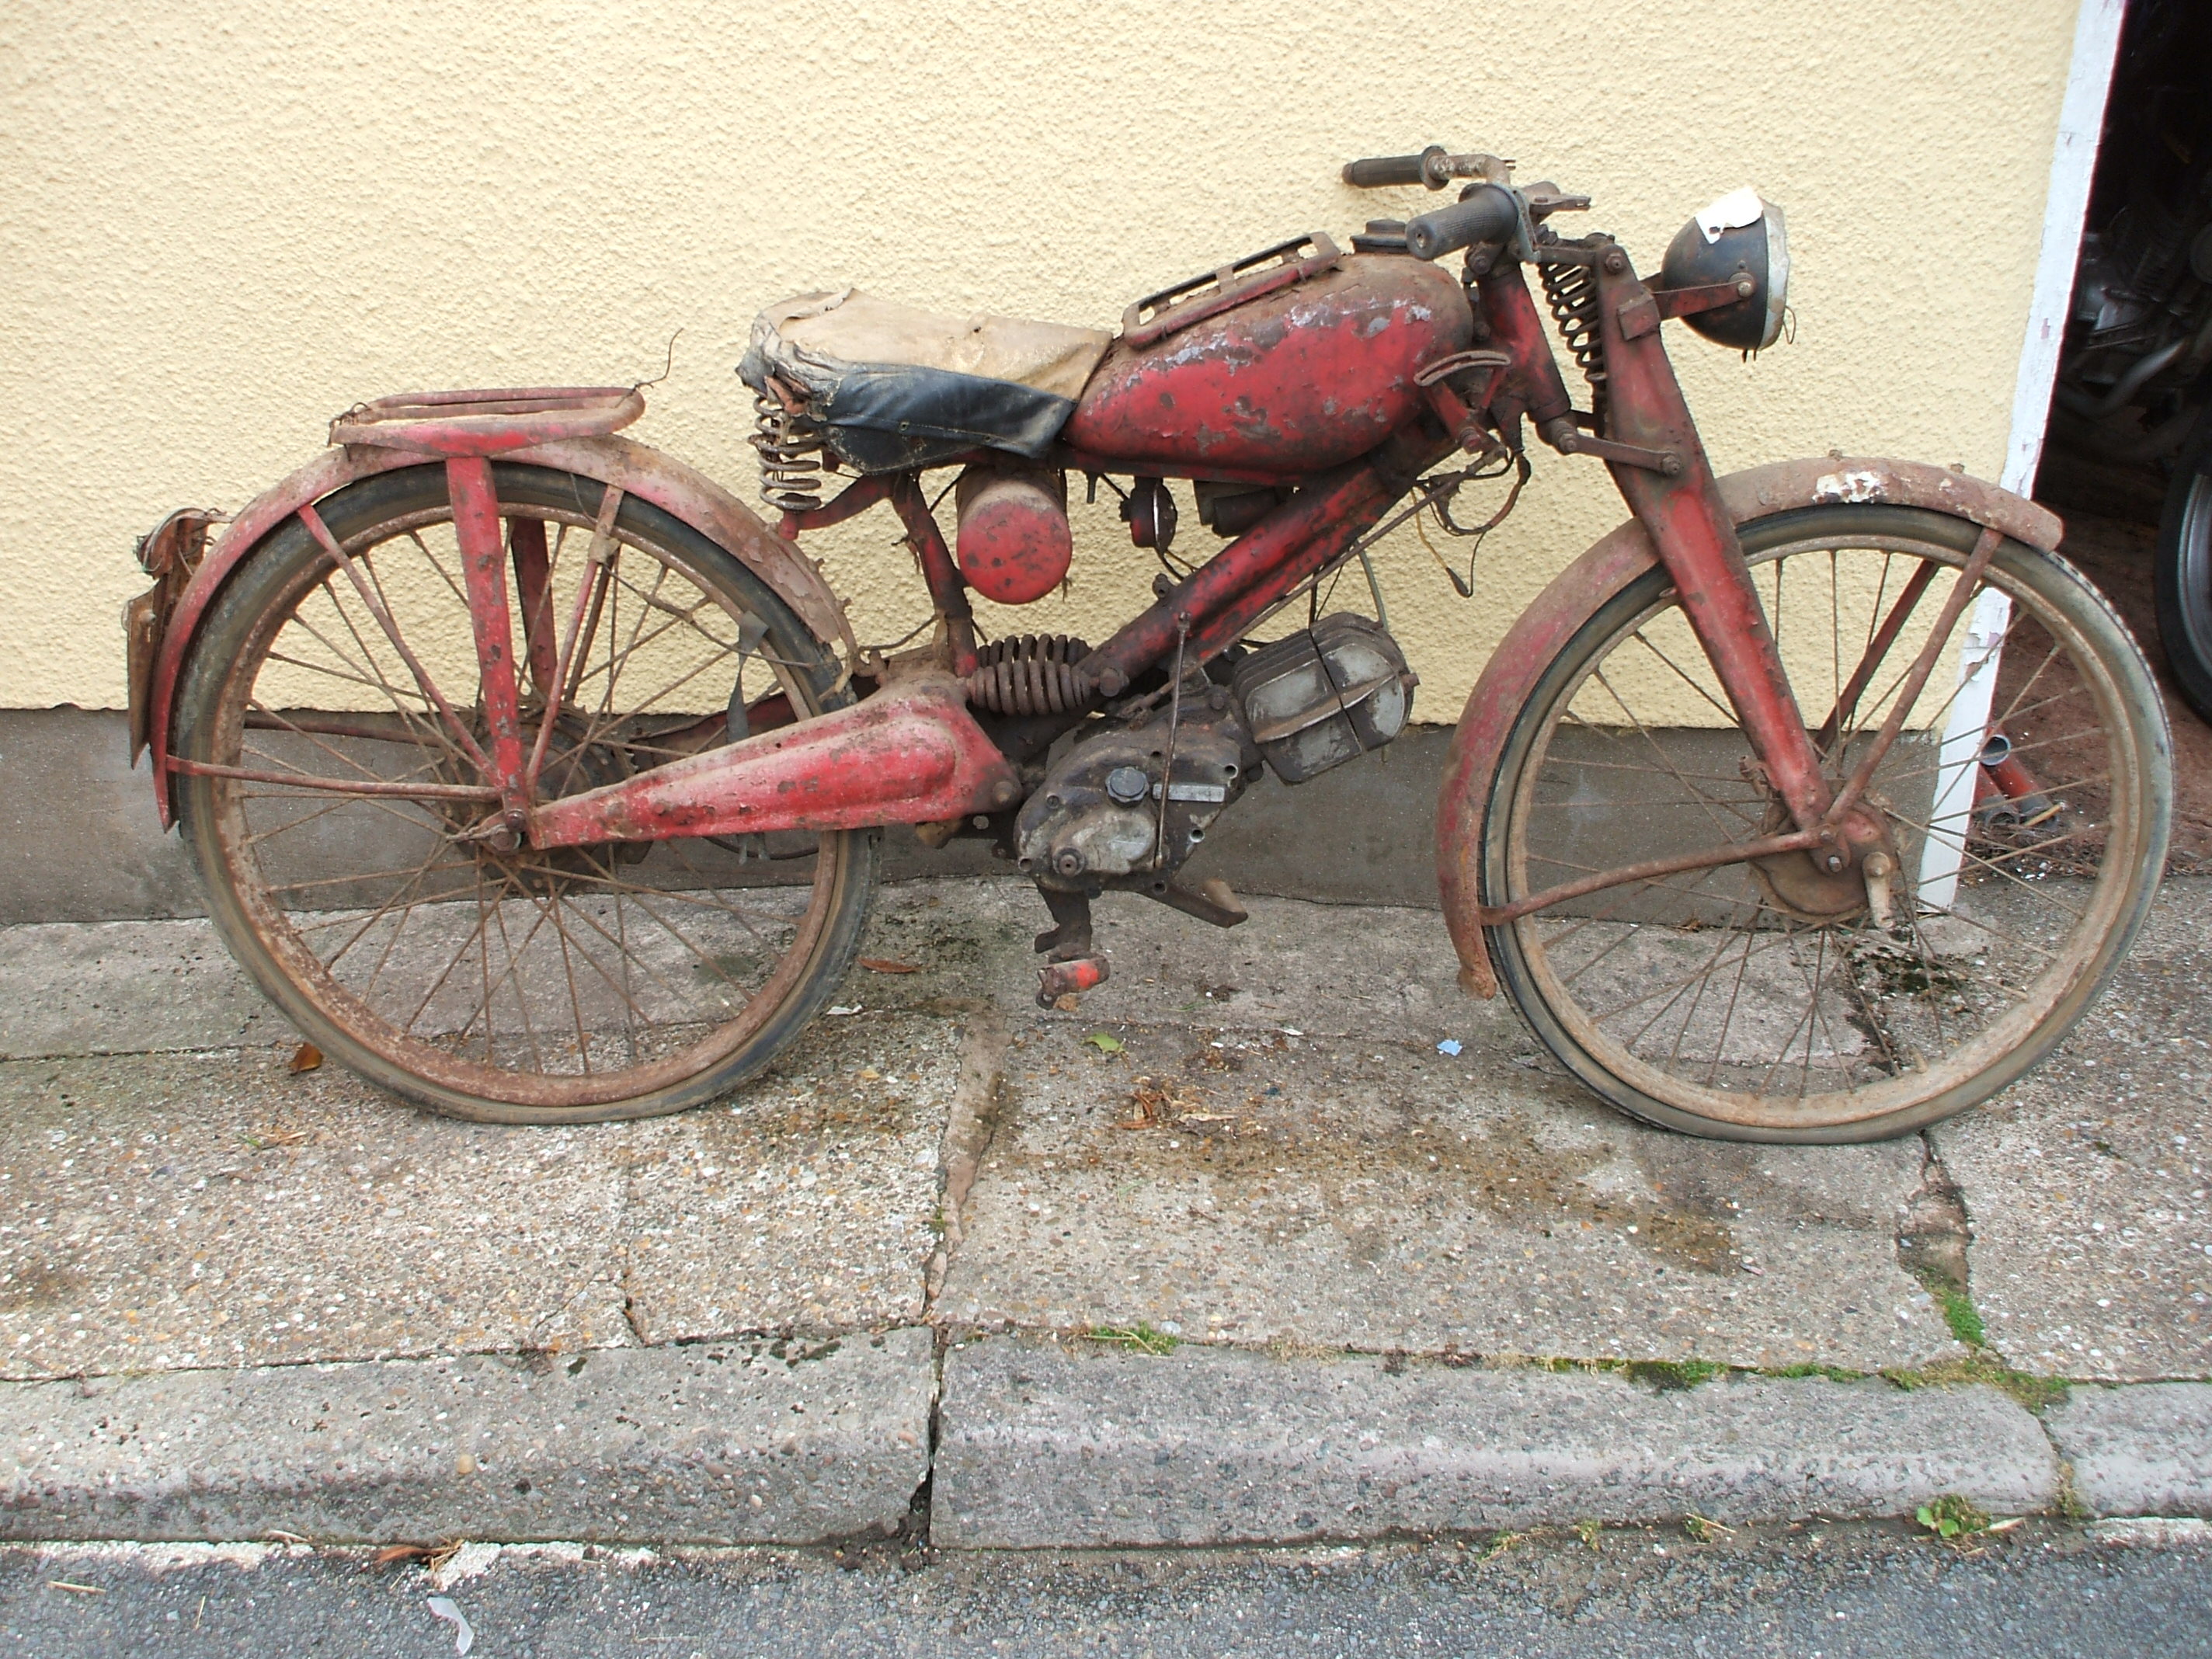
Picture of my bike attached.
On a positive note the powder coating is now done (twice!) and is good considering the surface condition.
And I have located a genuine, traditional sign-writer locally who will pin stripe it for me. £125.
But I need to know where the mudguard Eagles go and how big they are.
Help please. Bryn
The Hispania versions seem to be easier to date as records available identify them by year. I would say it is 1953 from this info which fits with your own research.
MGH 11800 - MGH 18632 Hispania 65 1953 chassis (5 cijfers)
https://www.mgcn.nl/database/mg-framenummers
I guess bits and pieces could have been swapped over time.